replacing a window in the cabin

Tags

, , ,

IMG_8156

On September 20, 2015, we installed a new window in one of the bedrooms of the cabin. The old window was put in by the previous owners and it wasn’t a very good one. The panes didn’t fit together properly and it let in a lot of cold air in the winter.

IMG_8144

Pictured above is the old window. Brian sourced a new window on Kijiji (he is amazing at finding things on that site) and bought it. It was brand new and beautiful in its wooden frame. We stored it until Brian was ready to install it. As it was larger than the old window Brian and his dad, Dale, cut a larger hole in the cedar logs. (Dale is outside standing in the loader bucket of his backhoe.)

IMG_8153IMG_8152

Once the hole was measured and cut, Dale and Brian brought the window over in the backhoe and installed it. They were quick and efficient as they had installed windows many times before. Chayton stayed in the room the entire time despite the cold and performed the important task of handing tools to daddy and grandpa. He was very interested in the whole process.

IMG_8150

IMG_8156IMG_8158

The backhoe made the job a lot easier as it provided a platform to stand on and did all of the heavy lifting.

This new window has really added to the quality of our lives: it is more attractive both inside and out, it is larger so we can now view the chicken coop from up there, and the bedroom is a lot warmer now in winter.

IMG_9150

This project was a small step (among many) that we have been taking over the years toward maintaining the cabin and making it more energy efficient.

IMG_8499

preparing to celebrate Winter Solstice

Tags

, , , ,

IMG_7092

We are blind to the beauty of the stars

if not for the black of the night sky.

Darkness moves in harmony with the light
and out of that dance, all life is born.
~Glynnis Osher

We celebrate Winter Solstice here at cabinorganic. During the darkest, shortest day of the year it seems that there is nothing more important to do than celebrate. It’s been over a month of doing morning and evening chores outside in the dark, as well as spending more time indoors—a strange shift in our daily rhythm after spending most of our time outside in the spring, summer and fall.

IMG_1189

IMG_7096 (1)

On this day we use minimal electric lighting and instead light candles and a fire. We spend the day baking cookies with a winter theme (star and moons, or snowflakes), read books about the Winter Solstice, make music, play outside, then we have a feast.

IMG_8573IMG_8579

Buttery ‘Sun Bread’ is often involved.

Afterward dinner, we open a few Solstice presents and spend the rest of the evening visiting, playing more music, and enjoying our time together.

IMG_1149

For us, Winter Solstice is about welcoming the return of the sun and longer days. It is also an appreciation and celebration of the dark. We do not fear the dark but welcome its gifts. Winter Solstice marks the turning of the wheel- a new year—a new cycle— beginning again. So we honour this day as our own New Year’s and end the night with bubbly and toasts. We also spend some quiet time during the day and evening, reflecting on the past year and making plans for the coming year.

DSCN0444

I would like to take this opportunity to wish all of you a Happy Winter Solstice, Happy Holidays, and all of the best in the coming year!


the boy who loves chickens

Tags

, , , , , ,

IMG_7536

I mentioned in the previous post that Chayton was smitten with the new baby chicks. It was love at first sight for him and there was no turning back. To wrap up these ‘catch-up’ posts on chickens and the coop, I thought I’d add a few pictures that show just how much this little boy loves—and enjoys spending time with—his chickens.

IMG_7869IMG_7779P1030708P1030706Version 2Version 2IMG_7998IMG_7945DSCN0098DSCN0053IMG_7993DSCN1262DSCN0942IMG_8334

Chayton is now four-and-a-half and has had chickens in his life for two-and-a-half years. He seems to have a way with them, perhaps it’s just the fact that he is not afraid of them. He’s been pecked only a few times (when the chicks were still young and curious) and he just laughed. If they get too close to his face he just calmly pushes them away with his arm. We now have Henriette living in the house with us and he is getting hours of time each day playing with her and observing her closely. I am so happy that Chayton shares my love for our girls and for our simple life out here in the country.

chicks arrive—and a brooder box to keep them in

Tags

, , , , , , , ,

IMG_7534

We ordered our chicks a month before they arrived. Chicks are sent via Canada Post on the day they hatch and they arrive the following day. There were 27 tiny chicks in this box—all happy and hungry and ready to start their lives with us.

Chayton, 2-years old at the time, was enthralled. He loved the chicks from the first moment he set eyes on them.

IMG_7586

As we took each chick out of the box, we dipped their beaks in water and then placed them in the pre-warmed brooder box near the food. They were to spend the next few weeks in this spacious home that Brian had made. We spent hours each day with them, talking quietly and handling them very gently. Chayton loved to feed them one kernel of feed at a time. We had a small parade of visitors come through—neighbours, friends, and family—they all came to see these adorable chicks.

This is the brooder box that we used. Brian used an extra-large rubbermaid bin that we already owned, cut two square openings in the top and then made simple wooden frames and covered them with hardware cloth. We put a layer of coarse sand on the bottom (about 1-1/2 inch). We prefer sand over other bedding materials, mainly because we have a lot of it, but I also love how it holds the heat (keeping the chicks warm) and is so easy to clean (I use a kitty litter scoop to sift the sand twice daily). The first few days, we place paper towering over the sand to give the chicks time to learn to distinguish food from sand.

IMG_7894IMG_7893IMG_7895

We hang a heat lamp over one side and keep the brooder box in the cabin (basement) where we can spend lots of the time observing and enjoying the chicks.

Brian also built a tiny roost for them to play on.

IMG_7896

They outgrew the brooder box fairly quickly. Within weeks we had them in the prepared coop. The low beam that Chayton is holding onto is their lowest roost. There are two more levels above this. After a few months, Grandpa changed this and made the three level roosts (pictured in the previous post), which lift on a hinge for easy cleaning.

IMG_7779IMG_7869

The chicks grew so quickly and soon looked like miniature adult chickens. As you can see, we had three types of chickens: Columbian Whites, Rhode Island Reds, and Barred Plymouth Rocks. These are common dual-purpose birds (good for eggs and meat) and we love the different colours. We’ve had good success with all three breeds but found that the friendliest and most tame are the Rhode Island Reds (we have one living in the cabin with us right now—she’s a darling—I’ll tell that story in another post).

IMG_7873IMG_7788Version 2

We love having chickens in our lives, and after three years of having chickens I could not imagine life without them. Yes, it means daily chores but it also means the freshest, tastiest (and healthiest) eggs I have ever tasted. They also add such fun to our lives with their different personalities and behaviours. We sell eggs to our friends and neighbours, which helps builds community relationships, and we take pride in having a clean coop with healthy, happy chickens.

Finishing the Chicken Coop

Tags

, , , , ,

DSCN1240

On November 26, 2014, I left you hanging with an unfinished chicken coop. It’s time to fill you in on the details of how we got from there (below)… to our beautiful coop here (above).

chicken coop

Winter came and we had to put the project on hold. Once spring arrived we were ready to keep working on the project, and with chicks booked for April, we were motivated to finish setting up their home. We started with the interior: Brian painted the walls, installed eight nesting boxes (using recycled lumber), and Grandpa made the roosts (using an old metal bed frame, recycled metal and lumber).

IMG_8270IMG_8269

I put up curtains to keep the chickens from roosting in the nesting boxes. It really works.

Our roosts are all at the same level and the entire unit swings upwards and can be held by the metal hook (top right) for easy cleaning. The droppings board slides in an out like a drawer and can be removed easily for spring cleaning. Each morning, I scrape the manure off of the board and into a bucket with a paint scraper. I also pick up manure off of the sand (and out of the yard sand) with a kitty litter scoop.

Then Brian and our then-three-year old son, Chayton, got to work painting the exterior.

I love the red colour and how it adds such vibrancy to the coop.

Brian used parts of an old jungle gym to create roosting spaces for the chickens out in the small yard.

Another major project was setting up the larger yard (accessed from a pop hole in the small yard) to give the chickens much more space to roam. As our property backs onto 150 acres of protected land, we need to protect our chickens from the fox and coyotes that frequently pass through. Grandpa used his backhoe to dig a trench, 18-inch deep, all around the larger yard’s perimeter.  Then we constructed a fence using stucco wire and T-posts, and tied everything together with wire. Grandpa welded a main gate using an old metal bed frame and there is a provision for a larger gate (to accommodate a tractor) in the back area.

IMG_8246IMG_8271IMG_8267

Grandpa Dale located another shed and put it beside the coop. Then the Lake family (remember Erin and Mitch?) gave us a metal outhouse (“Burton’s Pooper”), which was placed next to the new shed. They also gave us the metal skeleton of a canvas carport. Grandpa reinforced this with metal rods and put the whole structure on skids. Then he and Brian covered it with tin. All that is left to do now is to put some doors on it.

Jenna, Chayton’s sister, helped me paint the middle shed. By the end of summer I also had the pooper painted.

Later, Brian added shelves to the pooper and we now use it as rodent-free storage for feed and equipment. The teal shed (middle) has been used for chickens, goats, and even an injured duck (more on these later).

This is what the entire set up looks like today. We’ll add doors to the tin shed this coming summer.

IMG_1793

We are loving the the colours, especially now in the winter. I’ll do another post focusing on the winter set-up as Brian covers the yard in plastic, turning it into a warm greenhouse for the chickens during the coldest months.

DSCN1257

I hope you enjoyed the story of our coop. There will be many more posts featuring these buildings along with the interesting animals that live in them.

Take care and have a great day!

DSCN1242

“The Spirit Books” by Susan Kapuscinski Gaylord

Tags

, , , ,

The Spirit Books Back in December, while preparing for a book-making date with my friend, Sarah, I came across Susan Kapuscinski Gaylord’s website www.makingbooks.com. Susan is an artist and sometimes works with children in book-making workshops. You can find many patterns for handmade books on her website and she has a number of YouTube videos available with instructions on how to make some of these children’s books. The Spirit Books In her own work, The Spirit Books, Susan uses a wide variety of natural materials as she explores “connections between nature, aesthetics and spiritual transcendence”. It is this use of raw, natural materials that drew me deeply to her work. When I first saw The Spirit Books I felt an immediate sense of wonder and curiosity. I wanted to touch and cradle each book carefully in my own hands, inhale the exotic, earthy scent and allow my heart to open (just like one of the Spirit Books) to the secrets and ancient teachings that lie within.

The Spirit Books bring together my love of the book and my response to the natural world that we see and the invisible one that lies behind it.~Susan Kapuscinski Gaylord

The Spirit Books Each Spirit Book is made with natural materials, handmade papers, coconut shells, etc., and features stitching and beadwork. Each book sits in a cradle of twigs, driftwood or twisted vines.

I feel a deep connection to older powers as I gather twigs, branches, vines and roots…~Susan Kapuscinski Gaylord

The Spirit Books

“Reading” the book is meant to be a contemplative experience that takes the reader out of the everyday world and into a state of gratitude and reverence.~Susan Kapuscinski Gaylord

Susan has published a catalogue featuring this collection and I promptly ordered it for myself. Now that I had found The Spirit Books, I could not live without them. She also has a pdf version of the catalog on her website, so you don’t have to buy the catalogue in order to view and appreciate Susan’s work.

Beautifully photographed, I wanted to share The Spirit Books with you in case you, or someone you know- might also find Susan’s work to be both inspirational and spiritually nourishing. You may even want to try your hand at making a Spirit Book of your own. I know I want to! Many of The Spirit Books are available for purchase with a price range of $650-$1500. See Susan’s website for more details.

The Spirit Books

whole grain chocolate chippers

Tags

, , , , ,

whole grain chipper

This recipe comes from my Chocolate Lover’s Cookies & Brownies cookbook. I’ve had this book for at least two decades and have only tried a few recipes in it so far. Now with the holiday season over, I needed a ‘healthier’ cookie to ease me through Christmas cookie withdrawal symptoms. Of course, eating five of these in one sitting doesn’t count as ‘healthy behaviour’ no matter how many raw seeds they contain!

whole grain chipper

Whole Grain Chippers

1 cup butter, softened

2/3 cup granulated sugar (I used raw cane sugar)

1 cup packed light brown sugar

2 eggs

1 teaspoon baking soda

1 teaspoon vanilla

pinch of salt

1 cup whole wheat flour (I used spelt flour)

1 cup all-purpose flour

2 cups uncooked rolled oats

1 package (12 ounces) semi-sweet chocolate chips

1 cup sunflower seeds (I used raw, untoasted seeds)

Preheat oven to 375 degrees. Lightly grease cookie sheets or line with parchment paper or silicone mat.

Cream butter with sugars and eggs in large bowl until light and fluffy. Beat in baking soda, vanilla and salt. Blend in flours and oats to make a stiff dough. Stir in chocolate chips. Shape rounded teaspoonfuls of dough into balls; roll in sunflower seeds.

Place 2 inches apart on cookie prepared sheets. Bake 8 to 10 minutes or until firm and golden brown on the bottom. Do not over bake. Cool a few minutes on cookie sheet then transfer to wire racks to cook completely. Enjoy!

One thing I like about ‘rolled in a ball cookie recipes’ is that you can refrigerate (or freeze) half the recipe and bake them a few days (or weeks) later. This is perfect for when you have a lot of baking to do all at once or as a stash in the freezer for unexpected company. I wold freeze the cookie dough balls on a sheet. Once frozen they could be put in a plastic container or large ziplock bag.

Resource:

Weber, L. (1990). Chocolate lovers cookies and brownies. Lincolnwood, IL: Publications International Ltd.

Attending the Canadian Heritage Breeds Urban Farm Show (November 2014)

Tags

, , , , ,

chicken show

As you may know, Brian, Chayton and I are currently planning for, and preparing to get chickens this coming spring. We set up the coop last fall and are now spending the winter reading up on heritage breeds and sourcing out local breeders.

chicken show

chicken show

Last November, we headed to Red Deer, Alberta to attend the 2014 Annual Canadian Heritage Breeds Urban Farm Show. This is an annual three-day show and we were excited to attend and do a little hands-on research on chickens. The event included a heritage livestock display, a Fancy Pigeon and Racing Homer show, a trade show area, competitions, silent auction, children’s activities, Chicken John’s petting zoo, and a banquet and awards ceremony for those participating.

What is a heritage breed? According to the CHB website:

Giving a concrete definition of the term ‘heritage’ can be a difficult task. The broadest definition of a heritage breed of livestock is: a breed that was developed and used on farms, ranches and homesteads before the advent of modern industrial agriculture. With a few exceptions, they are breeds that thrive in outdoor situations, are able to forage for some of their own food and have a long reproductive lifespan. Our heritage breeds range in age from mere decades to several centuries of history, but common among them all is a unique adaptation to both the farms they come from and the farmers who keep them.

chicken showchicken show We ended up going on Sunday afternoon when things were starting to wind down but we were still able to view most of the chickens. We are just learning about heritage chickens and are amazed at the incredible diversity of the breeds. It was even more exciting seeing the birds ‘in real life’ rather than just in books. They were all so beautiful (some were quite comical) and I can see how collecting and raising heritage breeds can be both fun and addictive!

chicken show

chicken show

I took a lot of pictures and decided not worry about trying to document the names of each breed this time around (there were so many) but rather just enjoyed their beauty in the moment knowing that there would be plenty of time later to learn each of their breeds/names.

chicken showchicken show

Sadly, the pictures are taken through the cages but I hope they are enough to give you a taste of the wide variety of heritage breeds. At the show, the chickens were grouped by their size (small, medium and large) and then further grouped according to their breed.

chicken show

chicken show

We also saw ducks, geese and pigeons.

chicken showchicken show

chicken show

There was also an area at the back with birds for sale.

We really enjoyed attending the show and look forward to attending more shows in the future. We are now in the process of making the final choices and ordering our chicks for the spring. In just a few months, a matter of weeks, really, we will be starting our coop! In the meantime, these pictures are enough to enrich our research and learning about heritage breeds of chickens. I hope you enjoyed them, too.

chicken showchicken show


kale & wild rice casserole

Tags

, , , ,

kale and wild rice casserole

I found this recipe on Tieghan’s Half Baked Harvest – Made With Love food blog a few months ago and wanted to share it with you. I had a fresh block of gruyere cheese in the refrigerator and wanted to cook something that would warm the tummy on a cold, dark winter evening. This kale and wild rice casserole was perfect and I will definitely add Tieghan’s recipe to our list of family favourites.

Kale and Wild Rice Casserole

Ingredients

  • 2 large bunches of Kale, leaves torn
  • 1 pound cremini mushrooms, sliced
  • 2 tablespoons olive oil
  • 1 tablespoon butter
  • 2 cloves garlic, minced or grated
  • 2 tablespoons fresh thyme, chopped
  • 1/4 teaspoon nutmeg
  • 1/4 teaspoon salt
  • 1/2 teaspoon pepper
  • 4 tablespoons flour
  • 1 cup milk (I used 2%)
  • 1 cup chicken broth (or veggie broth)
  • 1/4 cup heavy cream or canned coconut milk
  • 4 cups cooked wild rice
  • 1 1/2 cup gruyere cheese, shredded
  • 2 tablespoons olive oil
  • 2 large sweet onions, sliced into thin rings
  • salt and pepper

kale and wild rice casserole

Instructions

Grease a 2-3 quart casserole dish. Set aside.

Heat a very large skillet (the largest you have!) over medium-high heat. Add all of the torn kale to the skillet and add 1 cup of water. Cover the skillet and cook for 10-15 minutes, stirring occasionally until the kale is wilted. Once the kale is wilted and all of the water has been absorbed, remove the kale from the skillet and set aside.

Return the skillet to medium heat and add 2 tablespoons olive oil. When the skillet is hot, sprinkle in the mushrooms in a single layer. Don’t stir them! Let them sizzle until they have caramelized on the bottom, about 2 minutes. When the bottoms are caramelized, toss them once and season with salt and pepper, to taste. Continue to cook without stirring for about 5 minutes. Now add the butter to the skillet and cook until the butter begins to brown. Once the butter is browned reduce the heat and add the garlic, thyme and nutmeg and cook for about 10 seconds. Now add the kale back to the skillet with the mushrooms, garlic and spices and toss well.

Sprinkle the flour over the kale and mushrooms and cook for 1 minute. Add the milk and chicken broth, bring to a boil and cook 2-3 minutes or until there is a thick sauce. Add the cream and stir to combine. Remove from the heat and stir in the cooked wild rice. Pour the mixture into the prepared casserole dish.

Preheat the oven to 375 degrees F.

Now wipe the skillet and add the olive oil, cook over medium-high heat. Add the onions and 1/4 teaspoon each salt and pepper. Cook, stirring constantly, until the onions begin to soften, about 5 minutes.Continue to cook until the onions are golden brown, about 20 minutes.

Sprinkle half the cheese over the casserole and then add the onions and the remaining cheese. Bake the casserole for 20-25 minutes or until the cheese is melted and the onions are crispy. Serve!

  • Cook time: 40 minutes
  • Total time: 50 minutes

Resource:

Half Baked Harvest – Made With Love food blog

kale and wild rice casserole

here comes the chicken coop (a work in progress)

Tags

, , , , ,

IMG_6797

August and September were busy months here at cabinorganic. It started with a phone call from Grandpa Danser. He was bringing the backhoe and ‘chicken coop’ over from Clive (about an hour away) that weekend. I was so excited! I had spent the last few years fantasizing about having our own chickens and was waiting for the right moment to start setting up the coop. This was definitely it. Yes, it was finally time to get moving!

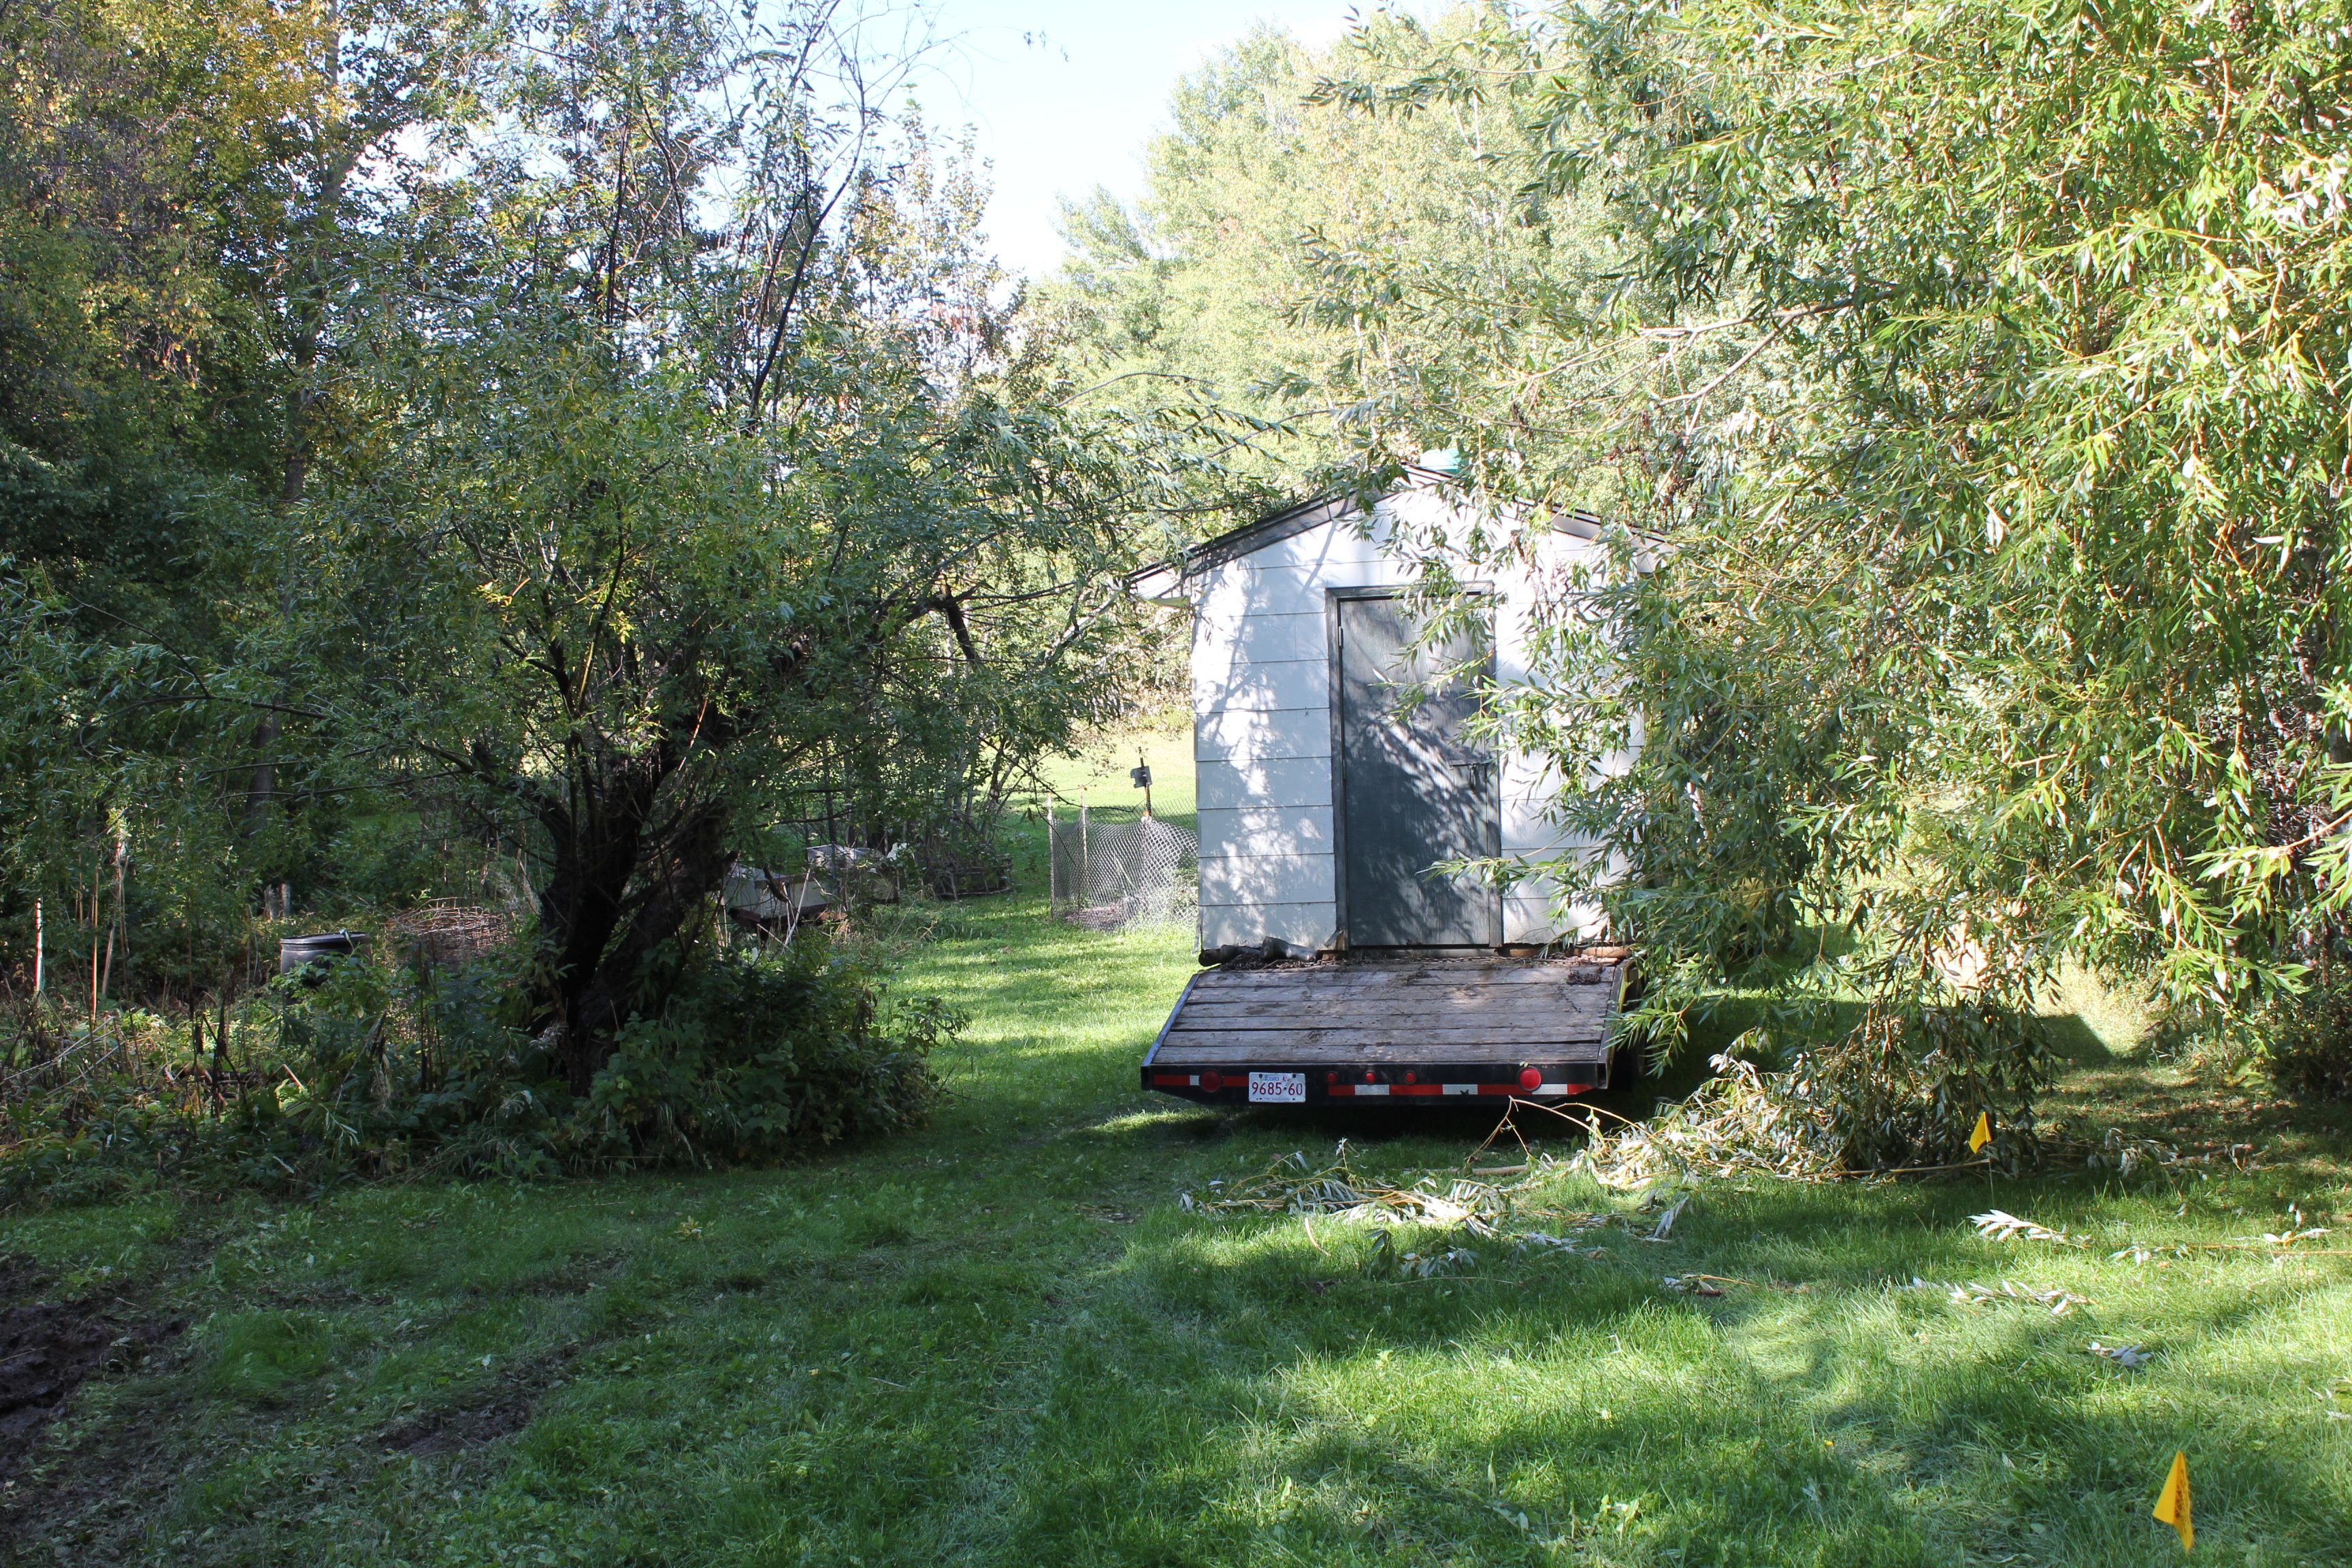
The process actually started a few years ago when Grandpa Danser offered to pass along this sturdy shed to us to use as a chicken coop. We were happy to put it to good use but a few things kept us from getting started right away. The first was that I was pregnant and super busy working and commuting to the city everyday. Then, once Chayton was born, there was just no spare time to start new projects.

Until now. Suddenly, the time was right.

backhoe

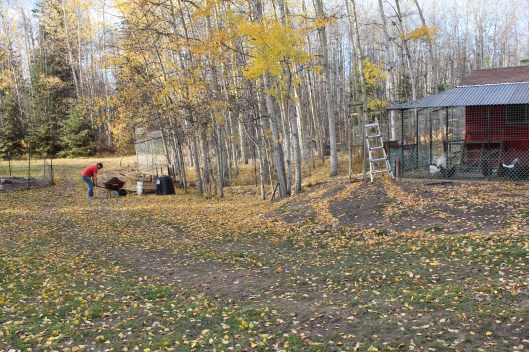
Grandma and Grandpa Danser arrived with the backhoe and trailer early one Autumn day after a long, slow ride to Pigeon Lake. Riding behind on the trailer was the shed. It needed a little work but I could already envision happy chickens moving in and making themselves right at home.

shed

Grandpa parked the trailer in the yard and got straight to work with his backhoe, clearing a patch of land next to the greenhouse for the coop and leveling it.

land

We took down quite a few trees but many were already dead or dying so it was nice to clear them out. Both Grandpa and Brian spent a few weekends cutting up the trees with the chainsaw and burning the smaller branches on a giant burn pile. We now have a gigantic wood pile for winter fires.

working in the bush

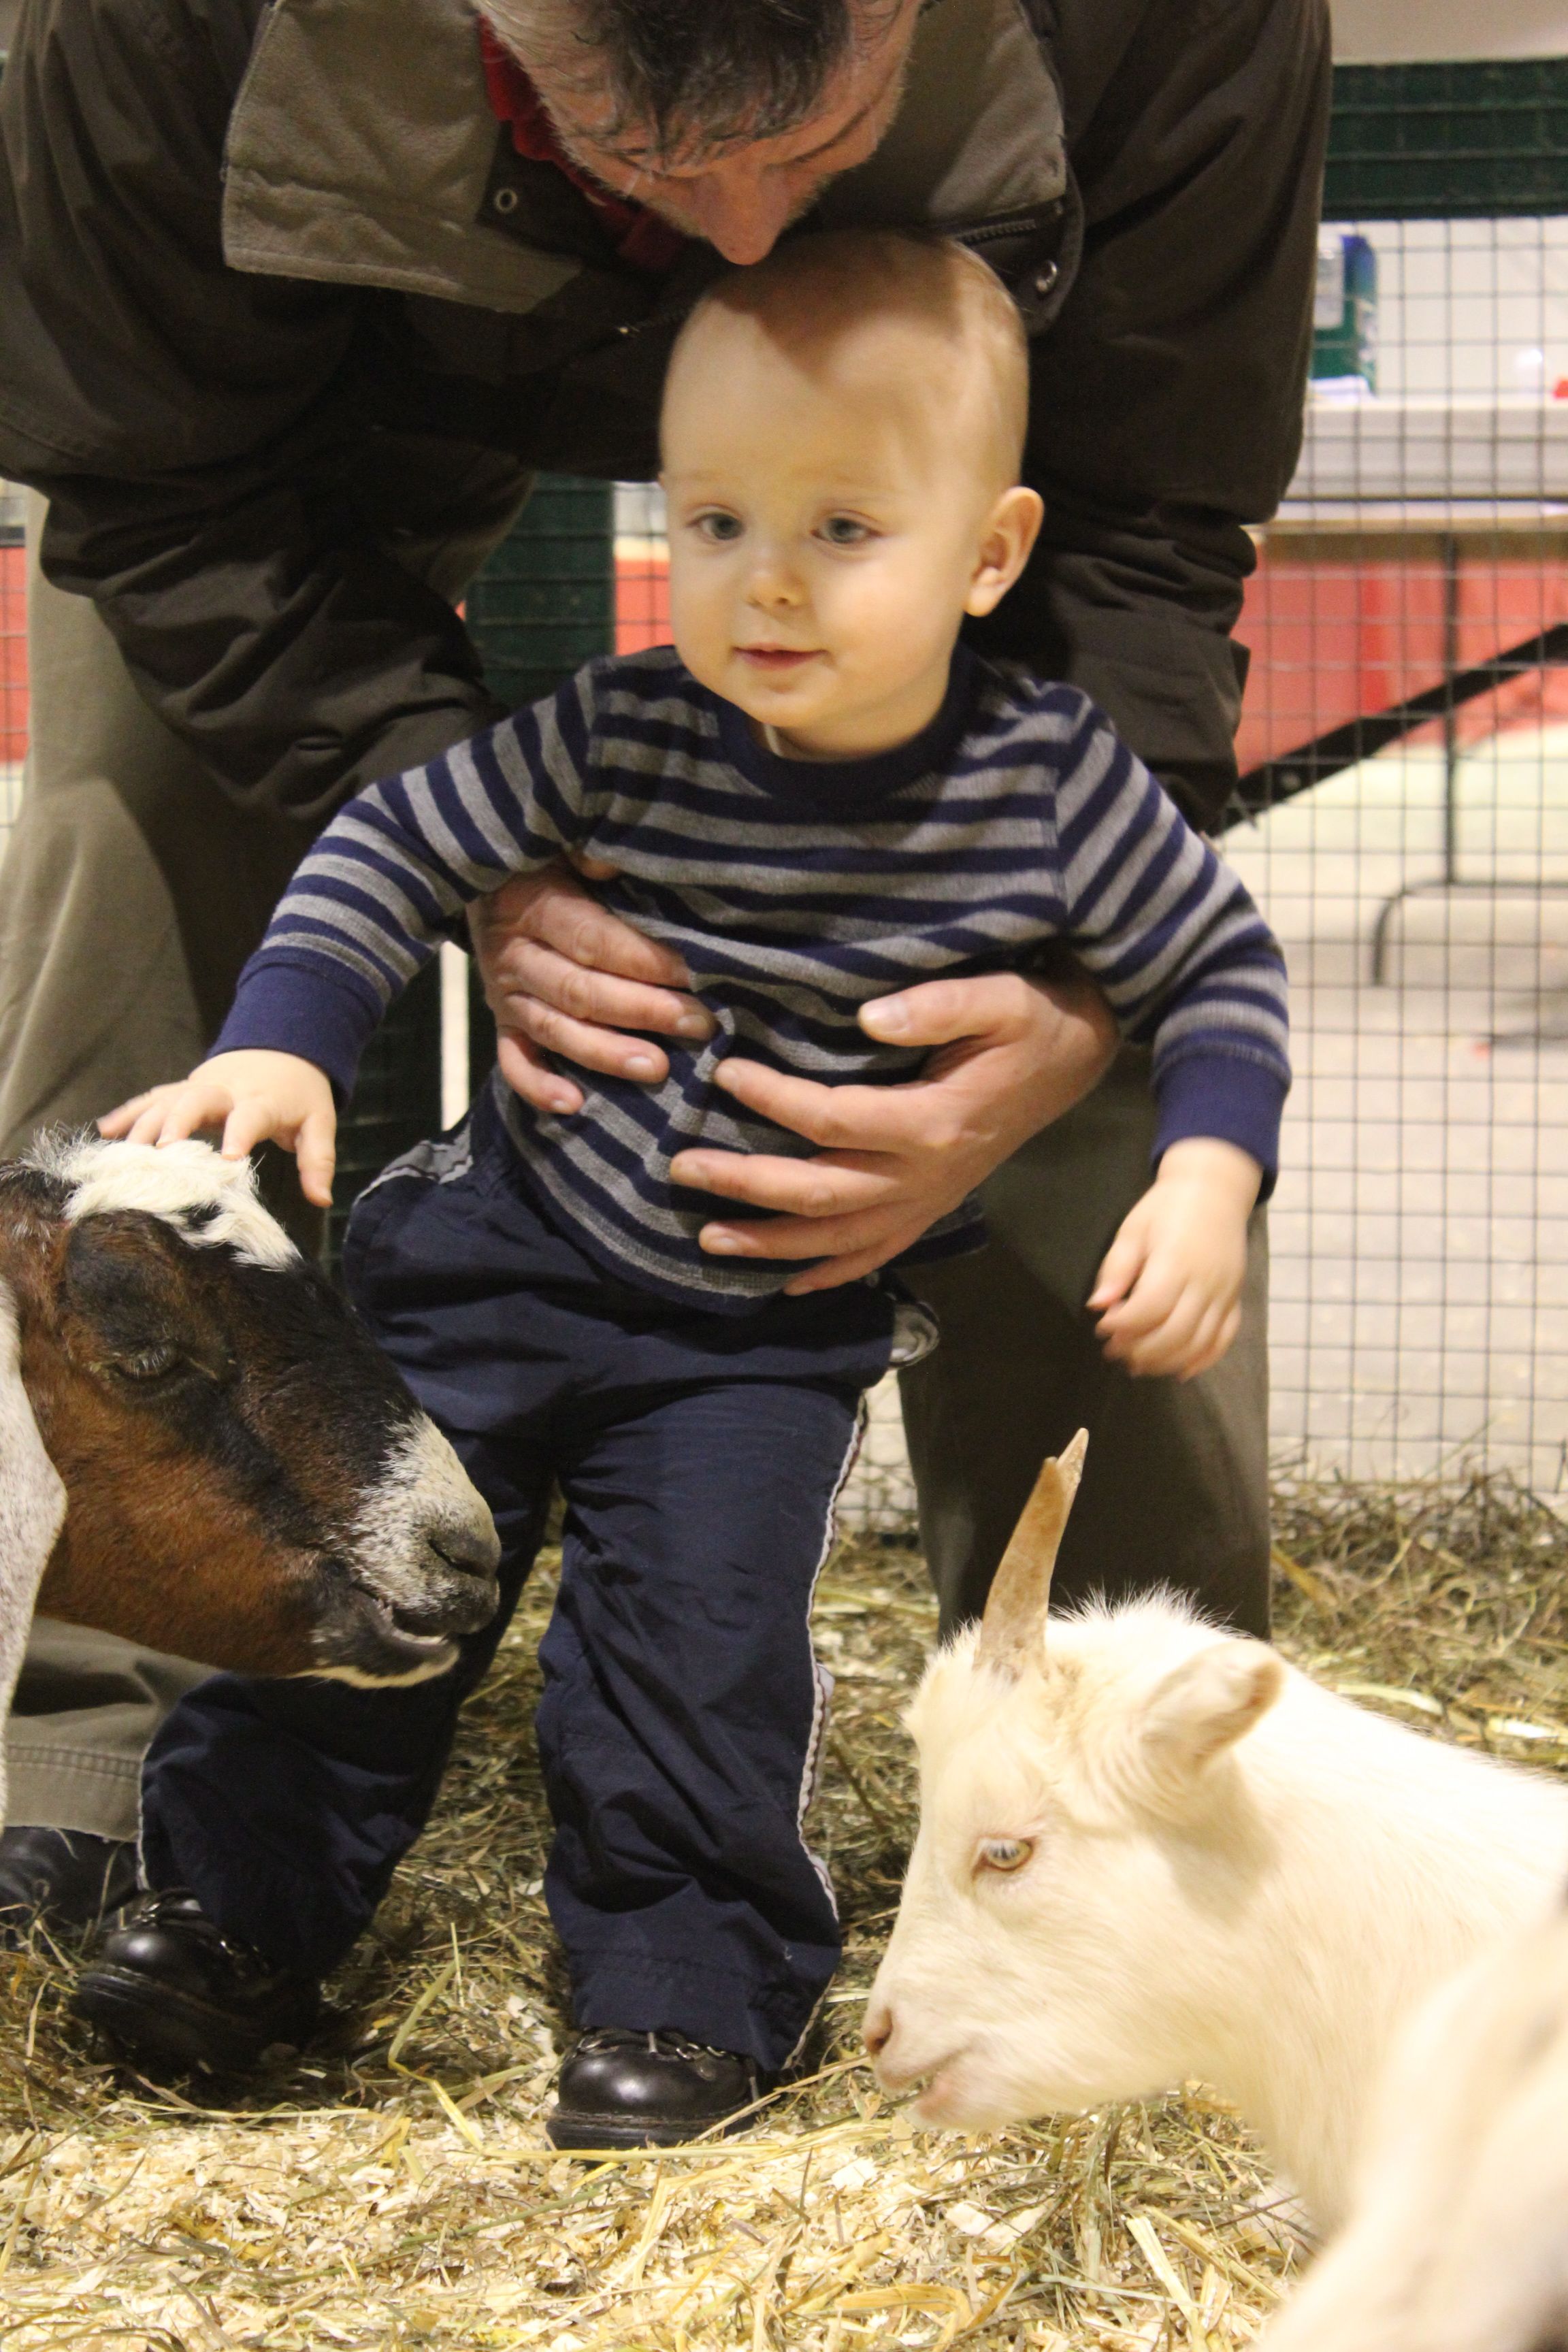
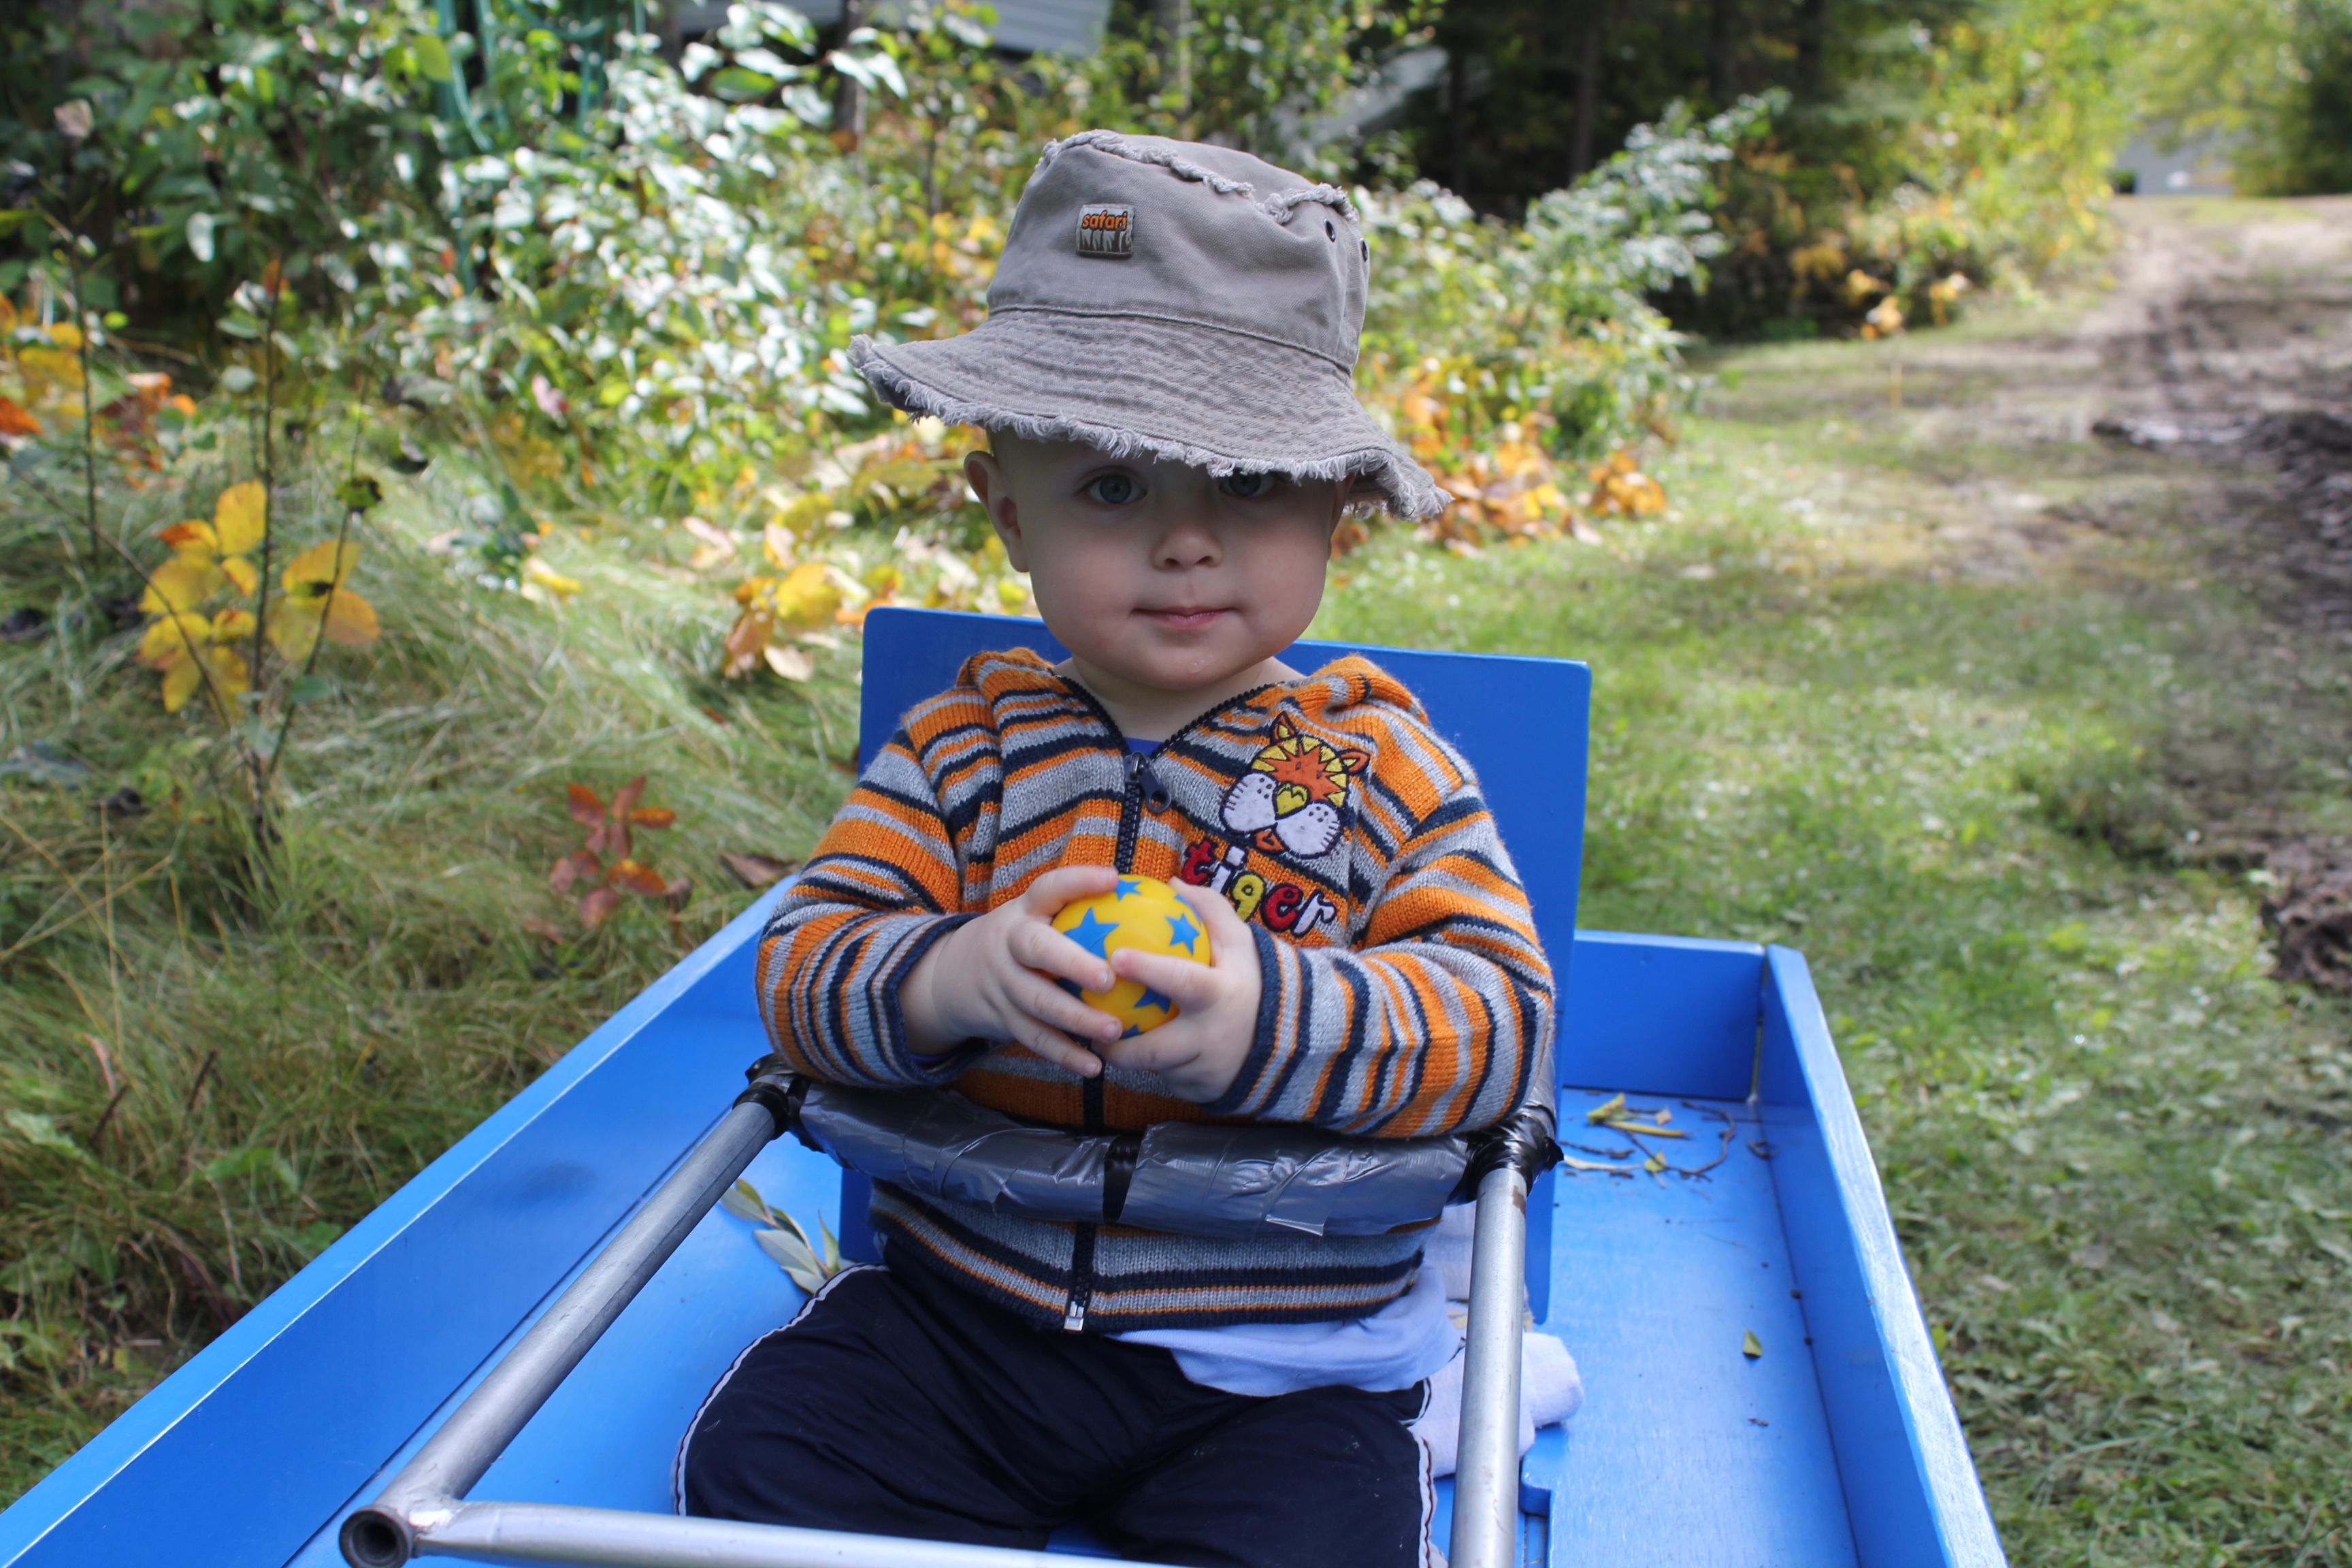
I brought Chayton out everyday in his blue wagon to watch the action. He loved climbing on the piles of branches and crawling through the mud. He loved visiting with Grandma while watching Grandpa and dad work.

Chayton
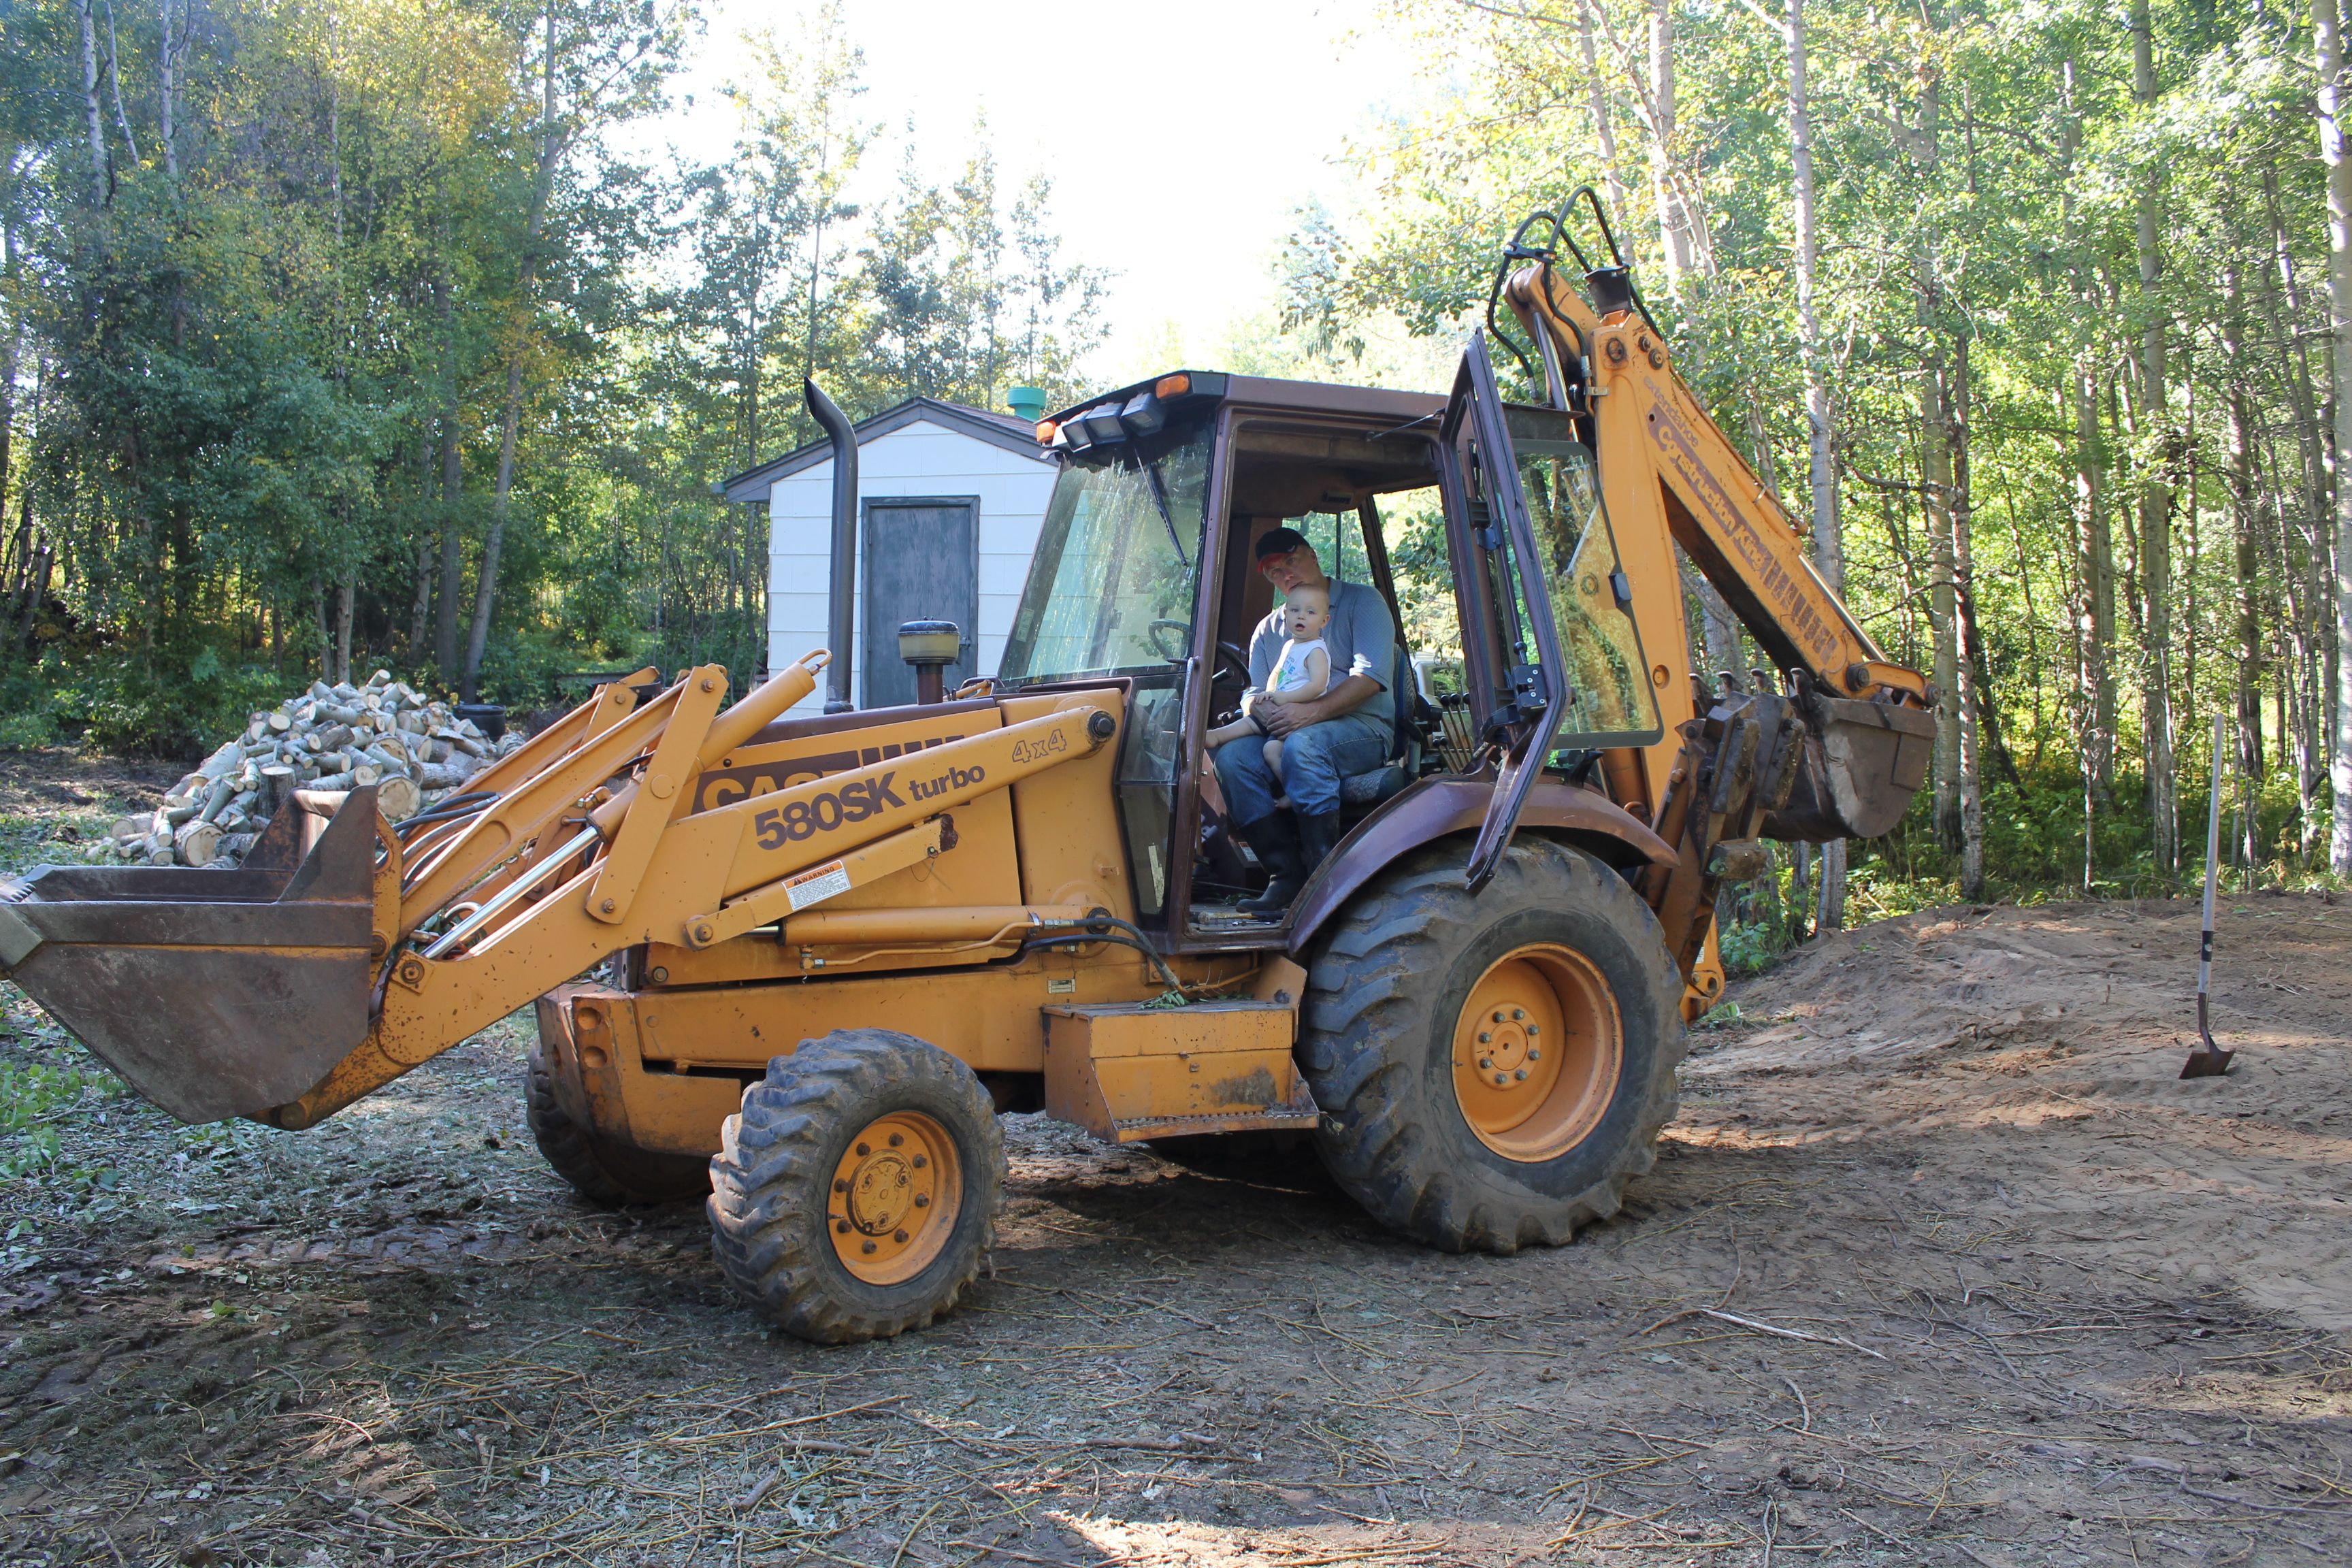
He also especially LOVED sitting in Grandpa’s backhoe.

Chayton and dad in backhoe

site for coop

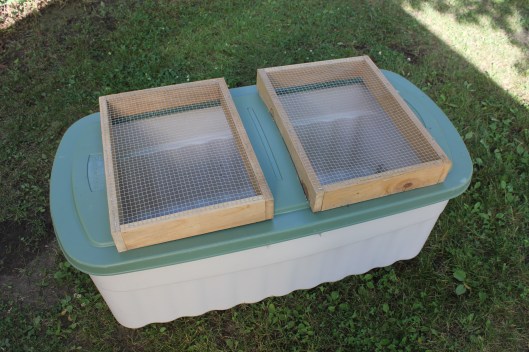
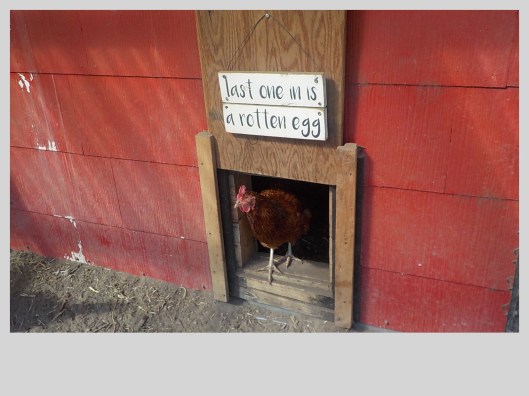
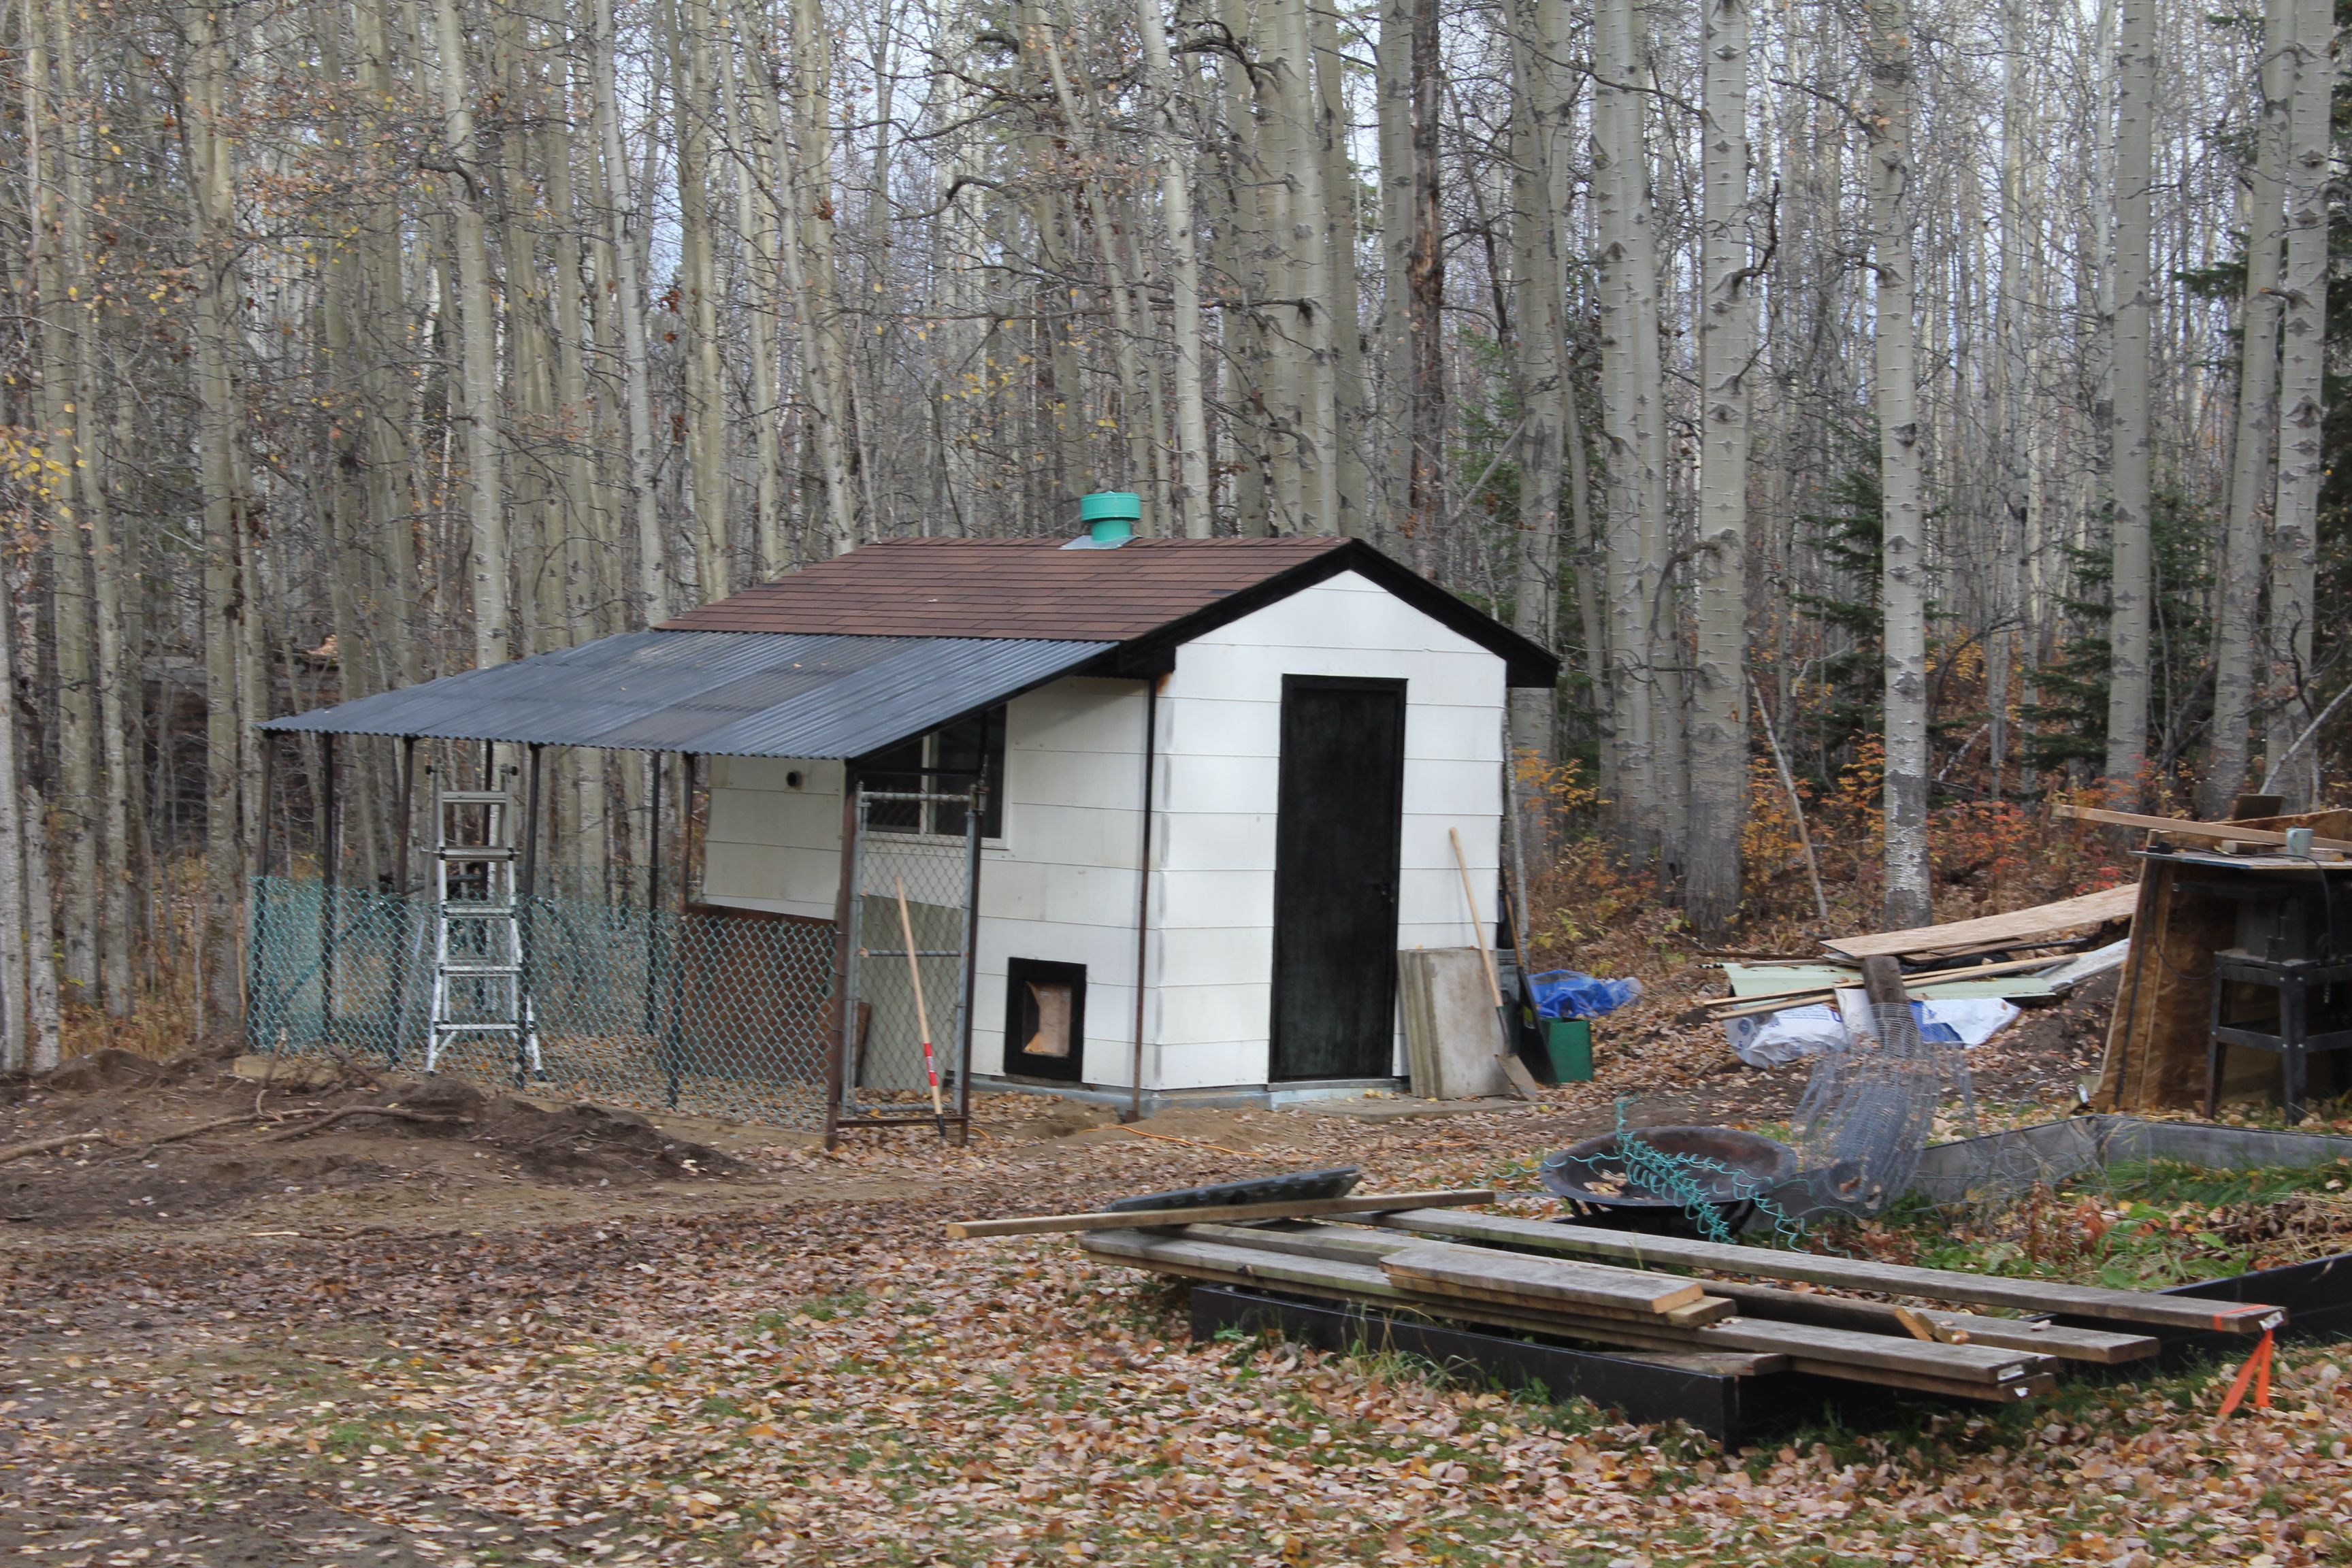
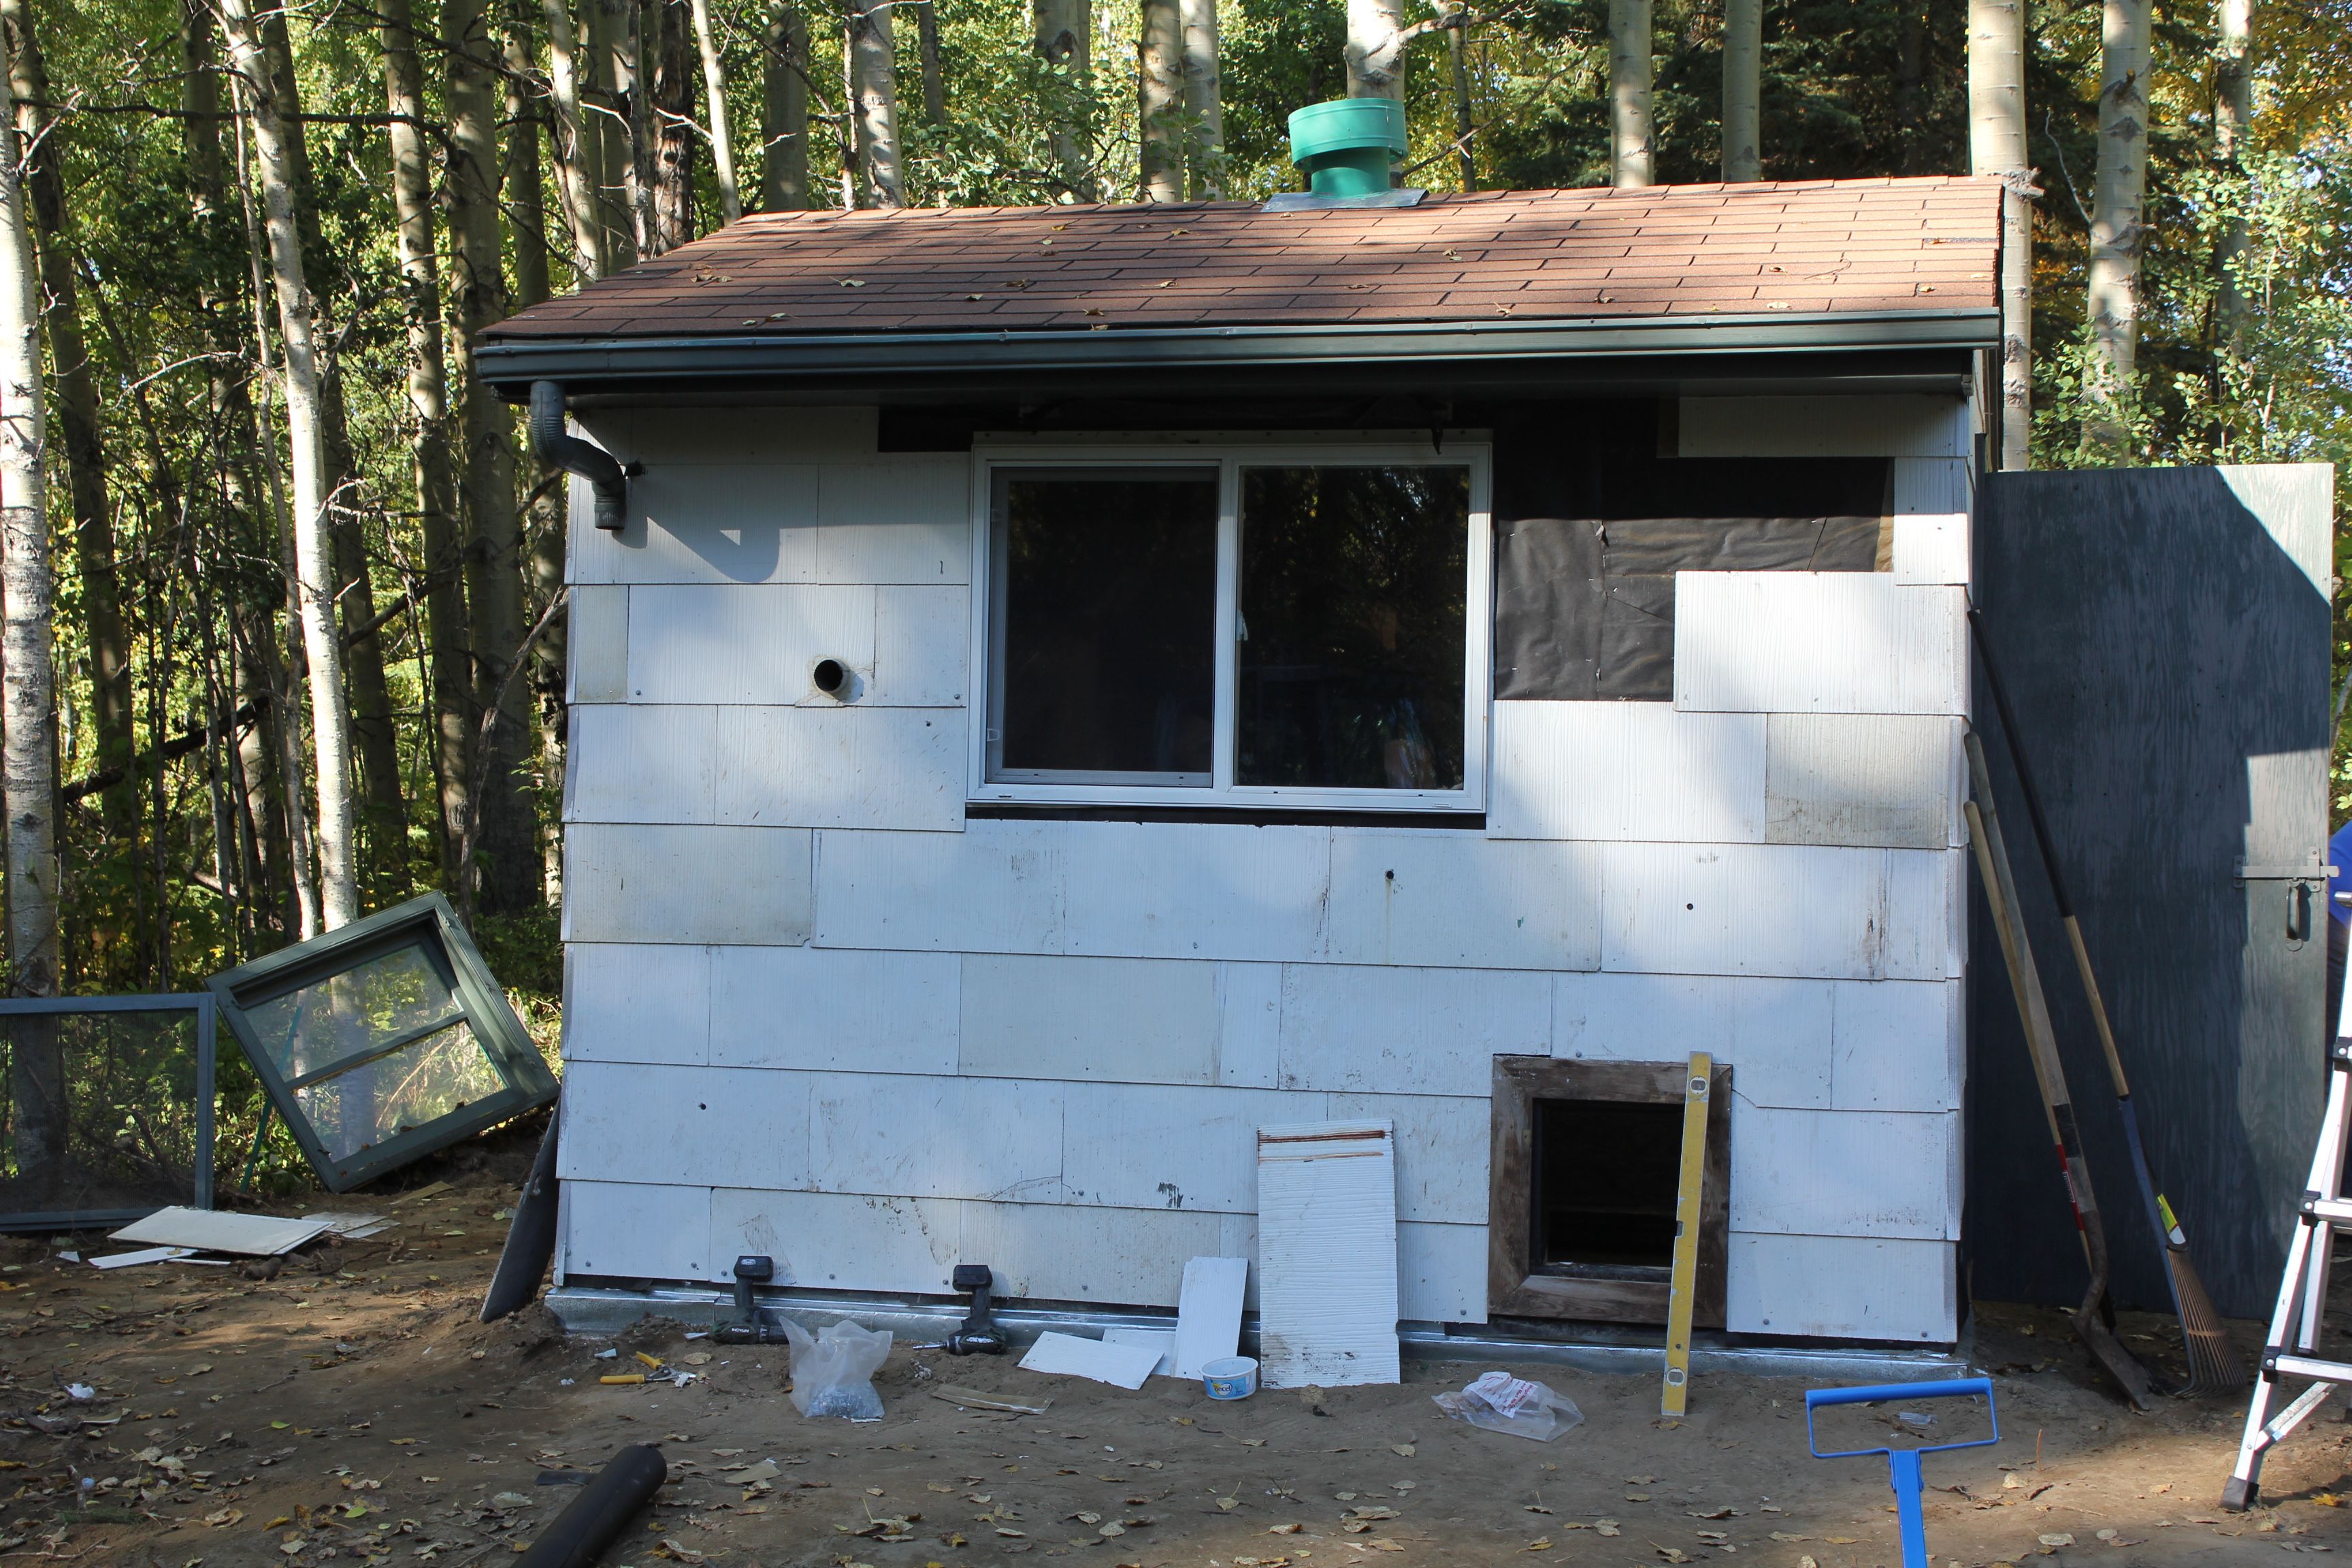
Once the site was ready, Grandpa unloaded the shed. Then he and grandma spent a weekend carefully removing all of the slate shingles, re-papering the exterior walls, and then putting them back on again. This was a delicate and tedious job as the slates were very fragile and kept breaking. There were some shingles missing so whatever was left was used for the front and sides of the shed while the back was covered with tin. Grandpa also installed a ‘new’ (used) window- (a larger one that can open), put tin flashing around the bottom of the shed to keep predators out, and cut a pop hole for the chickens.

chicken coop

shedOnce the slate shingles were in place, Grandma carefully washed them in preparation for painting.

shed
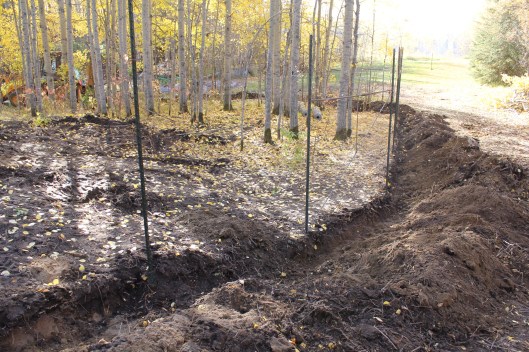
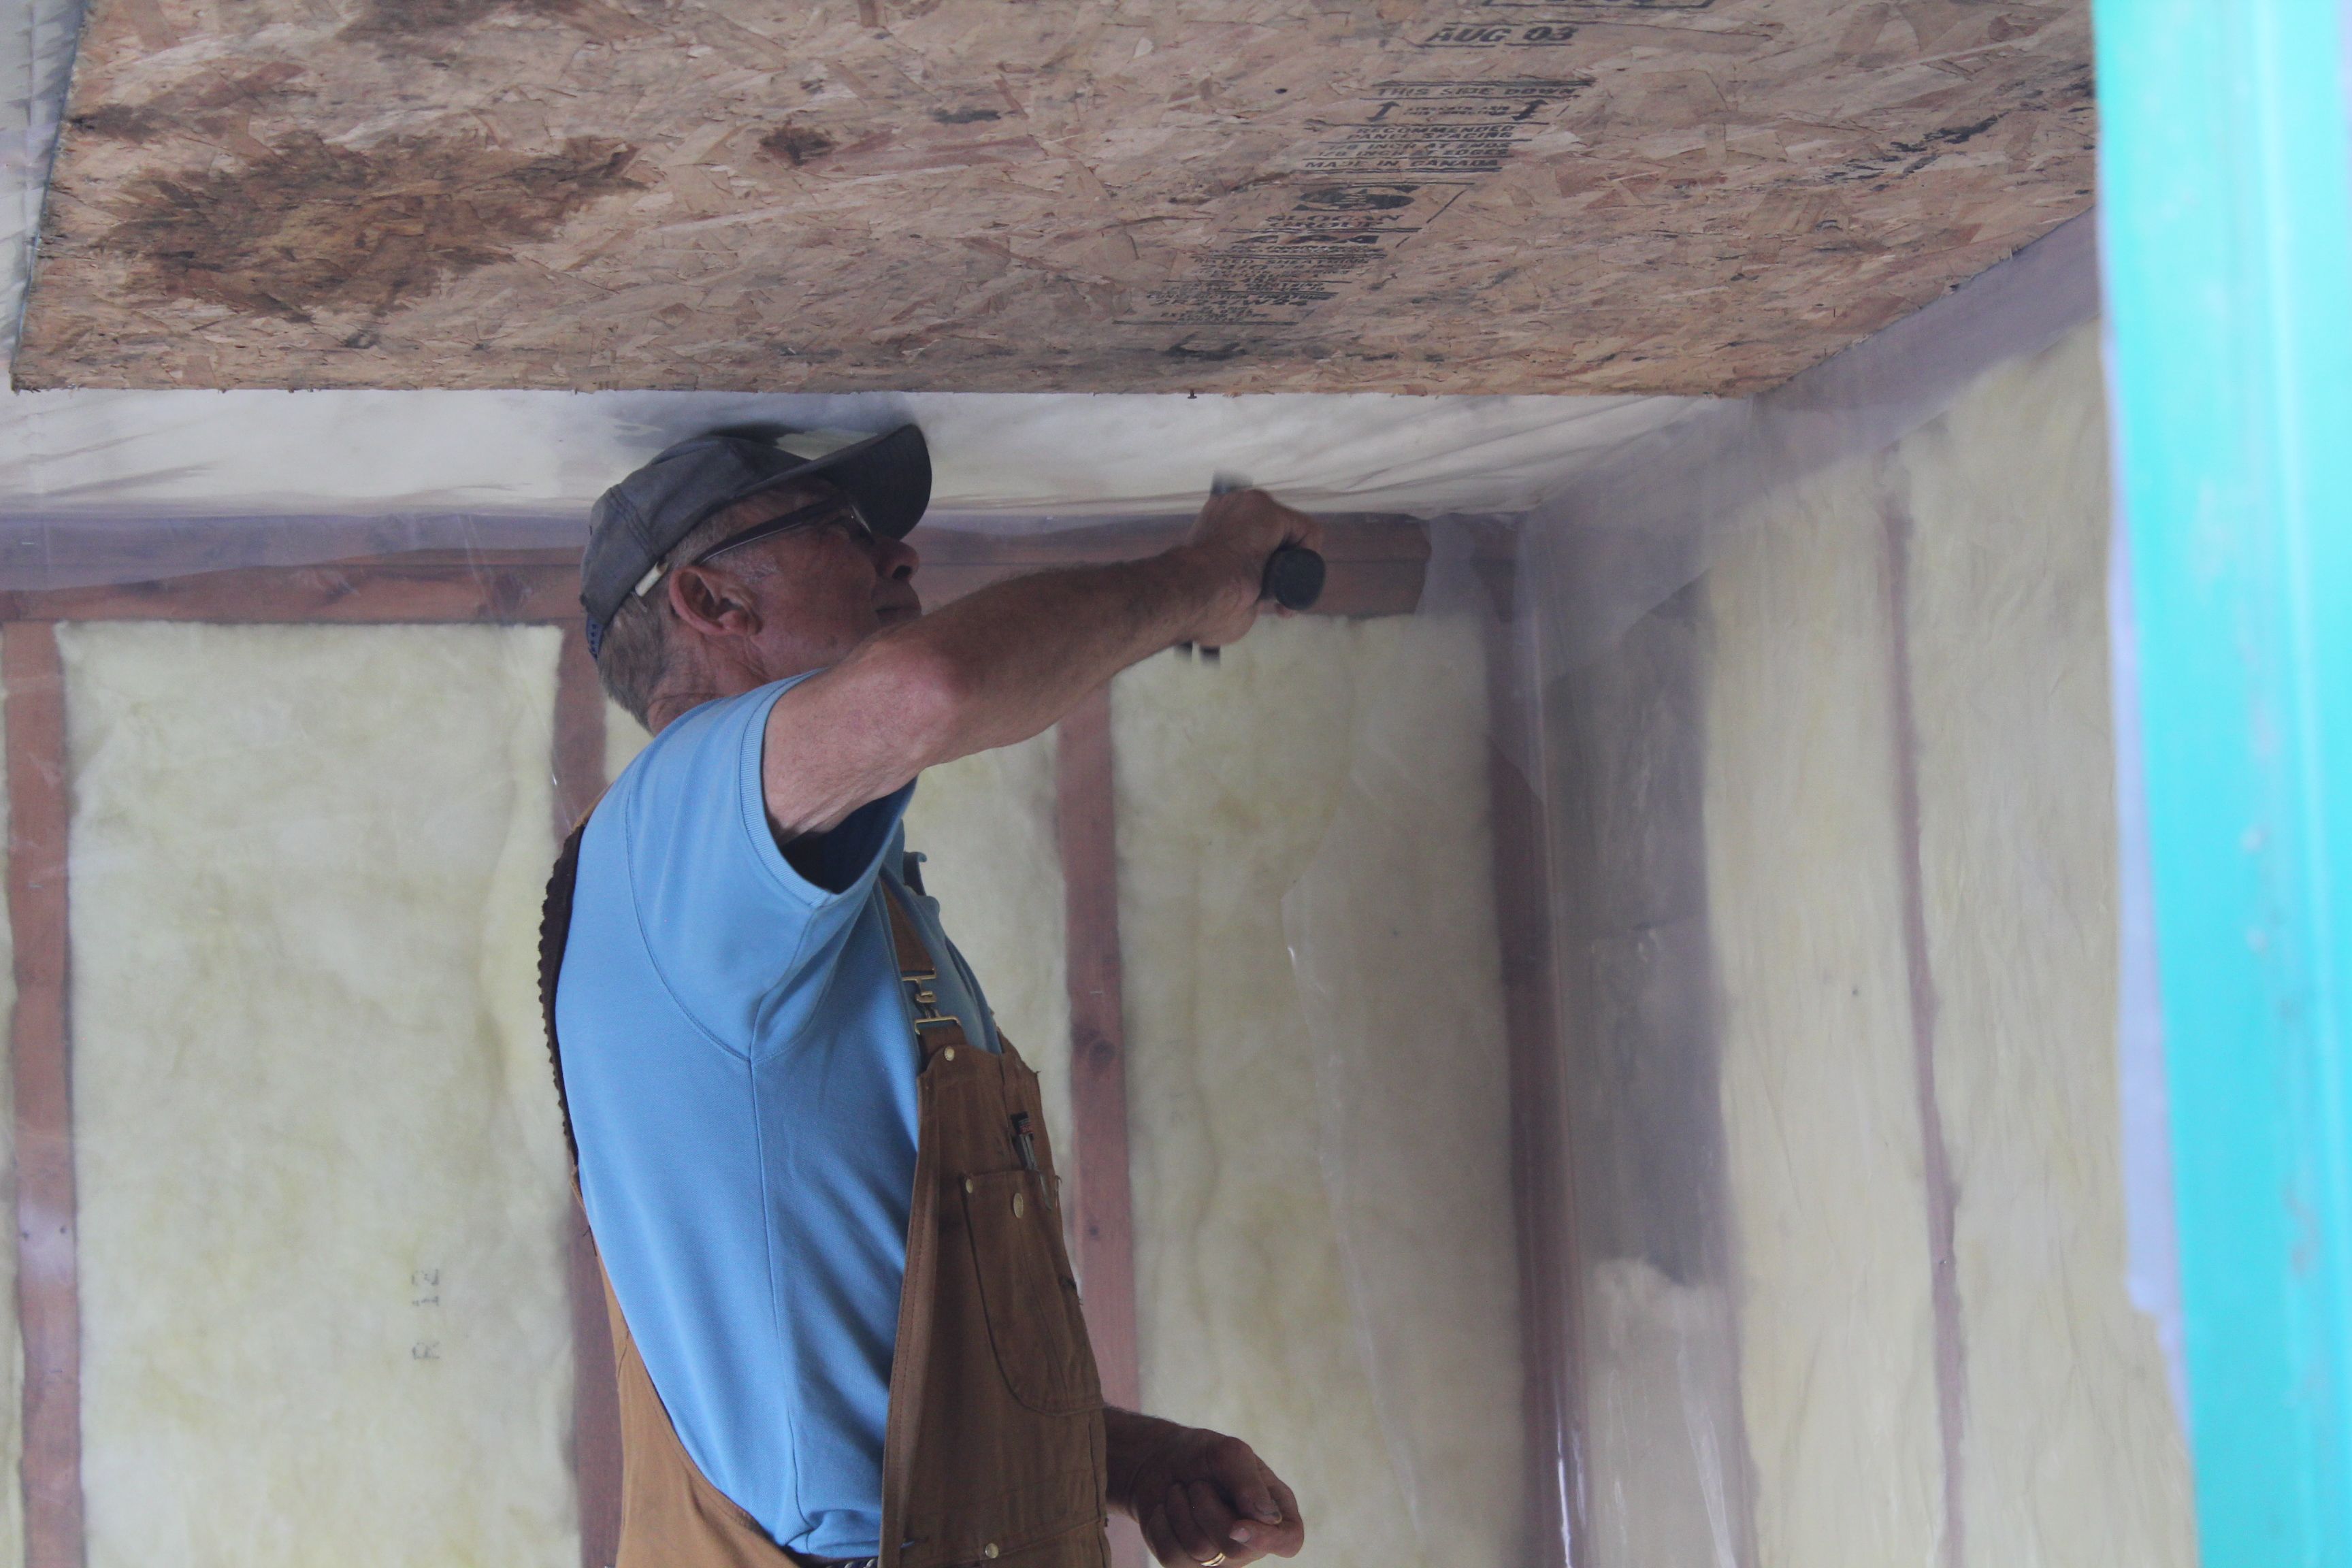
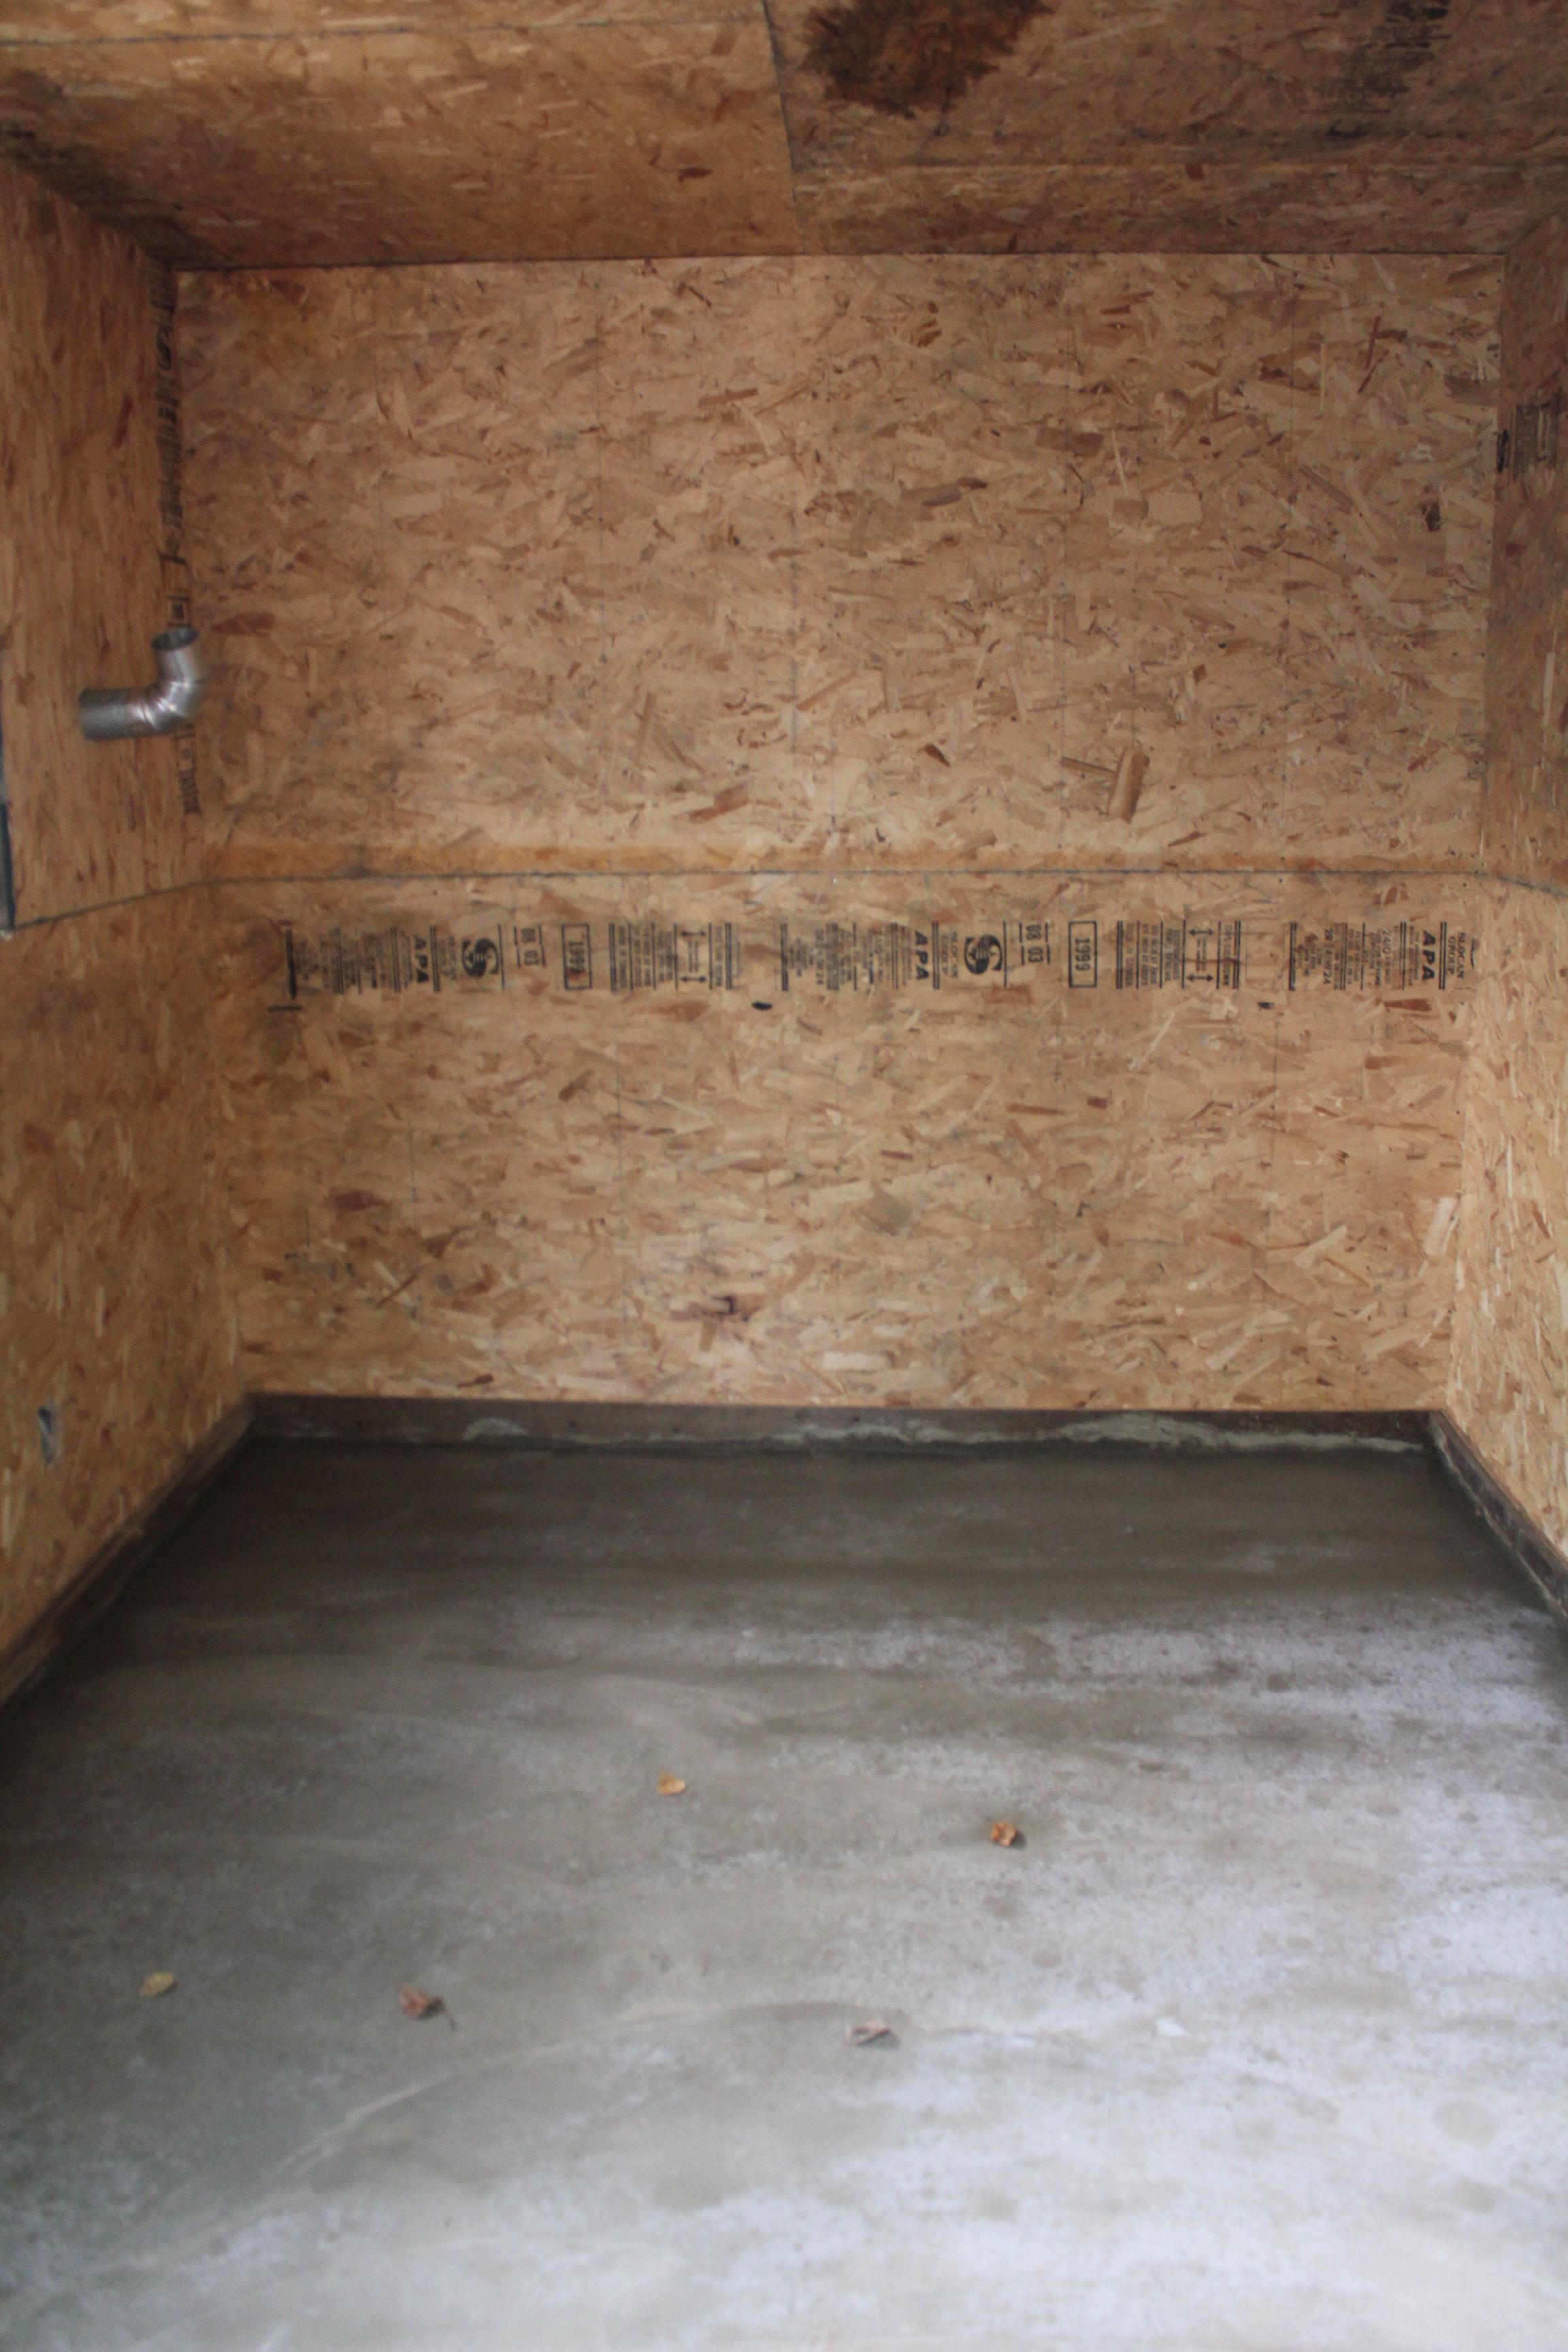
Next, Grandpa put in some posts for the chicken yard and later he and Brian began fastening some chain link fencing to it. The men also worked on the interior of the shed. Grandpa insulated the floor with styrofoam, laid plank flooring over that, and then put a layer of concrete over that for easy cleaning. The walls and ceiling were insulated and extra ventilation was built in.

shed interior

interior of shed
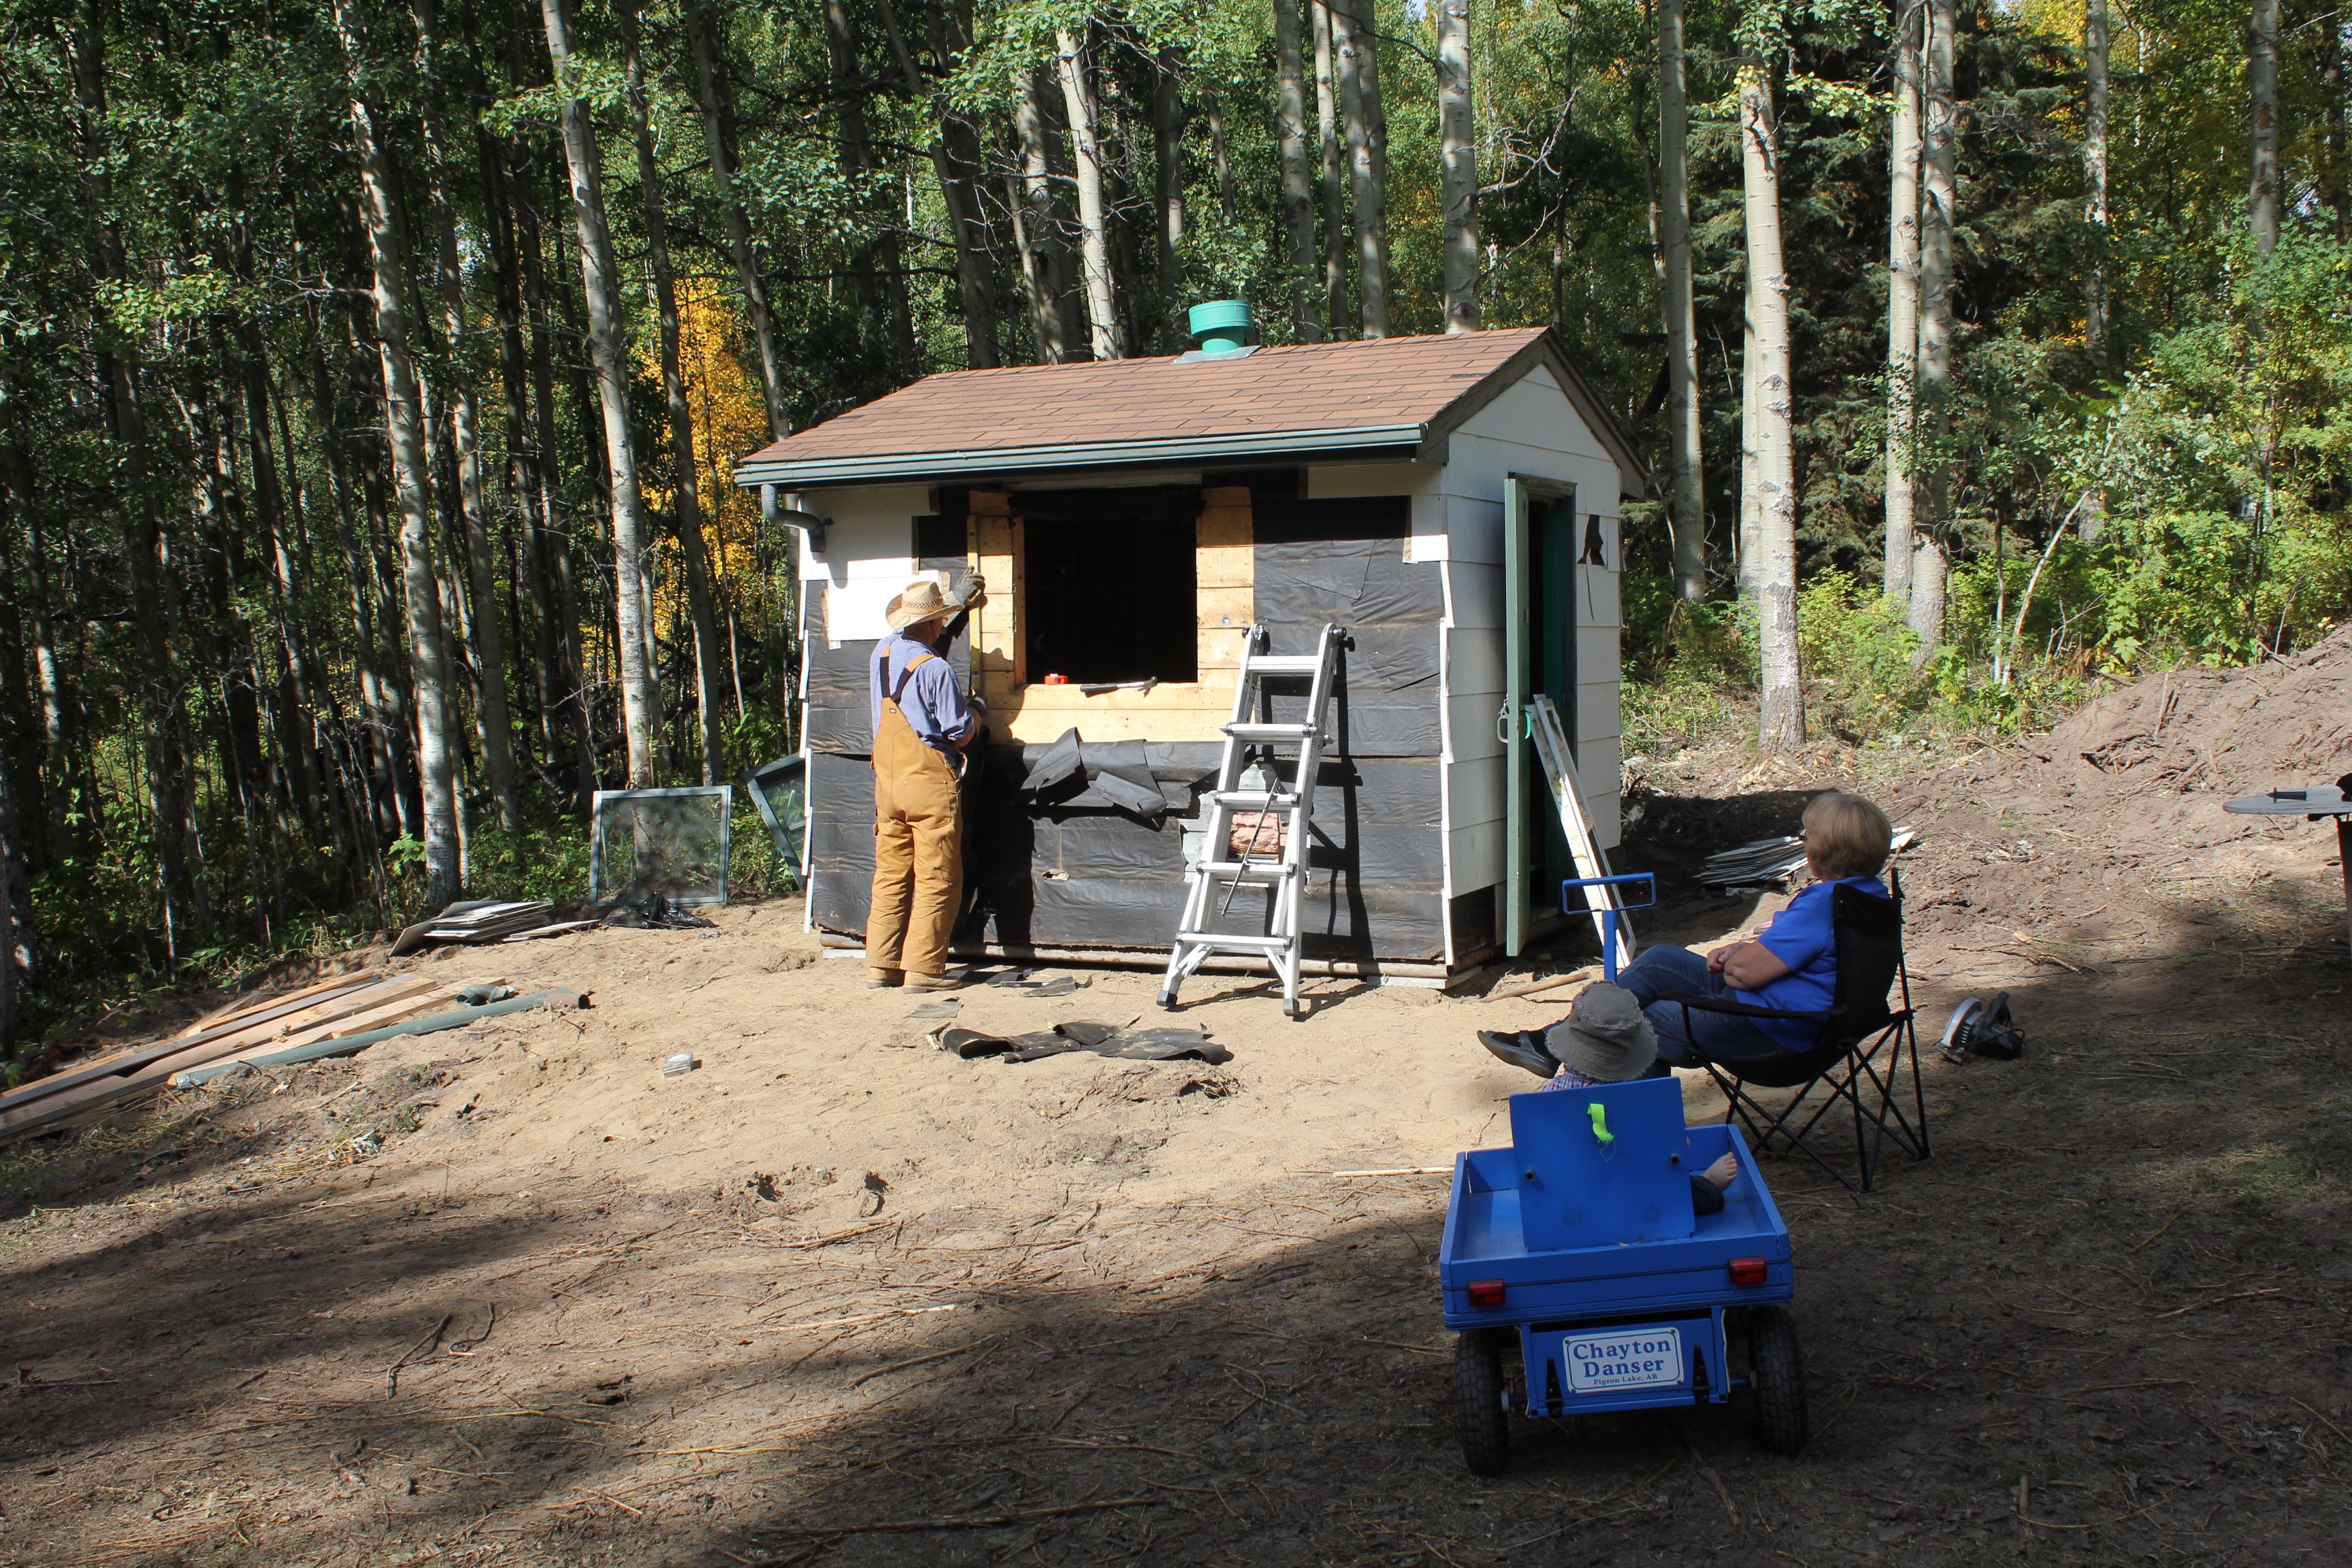
Here’s Grandpa Danser hard at work and truly in his element. I love spending time with this creative and hard-working man.

grandpa

shed interior

[There’s a side story here concerning the concrete floor: When I went out to check up on Grandpa, he proudly opened the door to show me a perfectly freshly-laid concrete floor. Lucy had followed me out as we were on our way for a walk. She was so excited that she ran into the shed! She immediately knew that something was wrong and turned and ran out of the shed but not without leaving a circle of dog prints in the concrete. I cried out in horror but Grandpa Danser just laughed heartily and simply went to work, smoothing out the floor again. Later, we scratched in Chayton’s name and the date on the threshold.]

Meanwhile, Brian began painting the trim, door, posts and gate a glossy black.

chicken coop
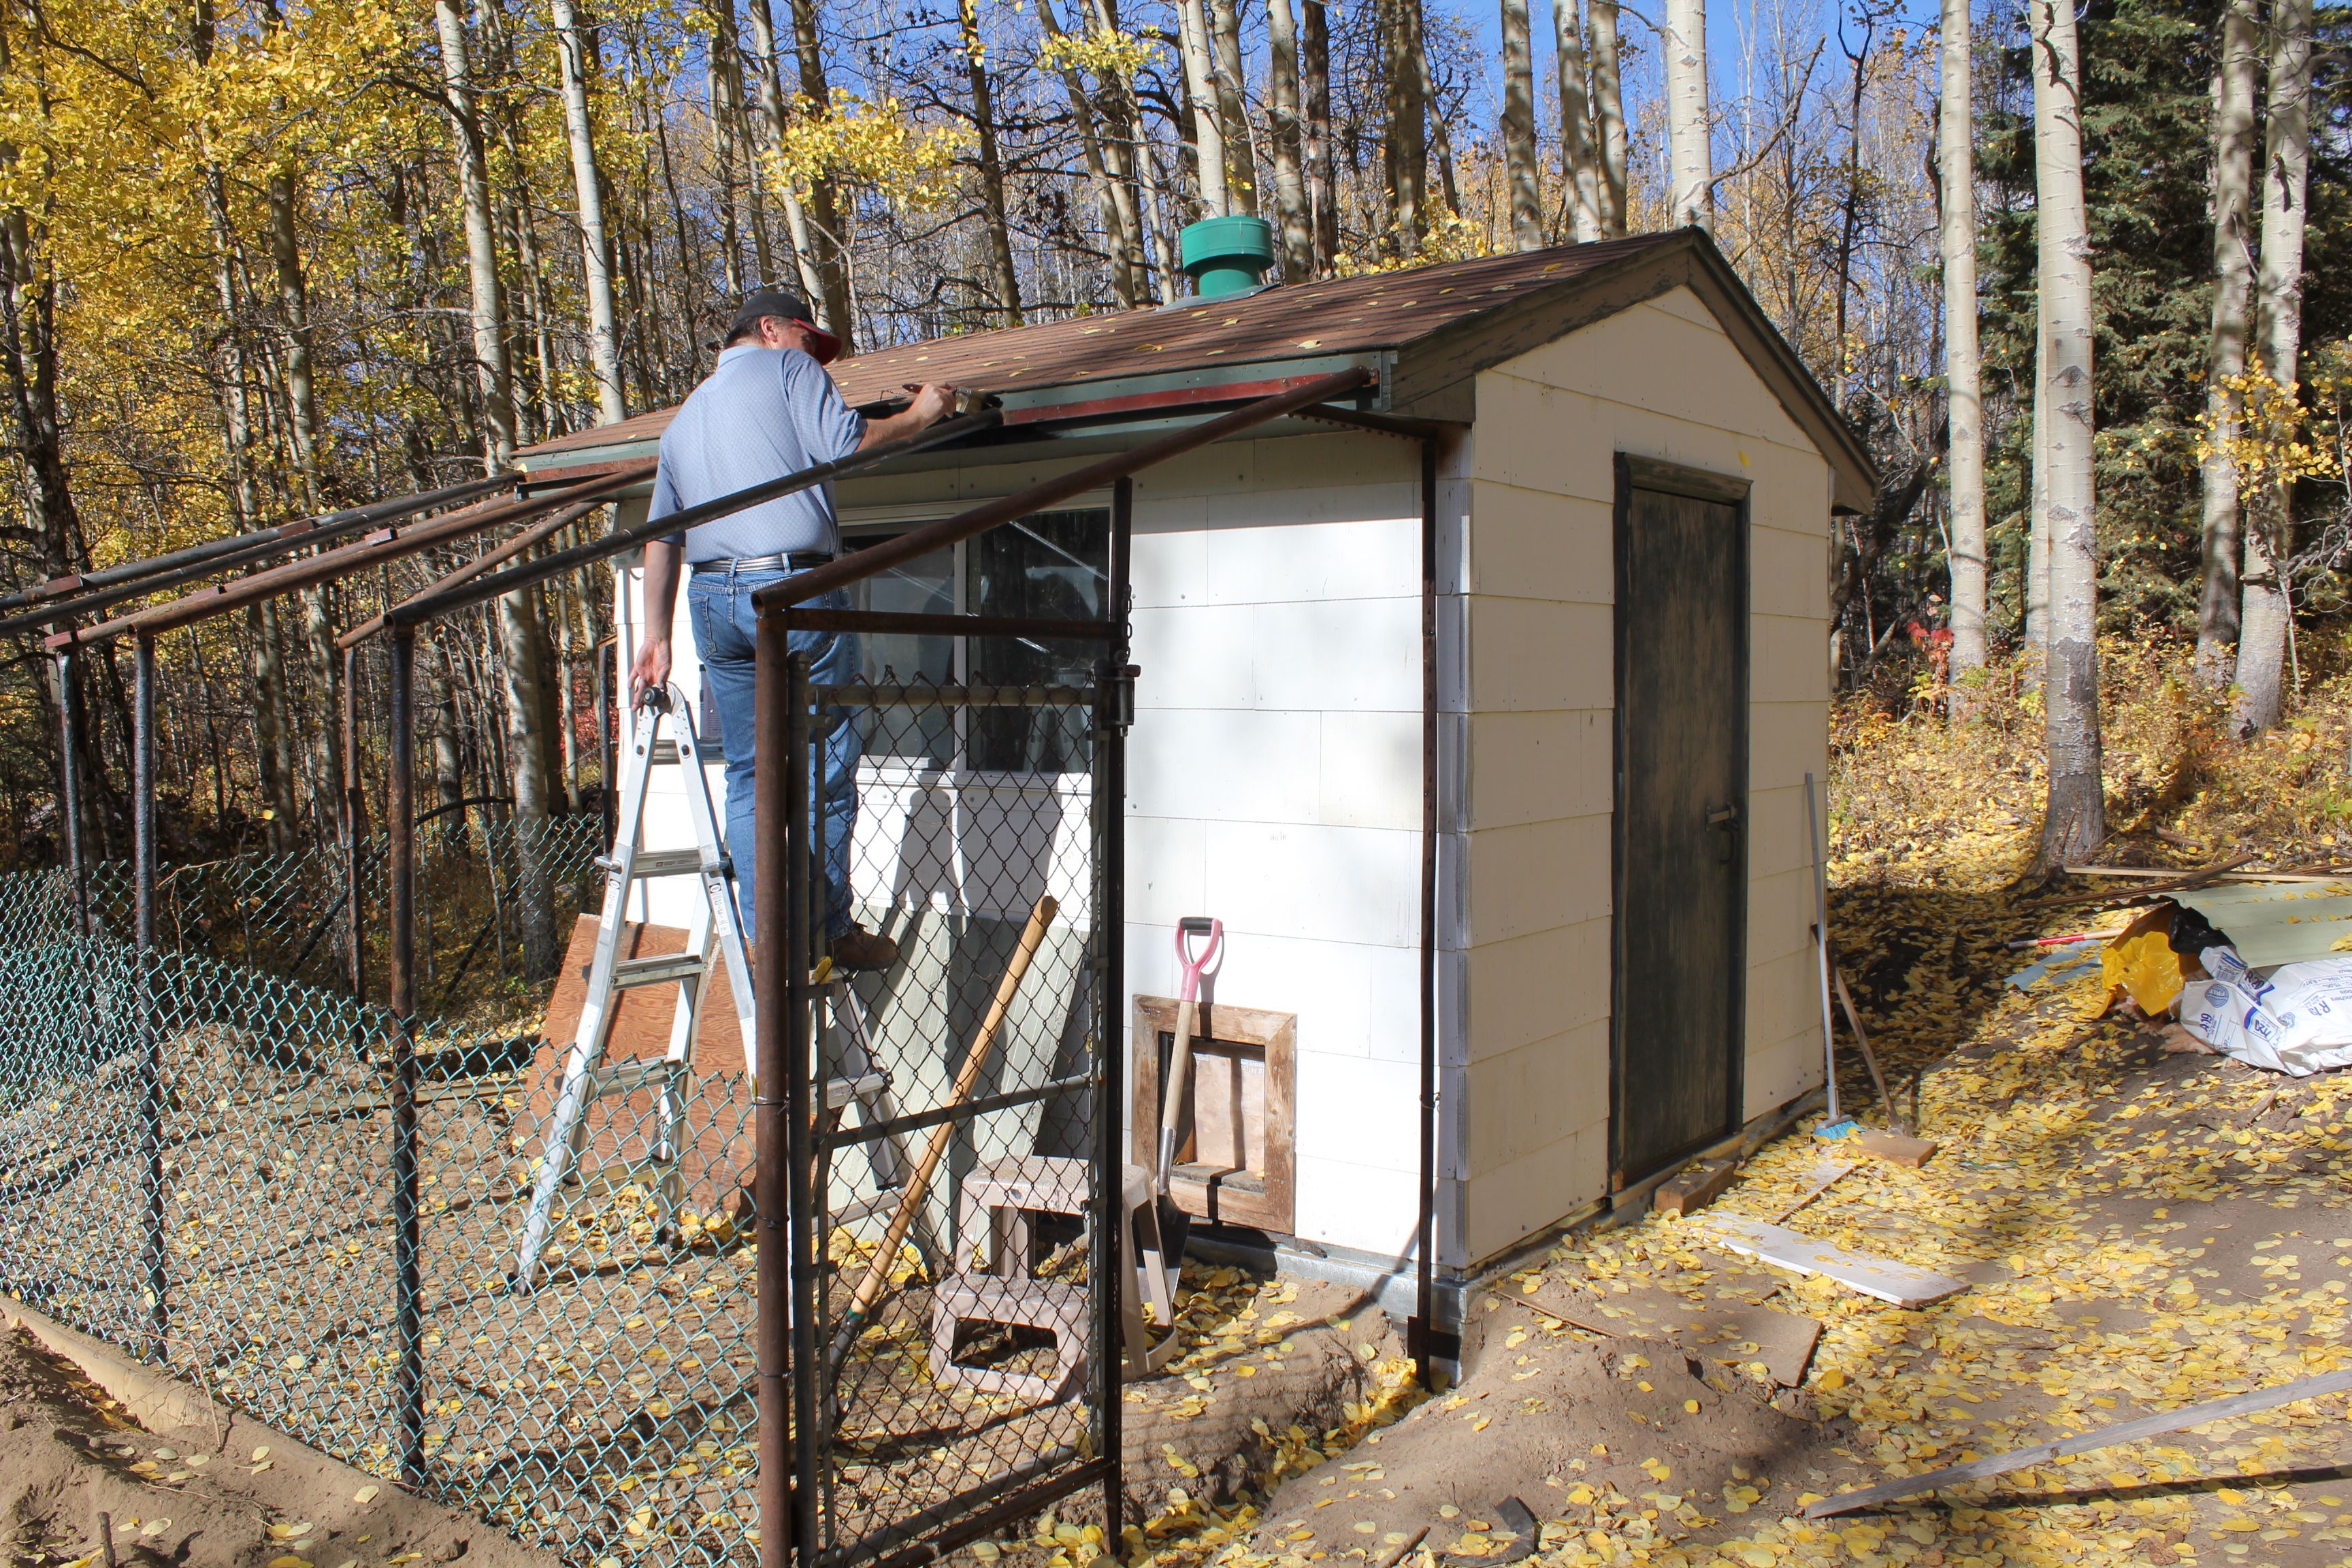
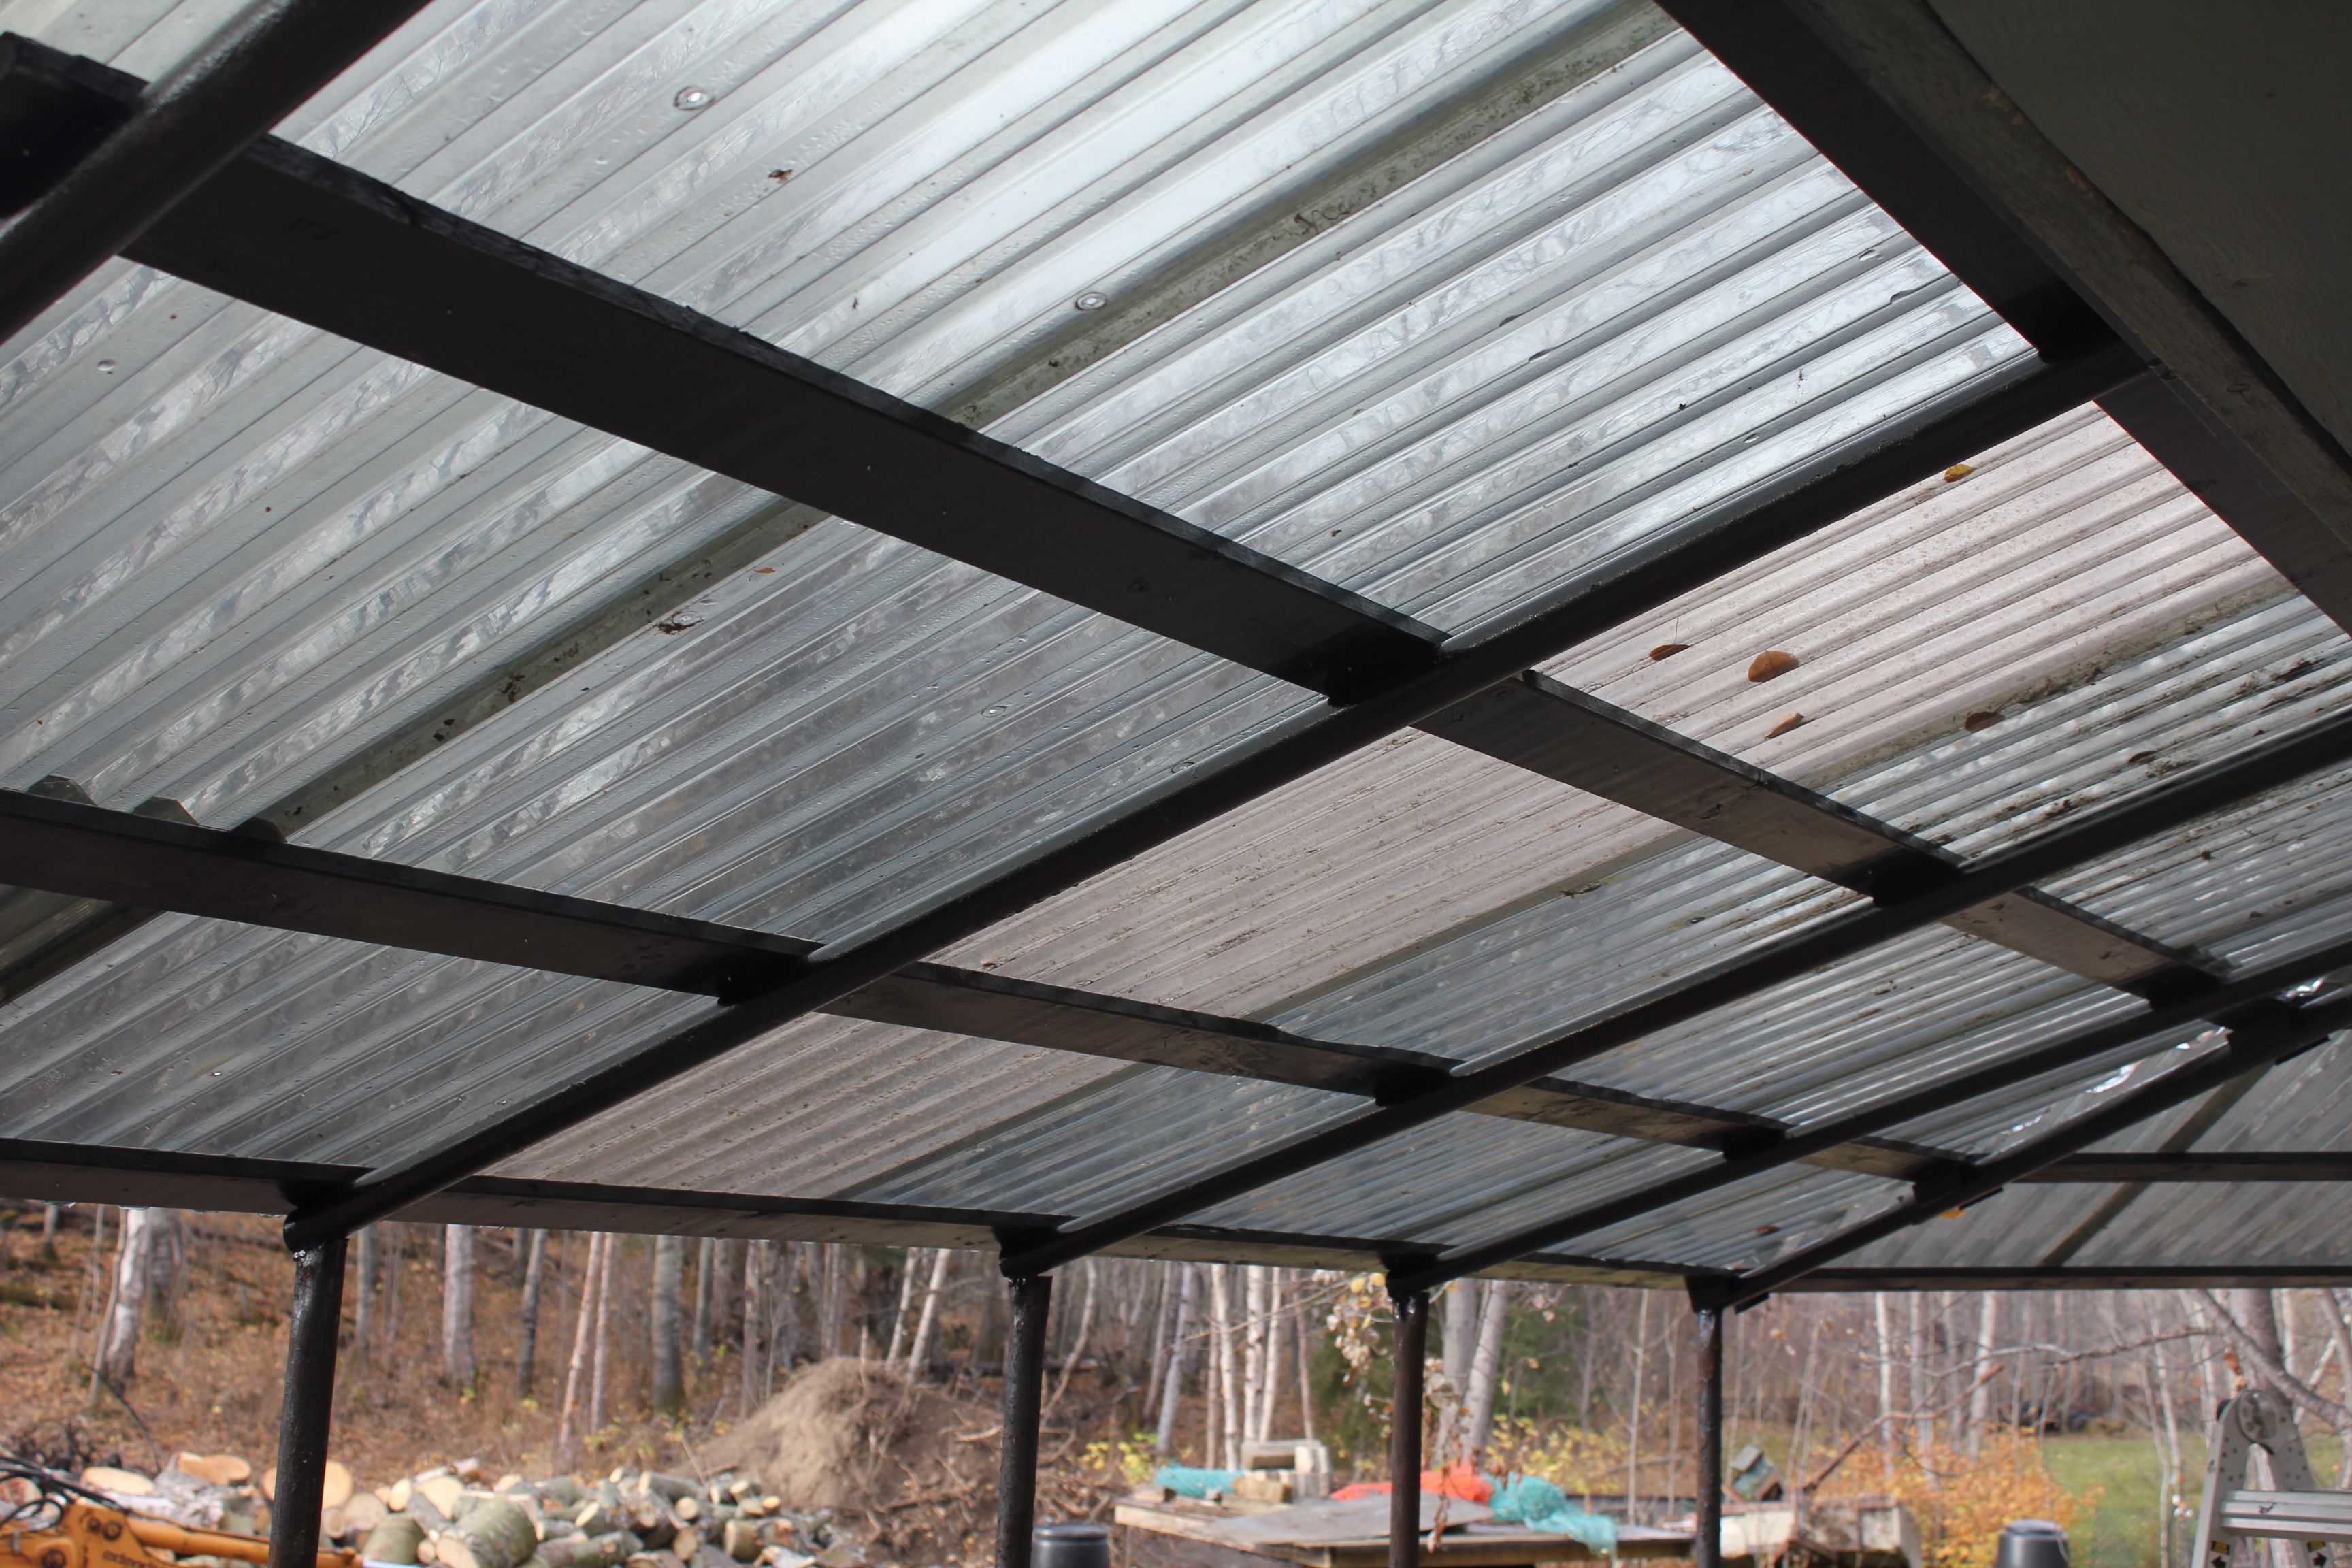
He built a wooden frame above the fence posts and installed some clear plastic roofing that Grandpa Danser had rescued from being thrown away. It has some screw holes in it but we can easily cover those.

I should mention here that while Grandma, Grandpa and Brian were hard at work on the coop, I was busy taking care of Chayton and in the kitchen rustling up some hearty meals for the crew.

chicken coop
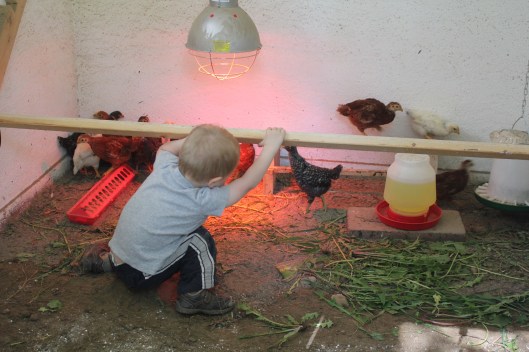
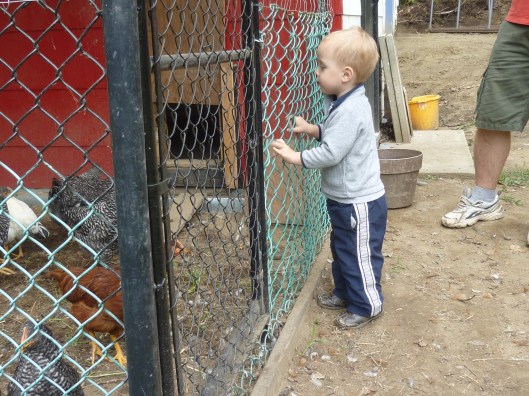
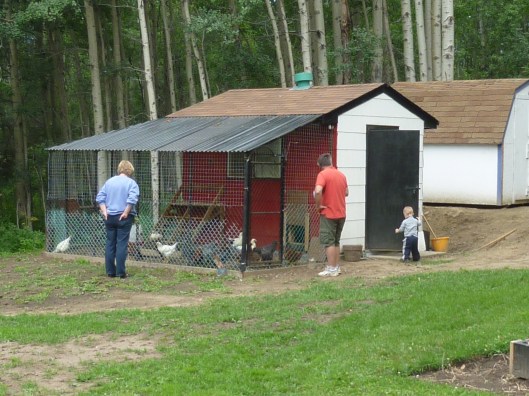
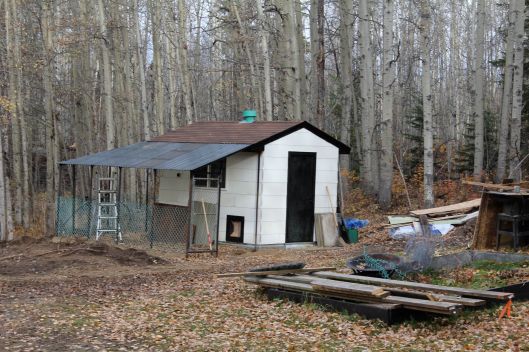
Here is the chicken coop as it looks today (only today it is covered in snow!). There is still some work to be done. Brian has already installed the electrical power but still needs to paint the interior and install the heat lamp, nesting boxes and roosts. We also need to finish the pop hole door, the exterior fencing (top half) and paint the exterior (a vivid deep red).

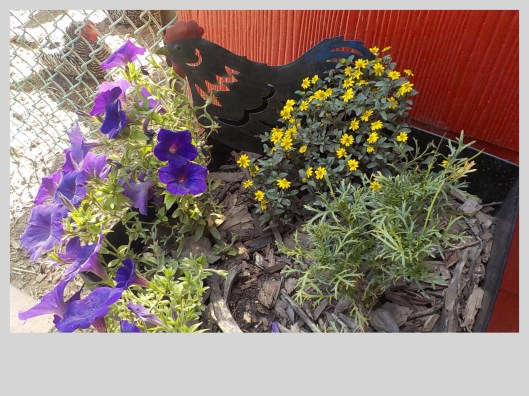
I love how almost everything about this project is made from recycled and reused materials. From the new window, the tin, the metal poles, the plastic roofing, the fencing, and even the shed itself.

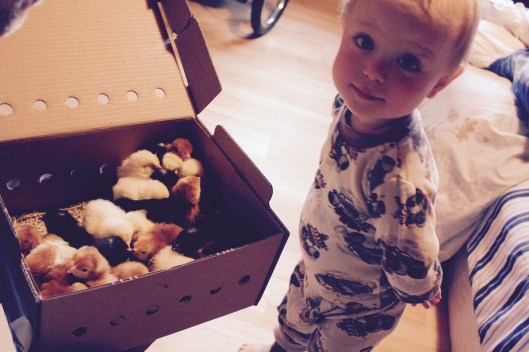
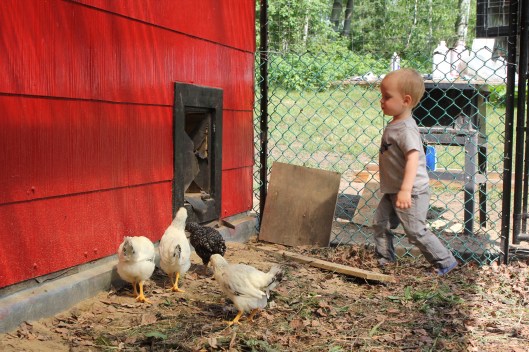
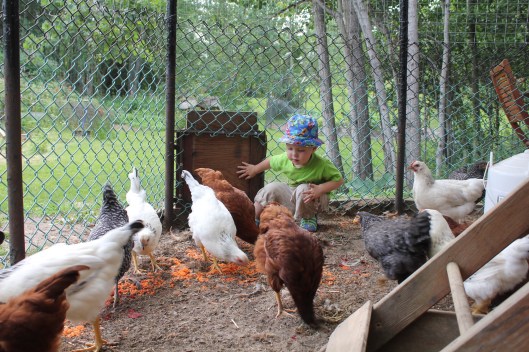
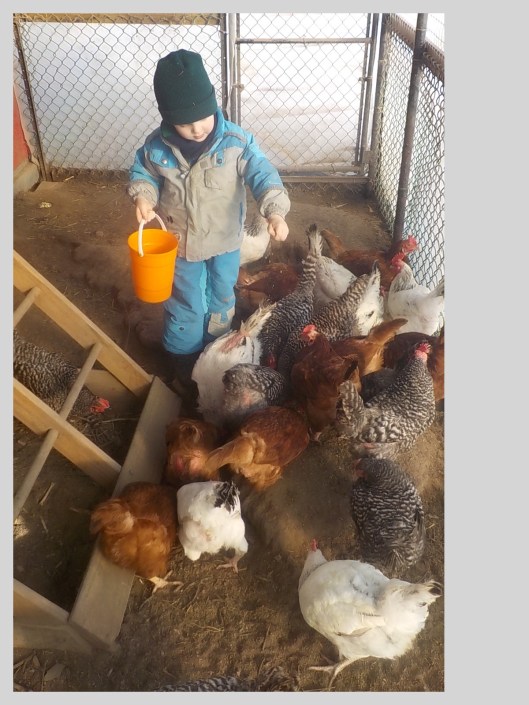
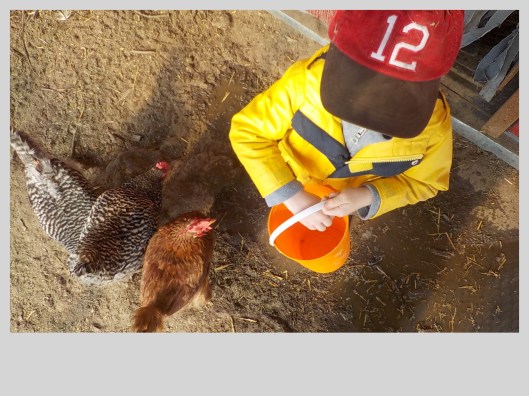
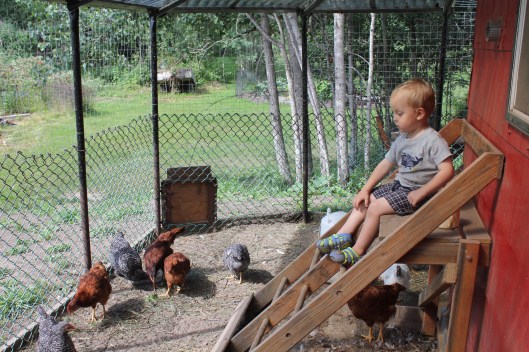
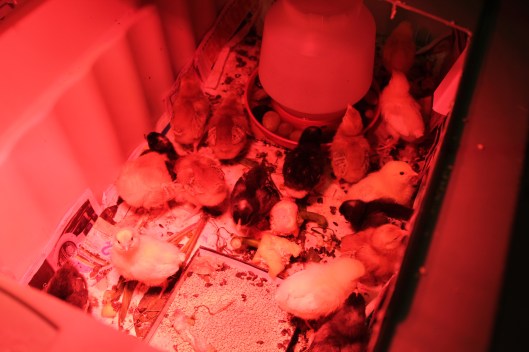
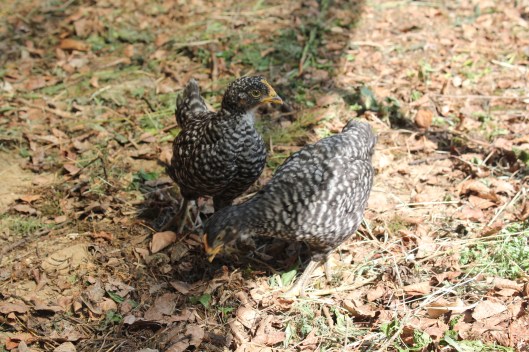
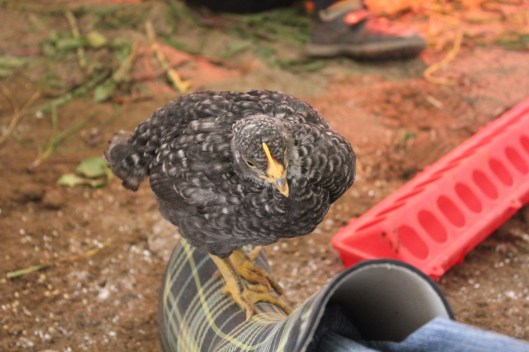
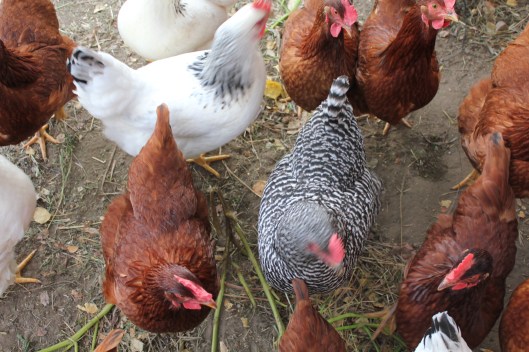
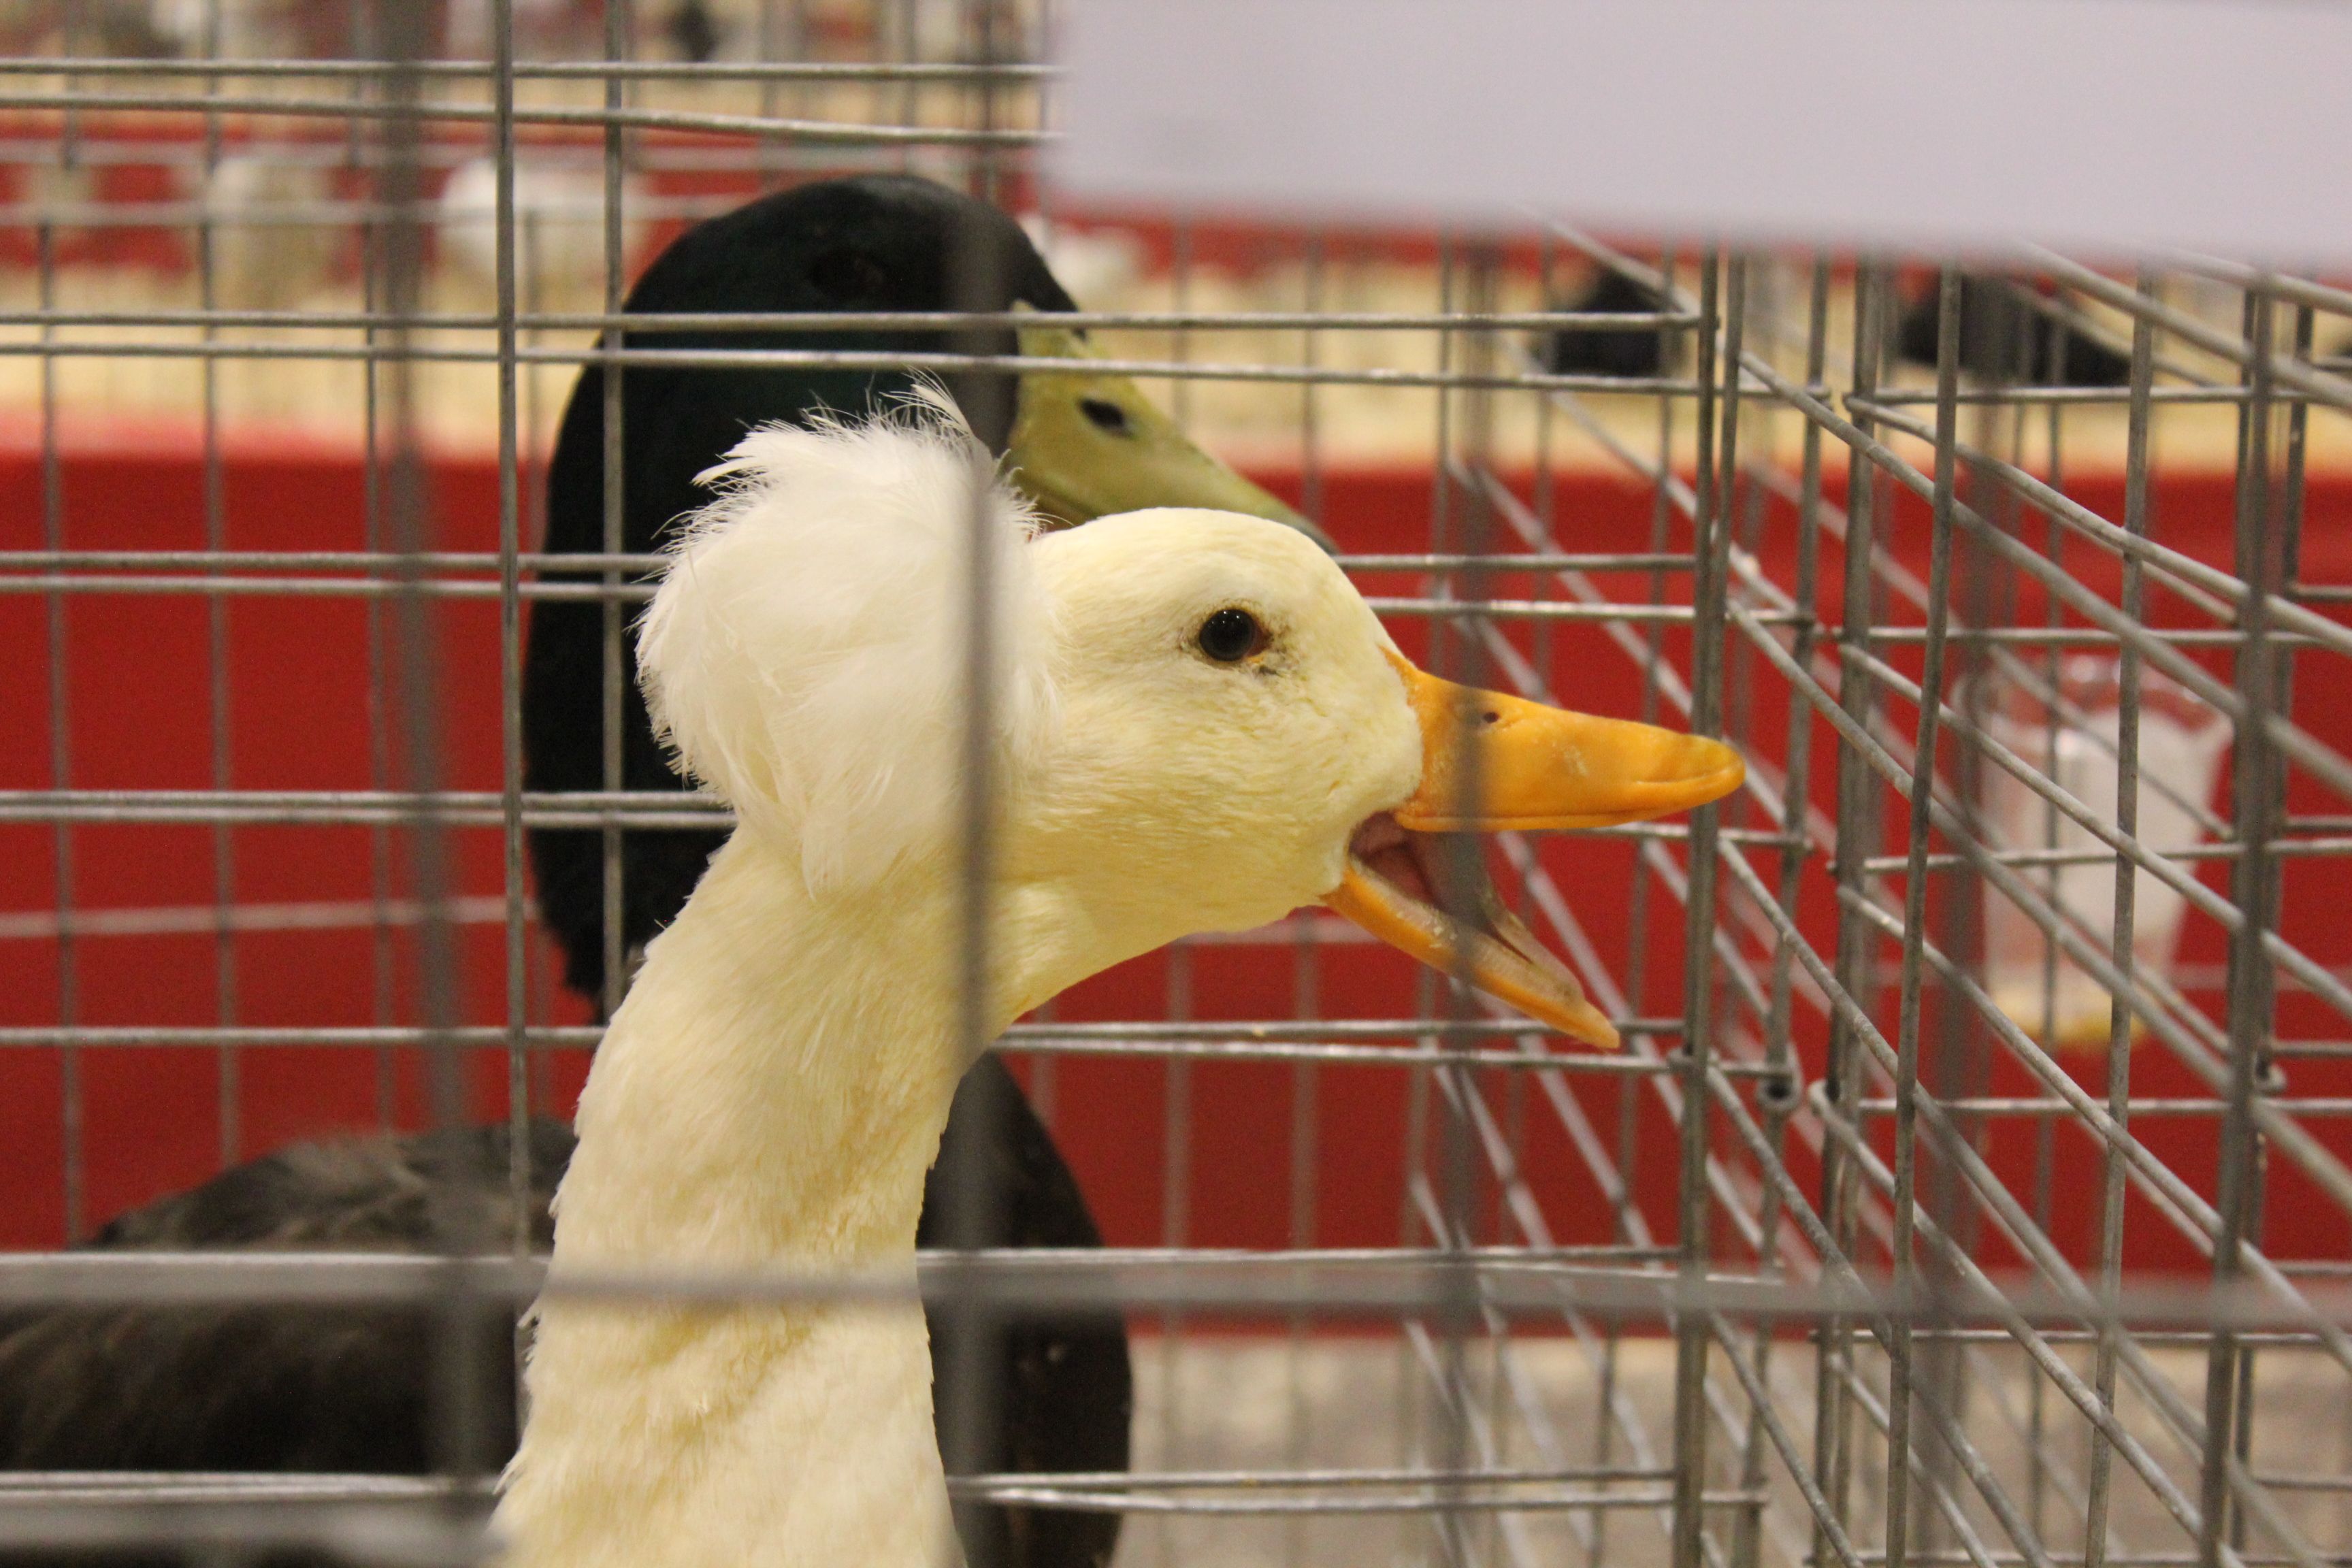
I also love how our family was able to spend time together working on this project as a team. Grandma and Grandpa were able to spend quality time with their grandson and many happy memories were made. By early spring next year, this coop will welcome baby chicks who will quickly grow into happy, healthy egg-laying hens. I can’t wait!

chicken coop