
Tags
chicken coop, chicken yard, chickens, coop, red coop, red paint

On November 26, 2014, I left you hanging with an unfinished chicken coop. It’s time to fill you in on the details of how we got from there (below)… to our beautiful coop here (above).
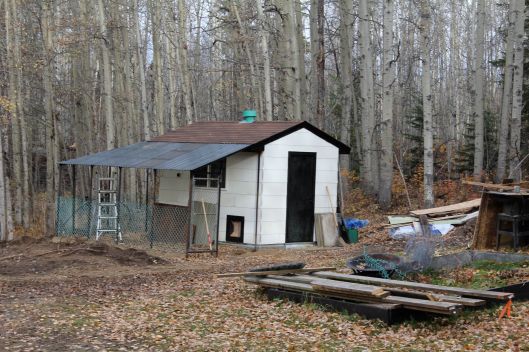
Winter came and we had to put the project on hold. Once spring arrived we were ready to keep working on the project, and with chicks booked for April, we were motivated to finish setting up their home. We started with the interior: Brian painted the walls, installed eight nesting boxes (using recycled lumber), and Grandpa made the roosts (using an old metal bed frame, recycled metal and lumber).


I put up curtains to keep the chickens from roosting in the nesting boxes. It really works.
Our roosts are all at the same level and the entire unit swings upwards and can be held by the metal hook (top right) for easy cleaning. The droppings board slides in an out like a drawer and can be removed easily for spring cleaning. Each morning, I scrape the manure off of the board and into a bucket with a paint scraper. I also pick up manure off of the sand (and out of the yard sand) with a kitty litter scoop.
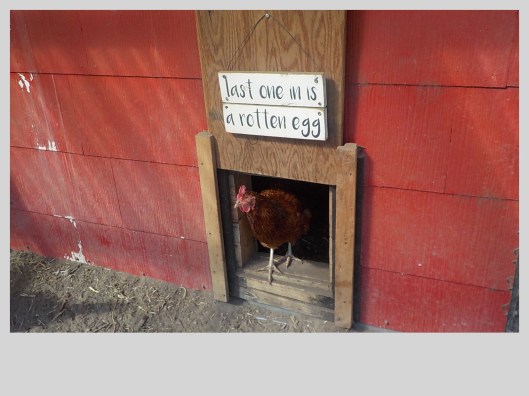
Then Brian and our then-three-year old son, Chayton, got to work painting the exterior.


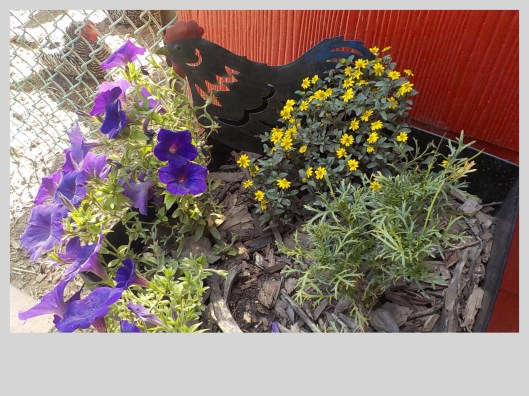
I love the red colour and how it adds such vibrancy to the coop.
Brian used parts of an old jungle gym to create roosting spaces for the chickens out in the small yard.


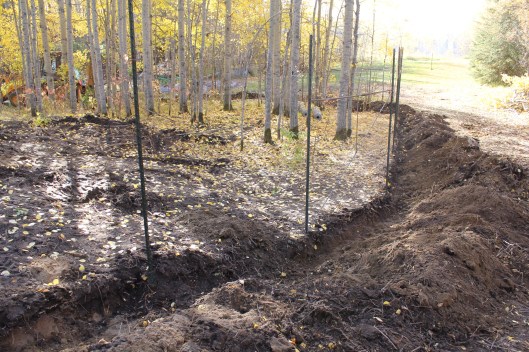
Another major project was setting up the larger yard (accessed from a pop hole in the small yard) to give the chickens much more space to roam. As our property backs onto 150 acres of protected land, we need to protect our chickens from the fox and coyotes that frequently pass through. Grandpa used his backhoe to dig a trench, 18-inch deep, all around the larger yard’s perimeter. Then we constructed a fence using stucco wire and T-posts, and tied everything together with wire. Grandpa welded a main gate using an old metal bed frame and there is a provision for a larger gate (to accommodate a tractor) in the back area.

Grandpa Dale located another shed and put it beside the coop. Then the Lake family (remember Erin and Mitch?) gave us a metal outhouse (“Burton’s Pooper”), which was placed next to the new shed. They also gave us the metal skeleton of a canvas carport. Grandpa reinforced this with metal rods and put the whole structure on skids. Then he and Brian covered it with tin. All that is left to do now is to put some doors on it.
Jenna, Chayton’s sister, helped me paint the middle shed. By the end of summer I also had the pooper painted.


Later, Brian added shelves to the pooper and we now use it as rodent-free storage for feed and equipment. The teal shed (middle) has been used for chickens, goats, and even an injured duck (more on these later).
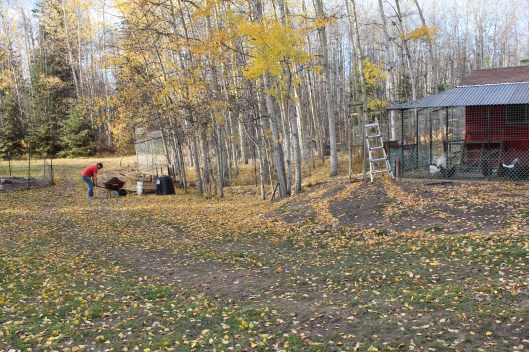
This is what the entire set up looks like today. We’ll add doors to the tin shed this coming summer.

We are loving the the colours, especially now in the winter. I’ll do another post focusing on the winter set-up as Brian covers the yard in plastic, turning it into a warm greenhouse for the chickens during the coldest months.
I hope you enjoyed the story of our coop. There will be many more posts featuring these buildings along with the interesting animals that live in them.
Take care and have a great day!

Pingback: pickled eggs | cabinorganic