• about us
  • Books
  • Merchandise

cabinorganic

~ For people who are passionate about respecting the earth, walking in nature, observing wildlife, local diet, making do, repurposing, organic gardening, foraging for wild plants and fungi, natural health, scrumptious healthy cooking, renovations, DIY, crafting, raising children simply and mindfully, taking time for stillness, and living in harmony with the seasons.

cabinorganic

Category Archives: cook

poppy seed dressing

16 Thursday Jan 2014

Posted by Delena Rose in cook

≈ Leave a comment

Tags

dressing, poppy seed, salad, salad dressing, vinaigrette

poppyseed dressing

I discovered this dressing at Maxine’s restaurant in St. Albert, Alberta about 14 years ago. They served this dressing warm over their house tossed salad and I immediately fell in love with it. They sold it by the bottle and I bought a few until I figured out how to make it myself. The restaurant has since closed but I now have the recipe for a great dressing that livens up any salad!

Poppyseed Dressing

1-1/2 cup sugar (I use raw can sugar)

1 teaspoon fine sea salt

3 tablespoons finely minced onion

3 tablespoons poppy seeds

2 teaspoons dry mustard

2/3 cup white vinegar (or white wine vinegar)

2 cups vegetable oil

Combine sugar, mustard, salt, vinegar and onion in a blender or food processor. Add the oil slowly, processing constantly until thick. Stir in the poppy seeds.

Serve warm over fruit salad or any green salad. Enjoy!

Share this:

  • Twitter
  • Facebook
  • Pinterest
  • Print
  • Email

Like this:

Like Loading...

coconut fish curry

09 Monday Dec 2013

Posted by Delena Rose in cook

≈ 1 Comment

Tags

claypot cooking, coconut, curry, fish, fish curry, Indian cuisine

fish curry


I was browsing through my Clay Pot Cooking cookbook and this recipe caught my eye. This warm spicy dish was perfect on  cold winter’s evening and I will definitely add this recipe to my list of favorites! I used red snapper this time around since that is what I happen to have in my freezer.

Coconut Fish Curry

4 thick fish fillets, such as cod or halibut, cut in half crosswise

2 teaspoons ground turmeric

2 tablespoons vegetable oil or mustard oil

1 tablespoon mustard seeds (optional)

2 onions, halved and sliced lengthwise

about 2 cups coconut milk, heated

2 red chilies, seeded and sliced

salt and freshly ground pepper

sprigs of cilantro to serve


For the ginger chile marinade:

2 tablespoons chile oil

2 tablespoons ginger puree

2 teaspoons crushed fennel seeds


To make the marinade, mix the oil, ginger and crushed fennel seeds in a shallow dish. Rub the fish with the turmeric then place in the chile oil mixture. Set aside to marinate for 2 hours or overnight.

Heat the oil in a skillet and add the mustard seeds (if using). Cook until they begin to pop. Add the onions and cook until they are soft and golden. Add the fish and cook at a high heat for about 2 minutes. Season to taste.

Add the coconut milk, the remaining marinade and the red chiles. Bring to a boil then transfer to a warmed, glazed clay pot (I used a dutch oven). Simmer in a preheated oven at 450*F for 5-10 minutes until the fish is done. Serve with Jasmine rice with sprigs of cilantro. Enjoy!

Resource:

Petersen-Schepelern, P. (1999). From Tandoori to Tagine: Claypot Cooking. Vancouver, BC: Raincoast Books

Share this:

  • Twitter
  • Facebook
  • Pinterest
  • Print
  • Email

Like this:

Like Loading...

pork ribs with sauerkraut

26 Tuesday Nov 2013

Posted by Delena Rose in cook

≈ Leave a comment

Tags

cabbage, pork, pork ribs, ribs, sauerkraut, slow cooking

pork & saurkraut

These ribs are incredibly delicious with the meat soaking up the sauerkraut juice and falling off the bone. Nothing beats homemade sauerkraut for this recipe. If you can’t find any, you can try making your own.

Pork Ribs with Sauerkraut

pork ribs

4 cups sauerkraut

black pepper

Cut ribs into large pieces. Blanch in boiling water for five minutes. Place ribs in a roast dish and cover with sauerkraut. Season with black pepper and bake in a 300*F oven to two hours. Enjoy!

pork & sauerkraut

pork & sauerkraut

Share this:

  • Twitter
  • Facebook
  • Pinterest
  • Print
  • Email

Like this:

Like Loading...

making sauerkraut at home

25 Monday Nov 2013

Posted by Delena Rose in cook, thrift store finds

≈ 1 Comment

Tags

cabbage, crockery, sauerkraut, stone crocks, thrift store finds

pork & sauerkraut

It has been years since I had homemade sauerkraut and I was really missing and craving it! I had been searching thrift stores, garage sales and antique malls for years for a large stone crock so that I could start making my own here at the cabin. I did find a few but they were too pricy at $50-$60 dollars per crock (in antique stores). Finally, just a few months ago, I found these two crocks at a thrift store in Edmonton. I paid $7.99 for the large one and $6.99 for the smaller one. Hooray! I was on my way to some homemade sauerkraut!

stone crocks

I did not grow cabbage this year so I had to buy the cabbage. For this batch I used green cabbage. Try to buy organic if you can as they are more flavorful. I thought three cabbages would fill the large crock but once they were pressed down they only filled the crock up to a third! Next time, I will use six cabbages per batch of sauerkraut.

Sauerkraut combines the health benefits offered by all cruciferous vegetables (a category which includes cauliflowers and brussel sprouts as well as cabbage) with the probiotic advantages derived from the fermentation process.

Cabbage offers a host of health benefits. It is high in vitamins A and C. Studies have shown the cruciferous vegetables can help lower cholesterol levels. Cabbage also provides a rich source of phytonutrient antioxidants. In addition, it has anti-inflammatory properties, and some studies indicate it may help combat some cancers. However, this already helpful vegetable becomes a superfood when it is pickled.~Natural News

cabbage1Sauerkraut

green cabbage (or the cabbage of your choice)

salt (I used sea salt but some recommend pickling salt)

Quarter the cabbages. Remove the tough outer leaves and inner core, then slice the cabbage very thinly with a sharp knife or with a mandolin.

Place the sliced cabbage into your stone crock and add one tablespoon of salt per head of cabbage. Mix thoroughly. If you like, you can leave the cabbage and salt to sit overnight before crushing, or you can crush right away. Crush the cabbage well with a wooden utensil or anything heavy and clean. You should notice a lot of juice being released by the cabbage.

cabbage

Place a plate over the cabbage making sure that the plate is fully submerged under the juice. Weigh the plate down with something clean and heavy. Cover the crock with a clean, dry cloth to keep insects and dust out. The juice and cabbage will rise a bit as fermentation begins so be sure and leave ‘room to grow’.

sauerkraut

Check the sauerkraut at least once a week and remove any mold that starts to form. (The mold is completely normal so do not be put off by it.) The sauerkraut will be ready by the fourth to sixth week, depending on how strong you prefer it. I harvested mine after four weeks.

Measure the sauerkraut into four-cup measures and freeze.

Three heads of cabbage yielded six four-cup measures.

There are many different recipes for sauerkraut and I look forward to experimenting with this healthy, tasty food!

Enjoy!

sauerkraut

Share this:

  • Twitter
  • Facebook
  • Pinterest
  • Print
  • Email

Like this:

Like Loading...

making pumpkin puree

20 Wednesday Nov 2013

Posted by Delena Rose in cook

≈ Leave a comment

Tags

baby food, baking with pumpkin, freezing pumpkin, pumpkin, pumpkin puree

pumpkin puree

This is my first time making pumpkin puree and I was delighted at how easy it was to make and how much more flavor it added to my pie compared to canned pumpkin puree. I froze most of this batch in 1-cup measures for baking and some in a few ice cube trays for baby food as Chayton will be starting solid foods in just a few months time. I am really looking forward to trying this in my Pumpkin Cheesecake with Frangelico recipe, which I will be making over the holiday season and sharing with you at that time.

pumpkin

Pumpkin Puree

Small-medium pumpkins are best for flavor. Using a sharp knife, cut the pumpkin in half and remove the seeds and stringy flesh with a metal spoon. If the pumpkin is large, cut it into wedges or large manageable pieces and place flesh side down onto a baking dish. Do not season or coat with oil.

Bake in a 350*F oven for 45 minutes to 1 hour, or until the flesh is tender.

Remove from oven and allow the pumpkin to cool.

Scrape the flesh off with a spoon. Puree in a food processor in small batches until smooth. Put puree in freezer bags in 1-cup portions and lay the bags flat before freezing so that they stack nicely.

Use puree as baby food, for baking, or added to soups or sauces.

pumpkin puree baby food

Share this:

  • Twitter
  • Facebook
  • Pinterest
  • Print
  • Email

Like this:

Like Loading...

pumpkin pie with a pumpkin seed crust

05 Tuesday Nov 2013

Posted by Delena Rose in cook, whole grains

≈ 1 Comment

Tags

pie, pumpkin, pumpkin pie, pumpkin puree, pumpkin seed crust, pumpkin seeds

pumpkin pie


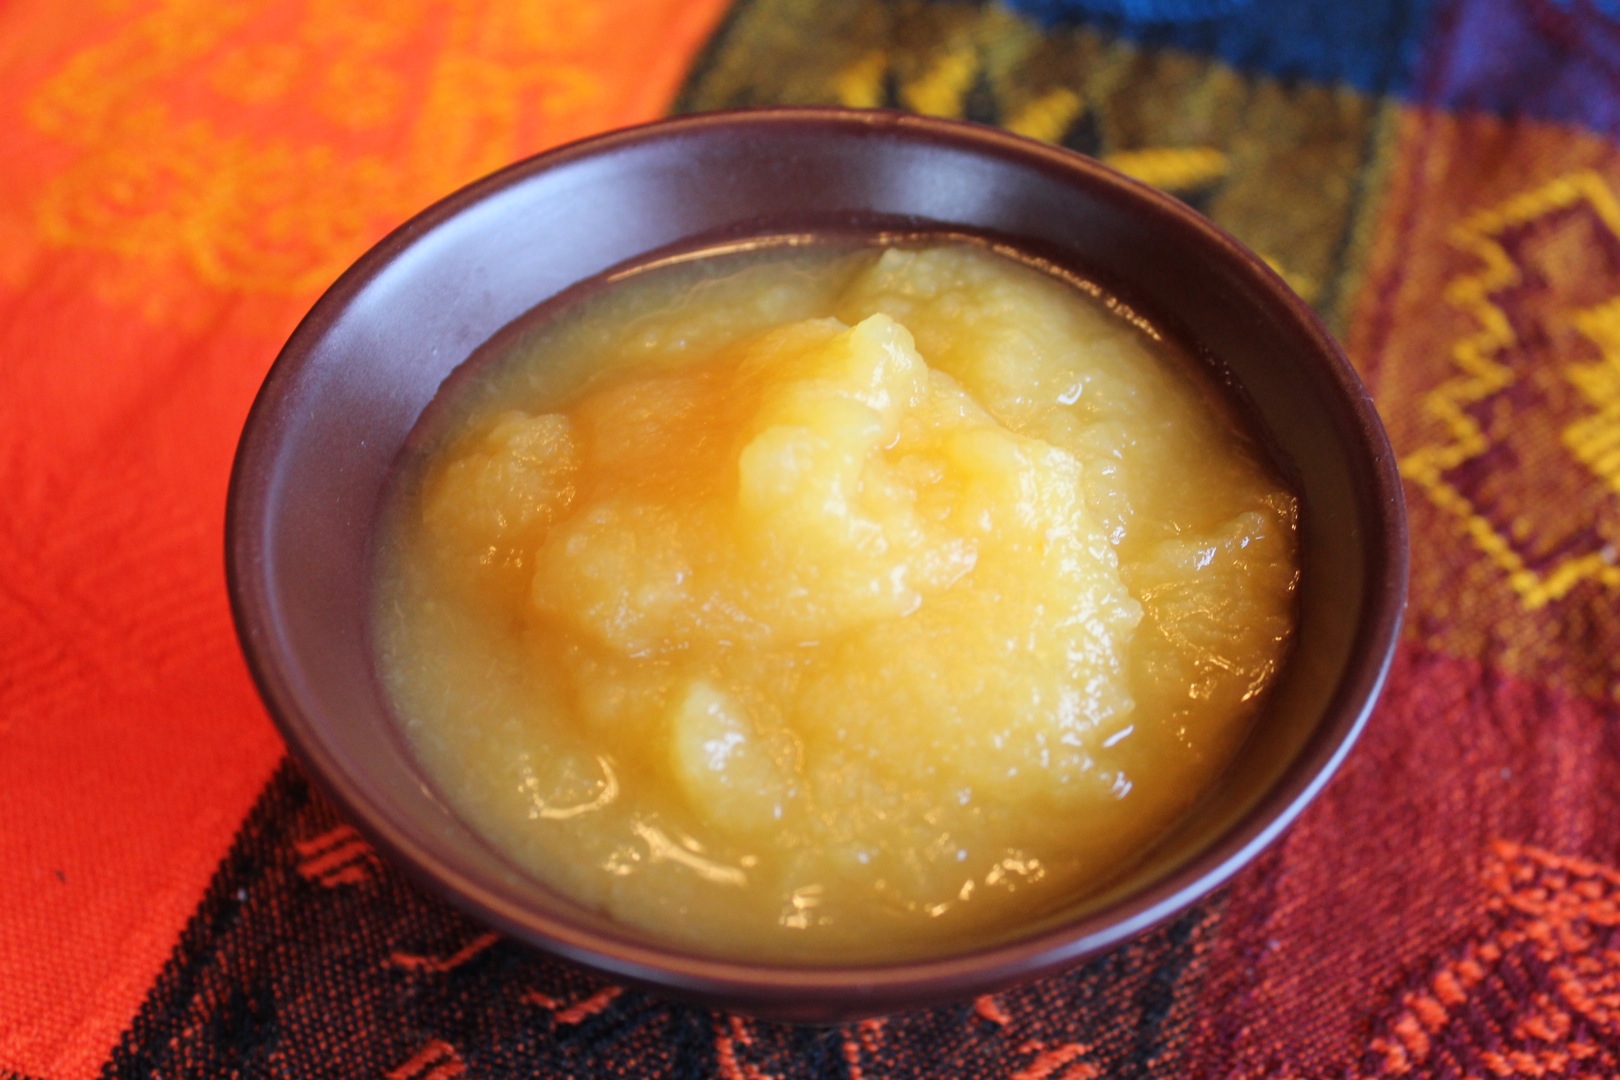
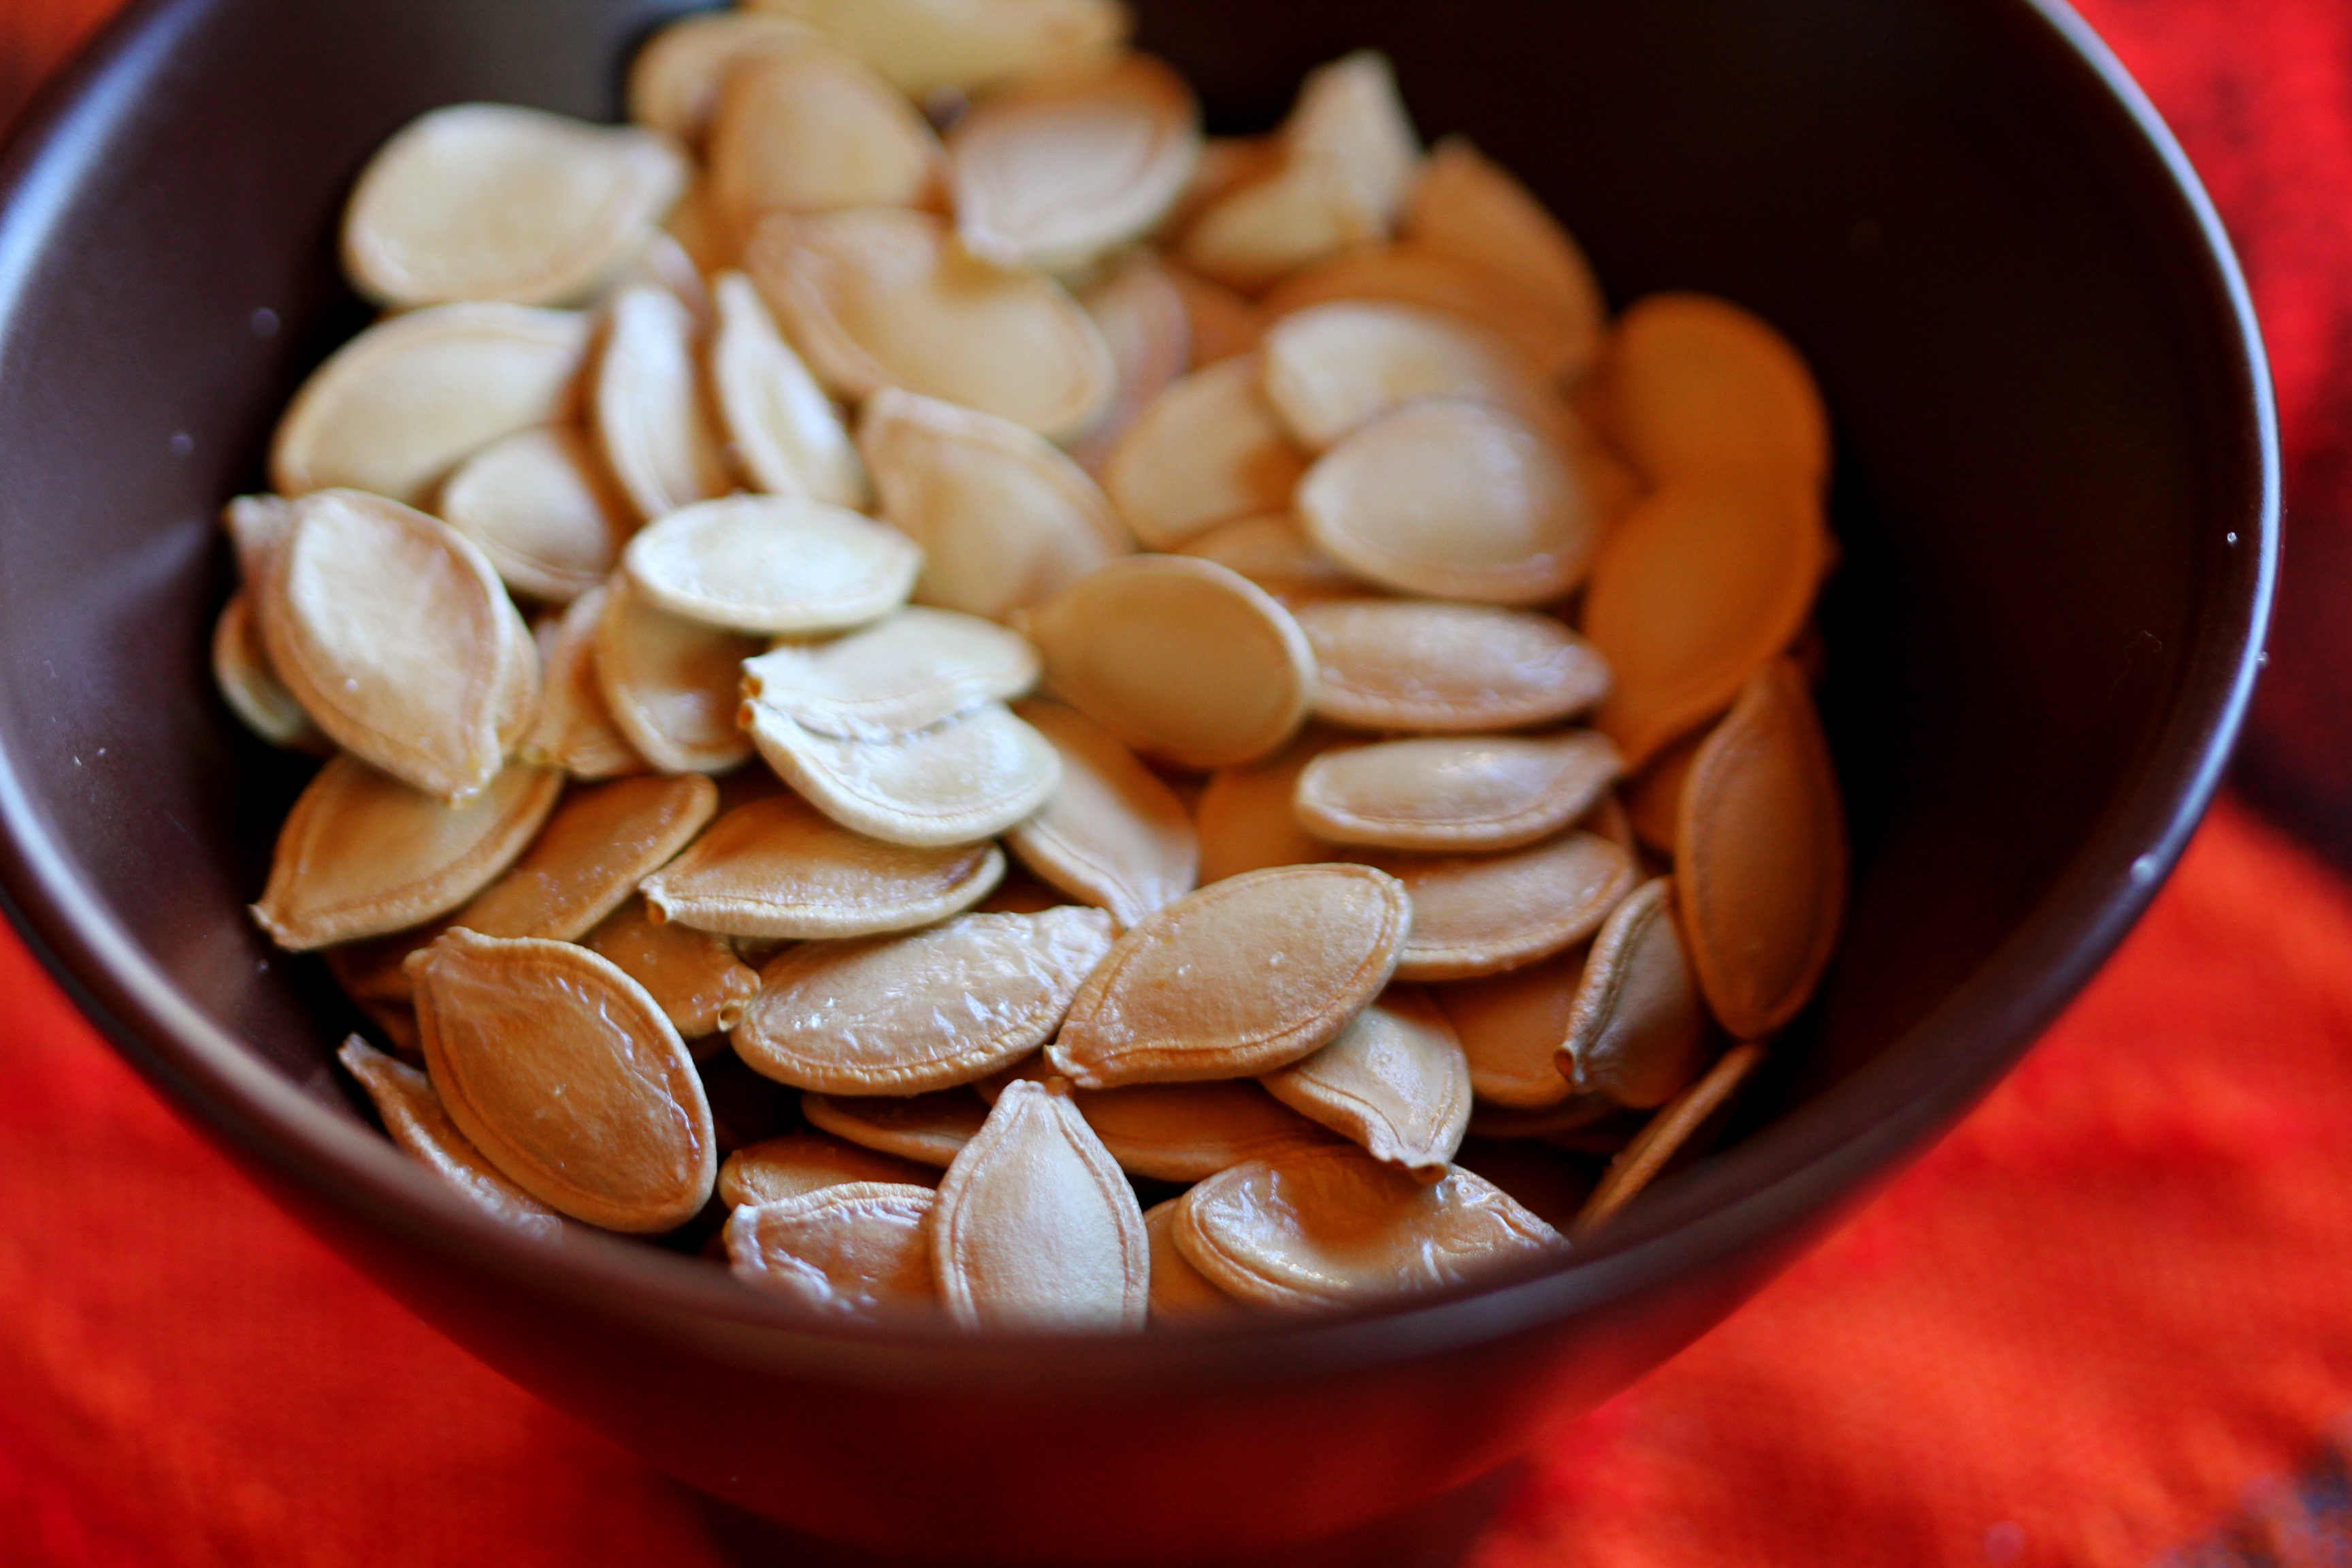
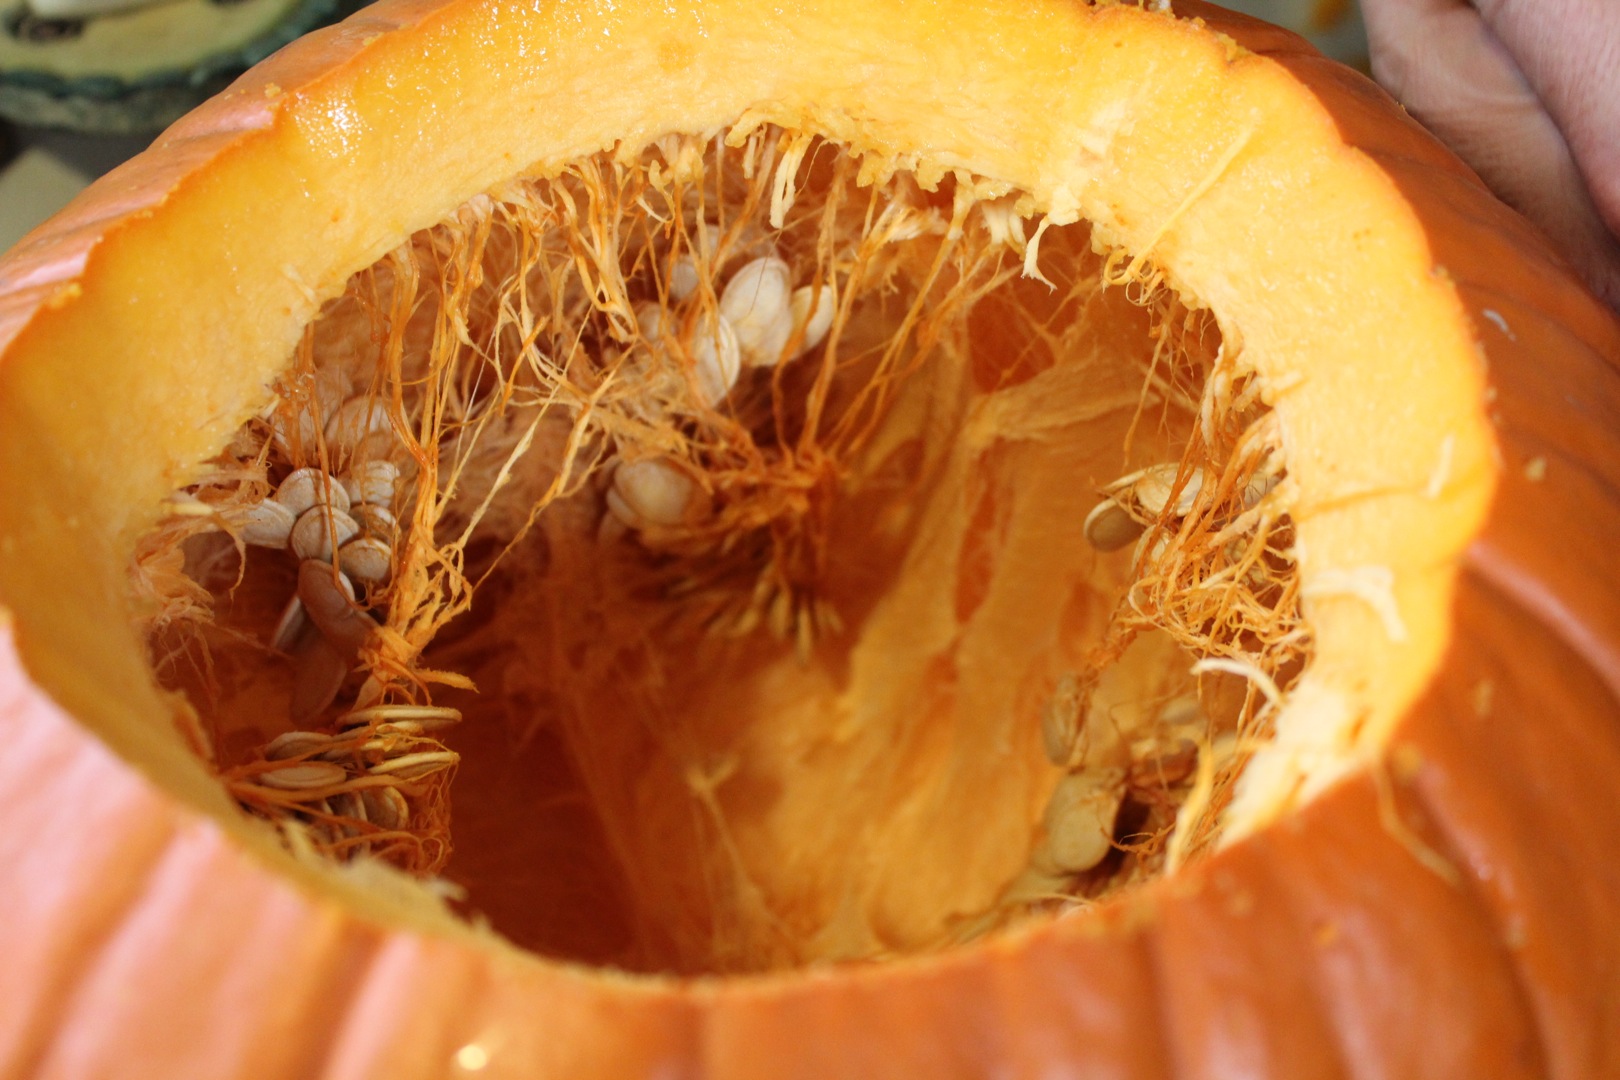
I made pumpkin puree with our jack-o-lanterns and couldn’t help but enjoy the first bit in a delicious pie. This recipe comes from Lorna Sass’ Whole Grains Every Day Every Way cookbook.

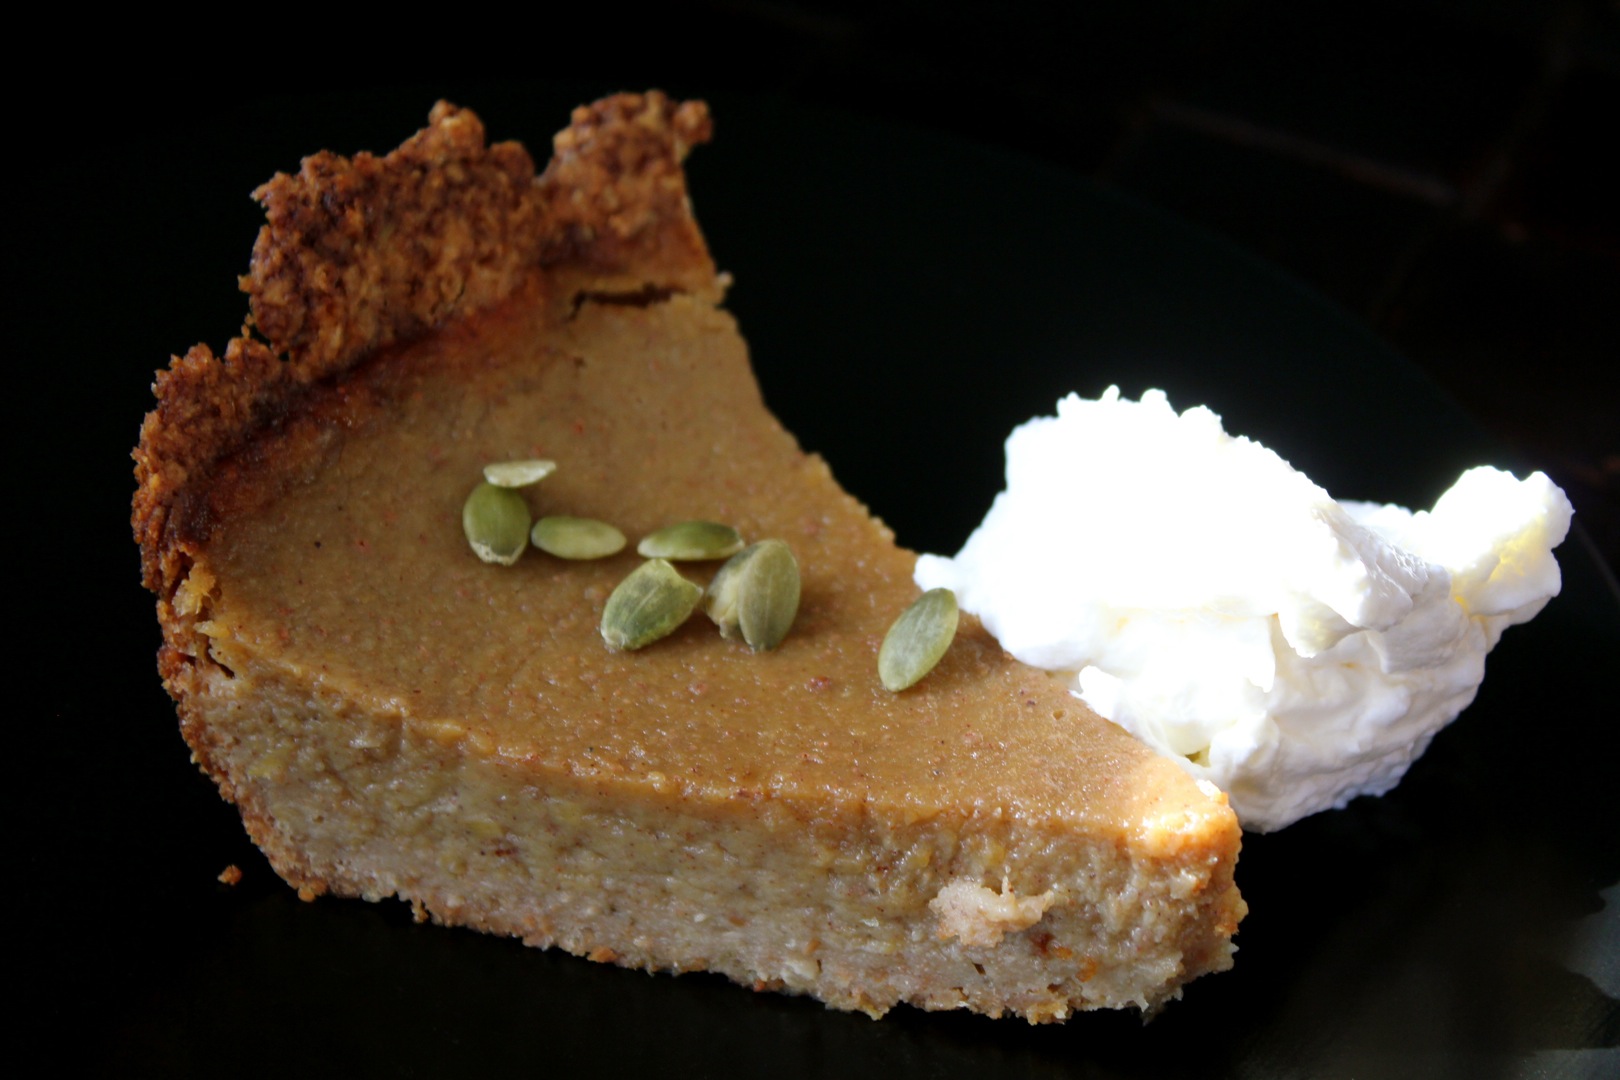
Pumpkin pie with a pumpkin seed crust

For the crust:

1 cup spelt flour, plus more for rolling the dough

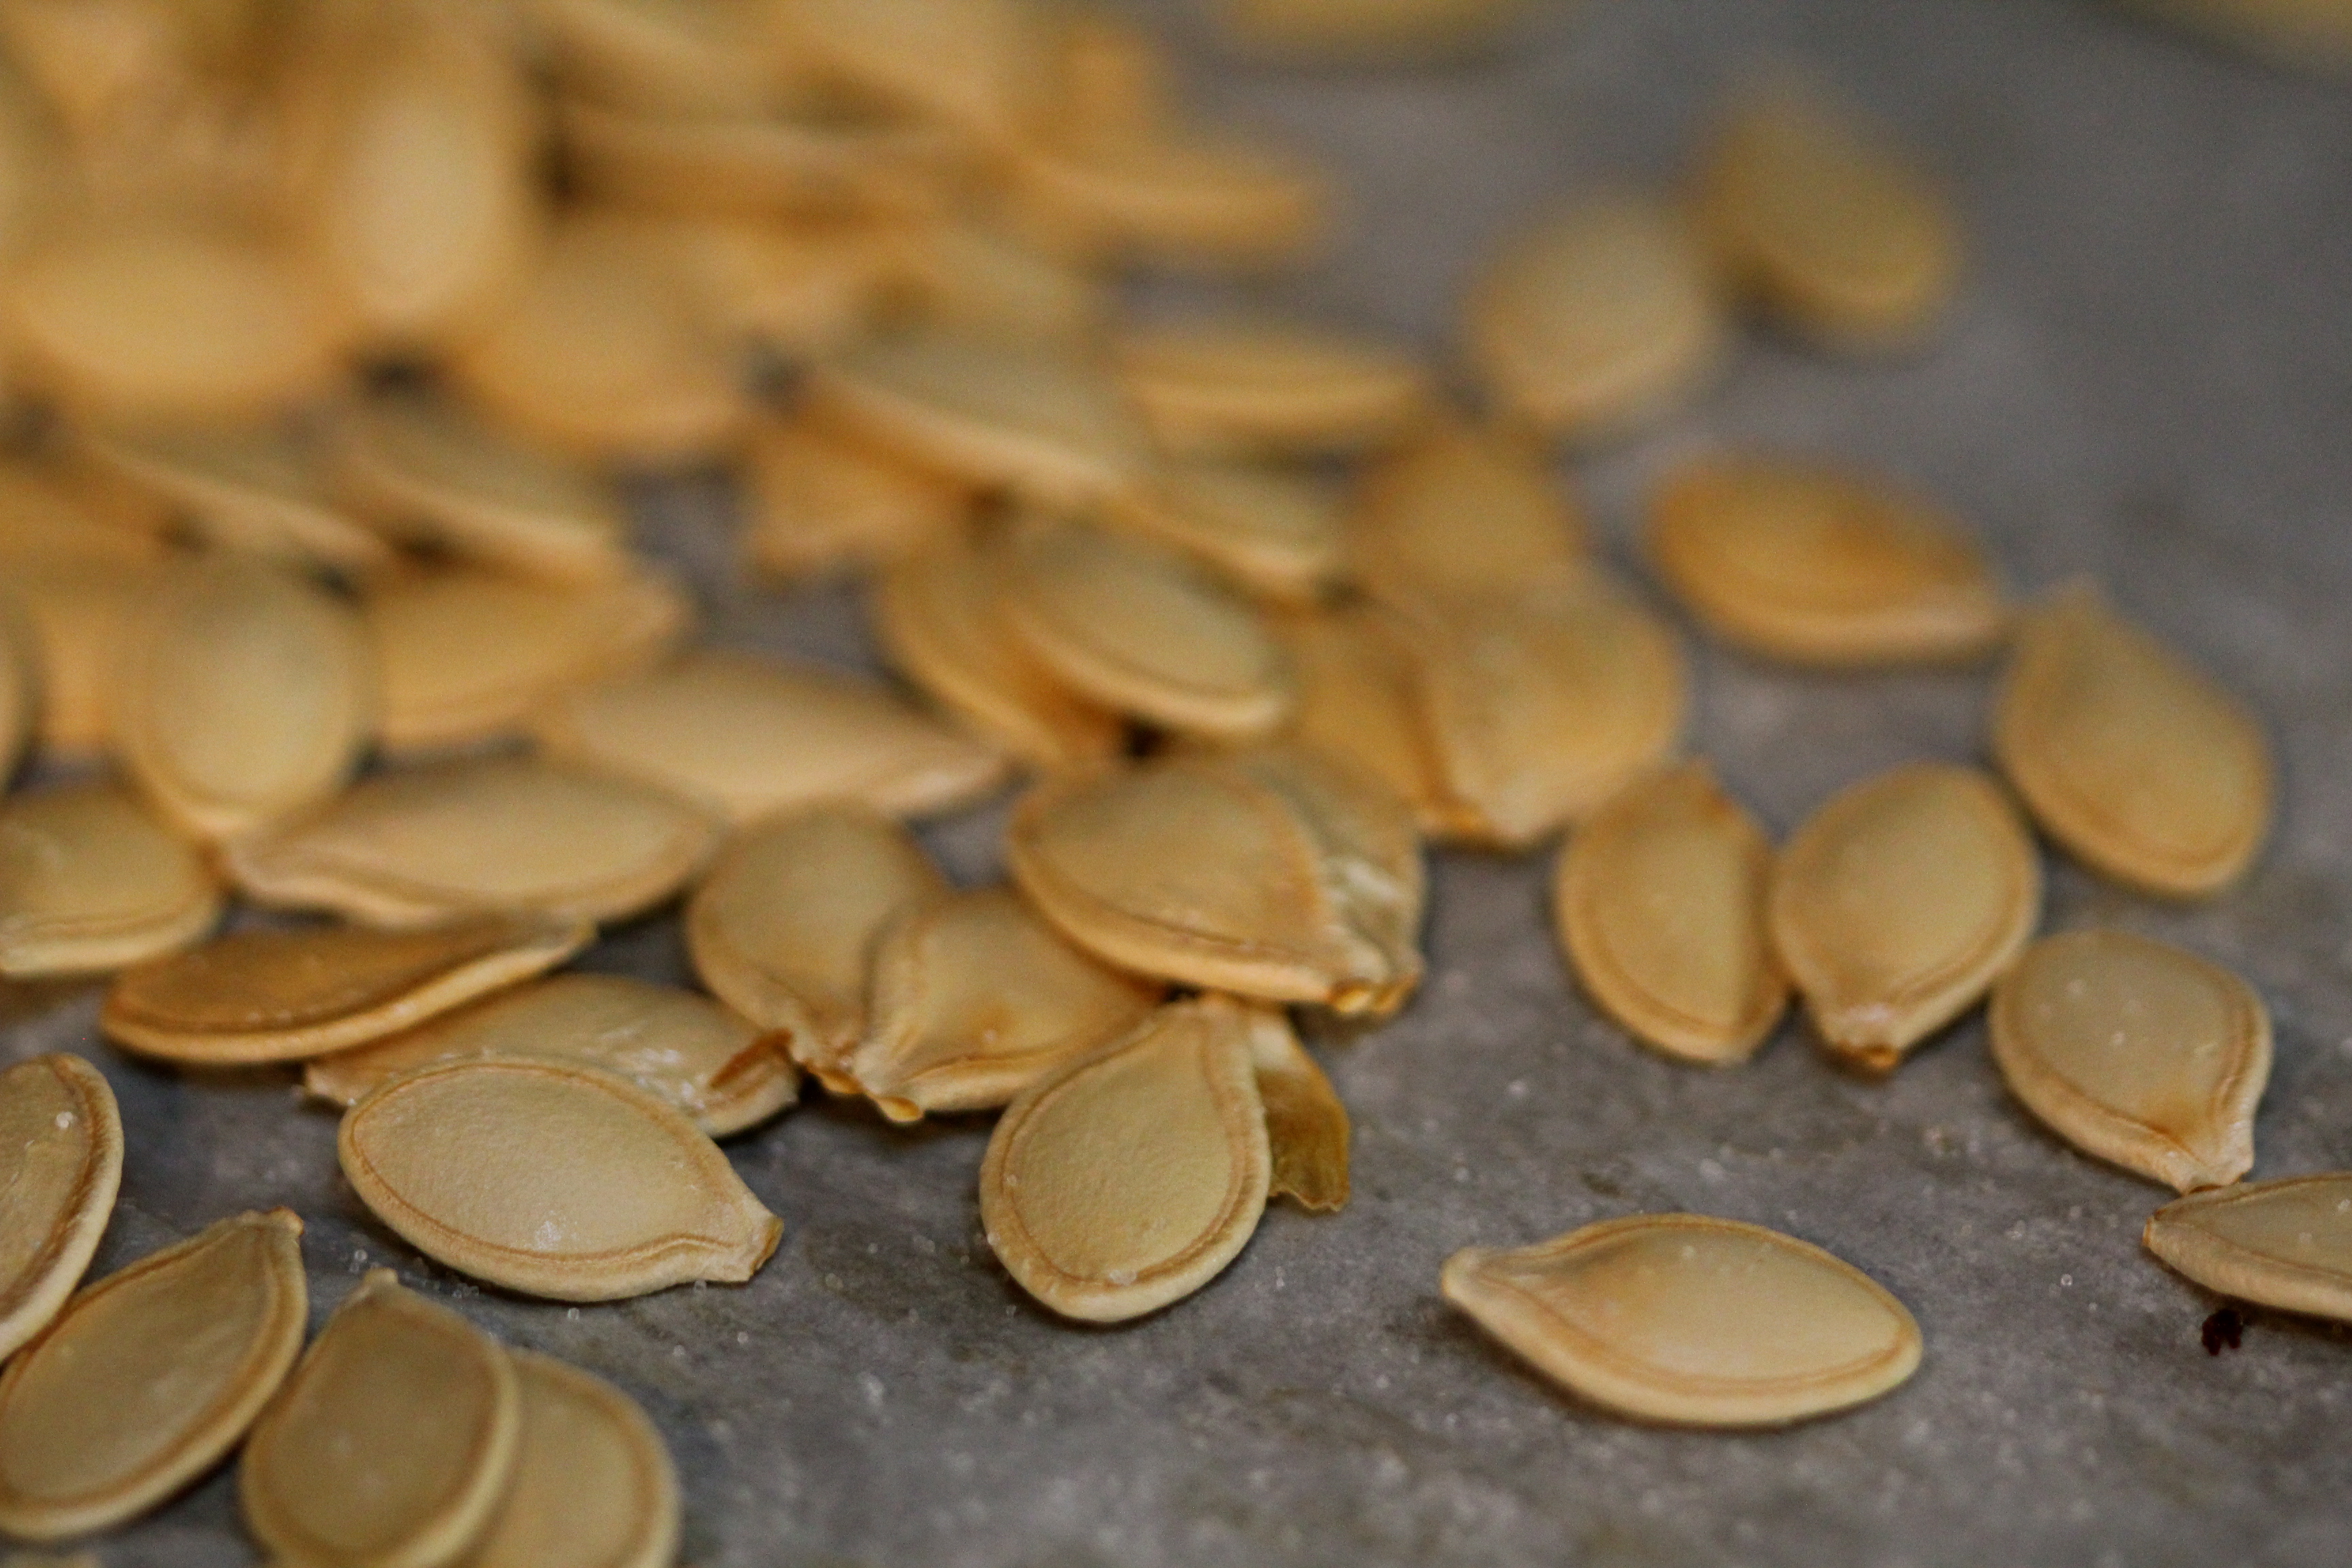
¼ cup hulled, raw unsalted pumpkin seeds

2 tablespoons (packed) light brown sugar

¼ teaspoon salt

4 tablespoons (1/2 stick) cold, unsalted butter, cut into bits

1 teaspoon apple cider or raspberry vinegar


For the filling:

2 large eggs

2 cups pumpkin puree or 1 can (15-16 ounces) of unsweetened pumpkin puree

1-1/4 cups 2% milk (I used almond milk and less because my puree was quite wet)

¾ cup-1 cup light brown sugar to taste

1-1/2 teaspoons ground cinnamon

1 teaspoon freshly grated nutmeg

½ teaspoon ground allspice

½ teaspoon salt

1 teaspoon vanilla extract

Sweetened whipped cream, for garnish (optional)


To make the crust:

Put the flour, pumpkin seeds, brown sugar and salt into the bowl of a food processor fitted with a metal blade. Process until the pumpkin seeds are finely ground.

Add the butter and pulse until the mixture resembles coarse meal. Add 3 tablespoons of cold water and the vinegar and pulse until the mixture clumps together in a mass. Remove the blade and gather the dough into a ball. Press into a flattened disc. Wrap with plastic wrap and chill until firm, about 30 minutes.

Place on a rack in the center of the oven and preheat the oven to 400*F.

On a lightly floured surface, roll the dough into a circle about 12-inches in diameter. Sprinkle flour on top of the dough, if necessary, to facilitate rolling. Transfer the dough to a 10-inch pie plate and press it into the bottom and almost to the top of the pie plate. Prick with a fork in several places. Press a sheet of foil onto the crust and weigh it down with pie weights or dried beans. Bake for 15 minutes. Pour out the weights. Set the pie plate on a cooling rack and remove the foil. Reduce the oven temperature to 375*F.

To prepare the filling: In a food processor or electric mixer, combine the eggs, pumpkin, milk, brown sugar, cinnamon, nutmeg, allspice, salt and vanilla extract. Process until smooth. Pour the mixture into the prepared crust. Trim off any exposed crust to avoid burning.

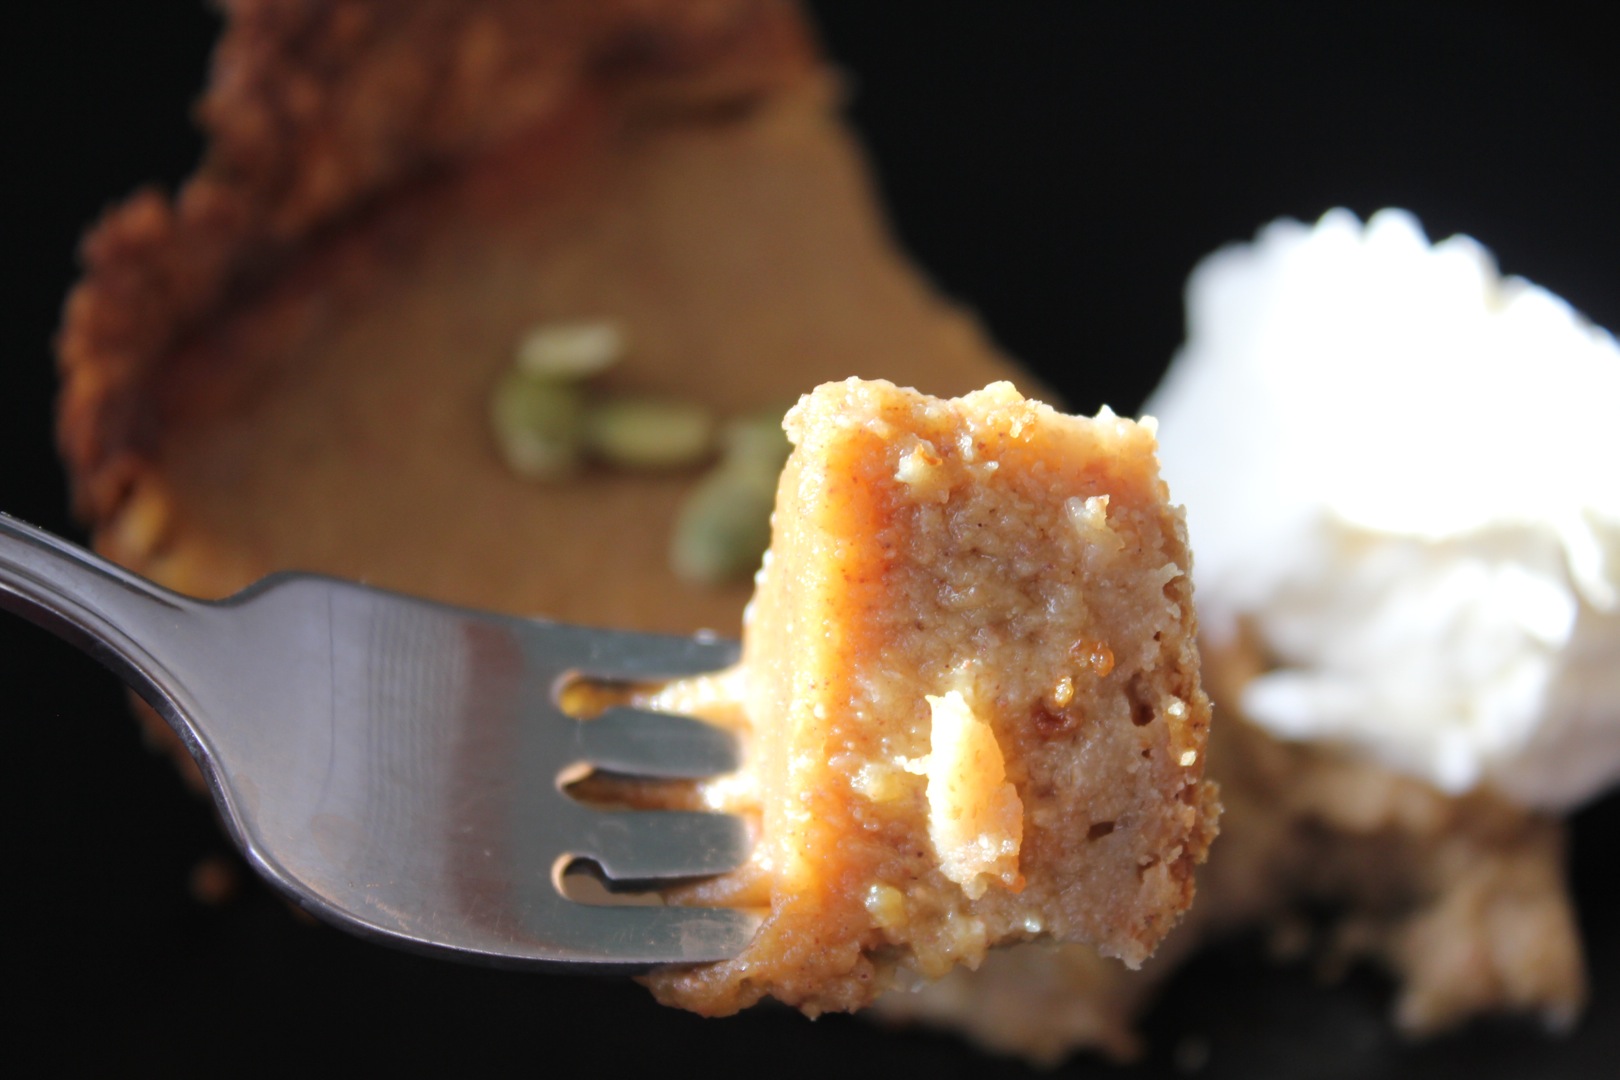
Bake until the filling diesn’t jiggle when you gently move the pie from side to side, 35 to 45 minutes.

Set the pie on a cooling rack. Serve at room temperature or chilled with whipped cream, if desired.

Variation: Use hulled, unsalted sunflower seeds or walnuts instead of pumpkin seeds.

Resource:

Sass, L. (2006). Whole Grains: Every Day, Every Way. Crown Publishing, New York:NY

pumpkin pie

Share this:

  • Twitter
  • Facebook
  • Pinterest
  • Print
  • Email

Like this:

Like Loading...

roasting pumpkin seeds- a seasonal treat

01 Friday Nov 2013

Posted by Delena Rose in appreciate the seasons, cook, seeds and nuts

≈ 2 Comments

Tags

Halloween, jack-o-lantern, pumpkin, pumpkin seeds, salty snacks, seeds

pumpkin seeds

 A few days ago, Brian carved two large pumpkins in preparation for Chayton’s first Halloween. Of course we couldn’t resist roasting the seeds and having a crispy, salty treat afterward to enjoy as a reward for our labors.

jack-o-lantern

To roast the seeds, first clean the seeds very well, removing all pulp. I put the seeds in a bowl of water and rubbed them together both with my hands and with a clean dish cloth. Then, put the seeds between two clean tea towels and pat to dry. Transfer the clean, dry seeds to a baking sheet (I lined mine with parchment paper) and sprinkle generously with fine sea salt. Roast in a 325*F oven for 10-15 minutes, or until just turning golden. Enjoy immediately! A seasonal treat- crispy, freshly roasted pumpkin seeds fresh out of the oven.

pumpkin seeds

Halloween3

Share this:

  • Twitter
  • Facebook
  • Pinterest
  • Print
  • Email

Like this:

Like Loading...

spelt crepes stuffed with cheese, back bacon and mushrooms

19 Saturday Oct 2013

Posted by Delena Rose in cook, whole grains

≈ Leave a comment

Tags

breakfast, brunch, cheese, crepes, fruit syrups, ham, mushrooms, spelt crepes, spelt flour

spelt crepe

This is what we had for brunch today after our morning hike. I filled the first two crepes with a mixture of sautéed ham and mushrooms then added mozzarella and asiago cheese and a pinch of dried basil. I served these with a side of salad. The remaining crepes were enjoyed sweetened with an assortment of our homemade fruit syrups. Delicious!

spelt crepes

Spelt Crepes

1 cup spelt flour (or whole wheat)

1/2 teaspoon salt

3 eggs

1-1/4 cups milk

2 tablespoons melted butter or vegetable oil for the pan

Stir flour and salt together in a bowl. Make a well in the center and add the eggs and a little of the milk. Beat well, working in all of the flour. Gradually add the remaining milk and beat mixture until bubbles form on top of the batter.

Over medium high heat, brush a small amount of oil onto a crepe pan (or nonstick pan). Add three to four tablespoons of the batter and quickly tilt the pan to move the batter around in a circle until it covers the base of the pan thinly and evenly. Turn the crepe over and cook for an additional 30 seconds. Keep crepes in a warm oven under a clean tea towel. Continue until all of the batter is used. Serve with a sweet or savory topping. Makes 8 crepes.

spelt crepes

crepe1crepe3

Resource:

Norwak, M. (1988). The Book of Crepes and Omelettes. New York, NY: HPBooks.

Share this:

  • Twitter
  • Facebook
  • Pinterest
  • Print
  • Email

Like this:

Like Loading...

broccoli and cheese quiche with a grated potato crust

30 Monday Sep 2013

Posted by Delena Rose in cook

≈ Leave a comment

Tags

breakfast, broccoli, broccoli and cheese quiche, brunch, cheese, egg, gluten-free quiche, grated potato, quiche, wheat-free quiche

broccoli and cheese quiche

Quiche can be enjoyed anytime of the day… breakfast, brunch, lunch or with a glass of white wine and fresh garden salad for dinner. I enjoy making quiche as there are so many other filling ingredients to experiment with. For example, adding wild mushrooms, dandelion leaves, feta cheese, diced artisan sausage or yellow and orange bell peppers for more color. Here is a great alternative using grated potatoes instead of pastry for the crust.

Broccoli and Cheese Quiche with a Grated Potato Crust

For the Crust:

3 cups grated potato combined with 1 teaspoon of salt

1/4 cup shredded Parmesan cheese

1/2 teaspoon black pepper

1 teaspoon salt

1 tablespoon melted butter

Preheat oven to 425*F. Grease a 10-inch pie plate.

Allow the grated potatoes and salt to sit for 10 minutes before squeezing the excess liquid out in a clean tea towel. In a large bowl, combine the dried potatoes, Parmesan cheese, salt, pepper and melted butter.

Press the mixture in an even layer into the bottom and up the sides of the greased 10-inch pie plate. Bake in preheated oven for 20 minutes or until the potatoes begin to brown. Remove from oven and let sit for 5 minutes before adding the quiche mixture.

quicheFor the Filling:

1 tablespoon butter

1/2 small onion, diced

2 cloves garlic, minced

2 cups broccoli florets, diced

1/2 large red bell pepper, diced

5 large eggs

1 cup milk

1-1/2 cups cheddar cheese, shredded

1 teaspoon salt

1/2 teaspoon black pepper

In a large frying pan over medium heat, saute the onion, garlic. broccoli and red pepper in butter until the onion is transparent and the broccoli is bright green, about 5-8 minutes. Remove from heat and transfer to the potato crust, making sure that there is an even layer of vegetables.

In a large mixing bowl, whisk together the eggs, milk, cheese, salt and pepper. Spread the vegetables in the potato crust.

Bake in a 350*F oven or until golden brown on top and the egg mixture is set. Allow quiche to sit for 10 minutes before cutting.

quiche2quiche3Enjoy!

Share this:

  • Twitter
  • Facebook
  • Pinterest
  • Print
  • Email

Like this:

Like Loading...

wild rose petal jelly and syrup

24 Tuesday Sep 2013

Posted by Delena Rose in preserve

≈ Leave a comment

Tags

edible flowers, jelly, preserving rose petals, rose petal, syrup, wild rose, wild rose petal jelly

wild rose petal jelly

This post is a catch-up from last July when Brian carefully picked a bundle of wild rose petals for me- truly a labor of love! We dried some and made a batch of jelly with the rest.

wild rose petal

I found this recipe on the Martha Stewart website. I followed the advice of a reader and doubled the amount of pectin but my jelly still did not set and I had wild rose petal syrup instead. I look forward to trying again next year for the prized jelly. In the meantime, I have been enjoying this syrup mixed in fruit salads, as Nature Pop and drizzled over chocolate cake. The last four jars will be saved for the darkest days of winter when we can enjoy the scent of July wild rose blossoms and the promise of summer-to-come.

wild rose petal syrup

For medicinal and nutritional benefits of wild rose petals, click here to visit a previous cabinorganic post. In the meantime, here is Martha Stewart’s recipe:

Rose Petal Jelly

2 cups water

3 cups unsprayed pink rose petals, thicker tissue at base of petals removed

2 1/2 cups sugar

1/4 cup freshly squeezed lemon juice

3 ounces liquid pectin (or double this)

1 tablespoon rose water

STEP 1 Bring the water to a boil in a medium saucepan; remove from heat. Add petals; cover, and steep for 30 minutes. Strain liquid into clean saucepan. Discard petals.

STEP 2 Add sugar and lemon juice to pan. Bring mixture to a boil, stirring, over medium-high heat. Boil 2 minutes; add pectin, and boil 2 minutes (for firmer jelly, boil up to 2 minutes more). Remove from heat, add rose water. Pour into sterilized jars, and let cool completely. Store in refrigerator up to 6 months.

wild rose petal jelly2

wild rose petal jelly

I will let you know the results of next summer’s attempt in July!

Share this:

  • Twitter
  • Facebook
  • Pinterest
  • Print
  • Email

Like this:

Like Loading...
← Older posts
Newer posts →

Shop our Online Store

cabinorganic logo

Visit our Youtube Channels

Visit our other blogs

Delena Rose

Enter your email address to follow this blog and receive notifications of new posts by email.

RSS Links

RSS Feed RSS - Posts

RSS Feed RSS - Comments

categories

  • Alberta Mycological Society (1)
  • appreciate the seasons (48)
    • Autumn (3)
    • Easter (1)
    • Halloween (1)
    • winter fun (1)
  • art (3)
    • book making (1)
    • pottery (1)
  • babe and child (1)
  • barn (1)
  • be mindful (4)
  • bellybabechild (5)
  • birds (3)
  • butterflies (1)
  • buy local (13)
  • cabin living (26)
  • Chayton (4)
  • chickens (7)
  • chocolate-making (1)
  • cook (156)
    • ancient grains (3)
    • breads (4)
    • breakfast (1)
    • cakes and brownies (1)
    • cheese (3)
    • Chinese (1)
    • cookies (2)
    • curry (2)
    • gluten-free (2)
    • Jamaican (1)
    • Mexican (2)
    • muffins (2)
    • oil & vinegar (1)
    • pastry (1)
    • preserve (17)
    • rice (1)
    • salads (1)
    • vegetables (1)
    • wheat-free (2)
    • whole grains (21)
  • Devonian Botanical Garden (2)
  • DIY (1)
  • drum (2)
  • eco-living (6)
  • explore (5)
  • family (2)
  • for the body (2)
    • Wizard Lake Soap & Body (1)
  • forage (25)
  • garden (20)
    • bird butterfly bee (1)
    • greenhouse (1)
    • herb & tea (1)
    • medicine wheel (2)
  • handmade (24)
    • bent wood furniture (1)
    • books (1)
    • labels (1)
  • healing (3)
  • Indian (1)
  • Indigenous teachings (1)
  • juice (3)
  • kids (1)
  • lake living (4)
  • local events (2)
  • Lucy (10)
  • make it (14)
    • knit (3)
  • mindfulness (4)
  • more about us (9)
  • Mother's Day (1)
  • mushrooms & fungi (3)
  • Native flute (1)
  • online store (1)
  • photography (1)
  • Pigeon Lake (17)
  • play (4)
  • raw foods (2)
  • read (6)
  • refinish (4)
  • reflections (3)
  • repurpose (7)
  • restaurants (1)
  • restore (10)
  • reuse (5)
    • thrift store finds (1)
  • seeds and nuts (1)
  • sweets (3)
  • tea (9)
    • Dragonfly Lane Teas (1)
  • thrift store finds (1)
  • Uncategorized (1)
  • wild berries (21)
  • wild flowers (6)
  • wild life (2)
  • wild mushrooms (2)
  • wild plant (2)
  • wild women (5)
  • Winter Solstice (1)
  • Worms (1)
  • write (3)

archives

  • May 2022 (1)
  • March 2022 (1)
  • January 2022 (3)
  • December 2021 (2)
  • June 2018 (1)
  • January 2018 (3)
  • December 2017 (4)
  • April 2015 (1)
  • January 2015 (3)
  • November 2014 (3)
  • July 2014 (1)
  • April 2014 (4)
  • March 2014 (3)
  • February 2014 (2)
  • January 2014 (2)
  • December 2013 (1)
  • November 2013 (5)
  • October 2013 (4)
  • September 2013 (10)
  • August 2013 (4)
  • May 2013 (1)
  • April 2013 (2)
  • March 2013 (5)
  • February 2013 (3)
  • January 2013 (5)
  • December 2012 (5)
  • November 2012 (5)
  • October 2012 (6)
  • September 2012 (8)
  • August 2012 (6)
  • July 2012 (8)
  • June 2012 (9)
  • May 2012 (19)
  • April 2012 (18)
  • March 2012 (15)
  • February 2012 (17)
  • January 2012 (19)
  • December 2011 (20)
  • November 2011 (18)
  • October 2011 (17)
  • September 2011 (22)
  • August 2011 (27)
  • July 2011 (9)

food for thought

“Eat food. Not too much. Mostly plants.” ~Michael Pollan

Blogroll

  • Alberta Lamb Producers
  • Alberta Mycological Society
  • Alberta Plant Watch
  • Arctic Chalet
  • Aroma Borealis
  • Baking Beauties
  • Becoming Minimalist
  • Blue Heron Artists and Artisans
  • blue roof cabin
  • Bulk Herb Store
  • Cedar Spirit Flutes
  • Chris Martenson
  • Daily Health Boost
  • delightfullysimple
  • Devonian Botanical Garden
  • ECOcafe
  • Elm Cafe
  • Etsy
  • Gold Forest Farms
  • Grainworks
  • Happy Wrap
  • Learn WordPress.com
  • Michael Pollan
  • Mindsprings
  • Mother Earth News
  • Mountain Rose Herbs
  • My Repurposed Life
  • Noorish
  • Northern Alberta Society for Animal Protection
  • Pigeon Lake Nordic Ski Club
  • Pigeon Lake Provincial Park
  • Rundle Mission
  • Sage Mountain Herbal Retreat Center
  • TED
  • The Spirit Books
  • The Story of Stuff
  • The Village at Pigeon Lake

ECOcafe

Blog Stats

  • 318,451 hits

  • Follow Following
    • cabinorganic
    • Join 153 other followers
    • Already have a WordPress.com account? Log in now.
    • cabinorganic
    • Customize
    • Follow Following
    • Sign up
    • Log in
    • Report this content
    • View site in Reader
    • Manage subscriptions
    • Collapse this bar
 

Loading Comments...
 

    %d bloggers like this: