~ For people who are passionate about respecting the earth, walking in nature, observing wildlife, local diet, making do, repurposing, organic gardening, foraging for wild plants and fungi, natural health, scrumptious healthy cooking, renovations, DIY, crafting, raising children simply and mindfully, taking time for stillness, and living in harmony with the seasons.
Be silent in that solitude,
Which is not loneliness—for then
The spirits of the dead, who stood
In life before thee, are again
In death around thee, and their will
Shall overshadow thee; be still.
It has been a while since I have been able to post regularly and I thank you for your patience with me. If you have just discovered this blog recently, Brian and I had a son 15 months ago and Chayton has been keeping us very busy. However, at this stage I am finally (finally!!!) starting to get some free time (“me time”) here and there and I am really looking forward to catching up with you all here at cabinorganic.
I have some exciting projects to share with you, including the setting up our chicken coop and the creation of a rock garden. I have also continued to cook and experiment in the kitchen and look forward to sharing many new and tasty recipes with you. Also, we picked baskets of baskets of berries this summer and fall and made our favorite jams, jellies and syrups.
As I write this, Chayton naps nearby, birds are visiting the feeder just outside the window, pumpkins are roasting in the oven and Brian is outside hanging the Christmas lights. Later, we will rake the leaves in the front yard and take Lucy for a long walk in the woods.
Autumn is always a busy time around here as we prepare for the cold and snow. With Halloween come and gone we can now focus on enjoying the arrival of winter from the comfort of the cabin. Take care, everyone!
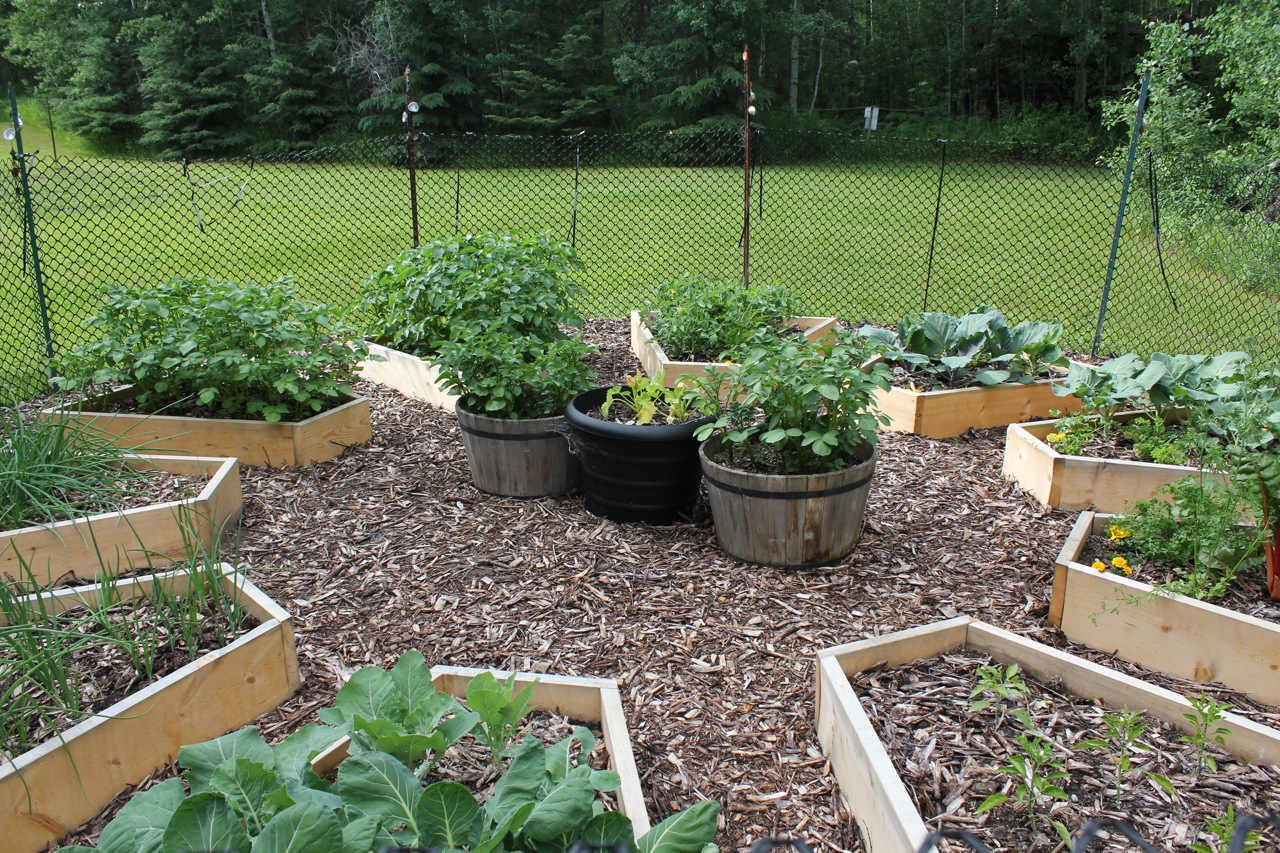
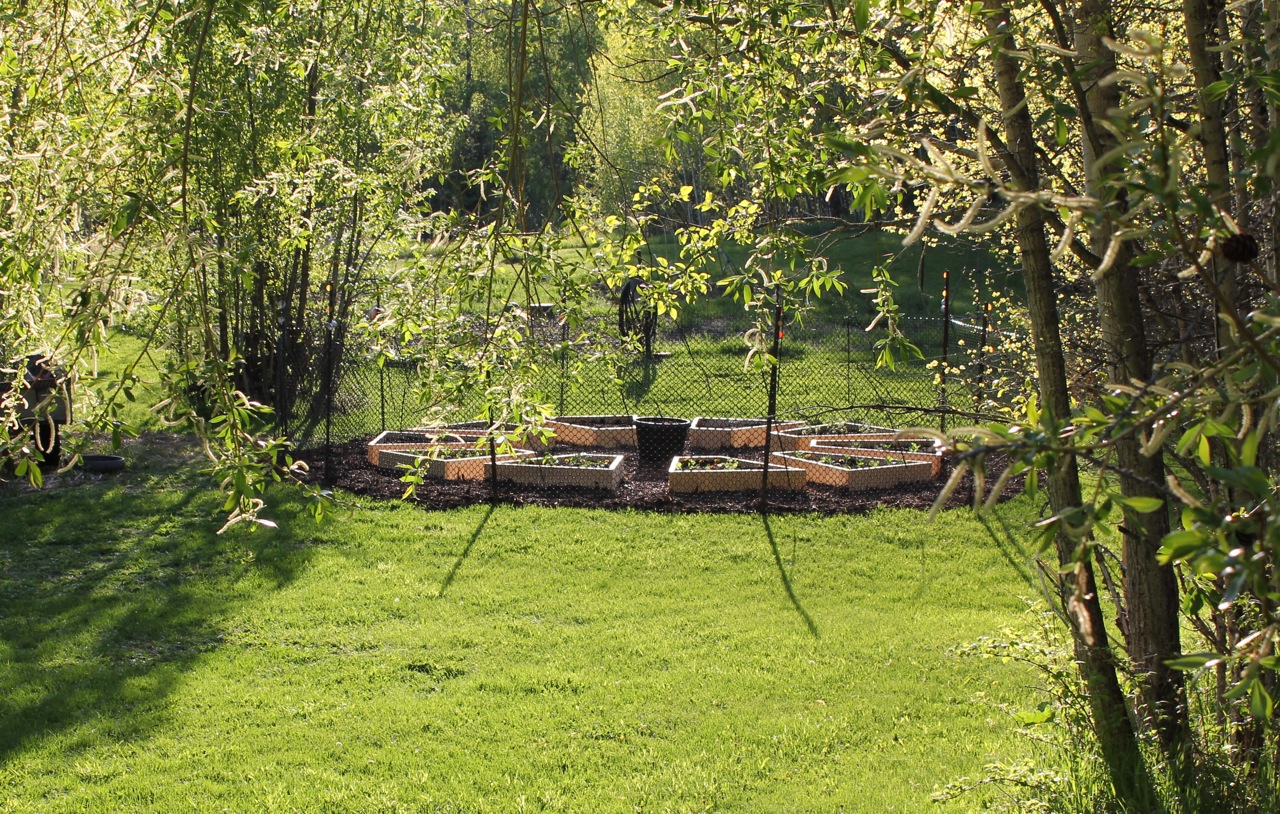
I must apologize for the long delay in getting this post up, especially to the four readers who wrote in early spring asking for more details on building the raised beds in the Medicine Wheel garden. My eleven-month old son is finally taking longer naps -and I am also now able to stay up past his bedtime- so I can now get back to one of my favorite things: blogging and sharing my life with each of you.
In this post, I will go into more detail on how we got the dimensions for the raised bed boxes for those who are interested in building their own. Click here if you need to refresh your memory on the previous post that we did two summers ago on building the raised beds. If you would like your raised bed circle to be smaller or larger you can use what we did here as a guide and plug in your own measurements. On the other hand, if my dimensions suit you just fine, then skip to the end where I will just give you the basic details in a nutshell. Please note that later this summer (or early next spring), we plan to build the second row in the Medicine Wheel garden so this is a work in progress! The next boxes will be a bit shorter and wider and we will be sure to include the dimensions for that when we do it.
How We Calculated the Dimensions for the Boxes:
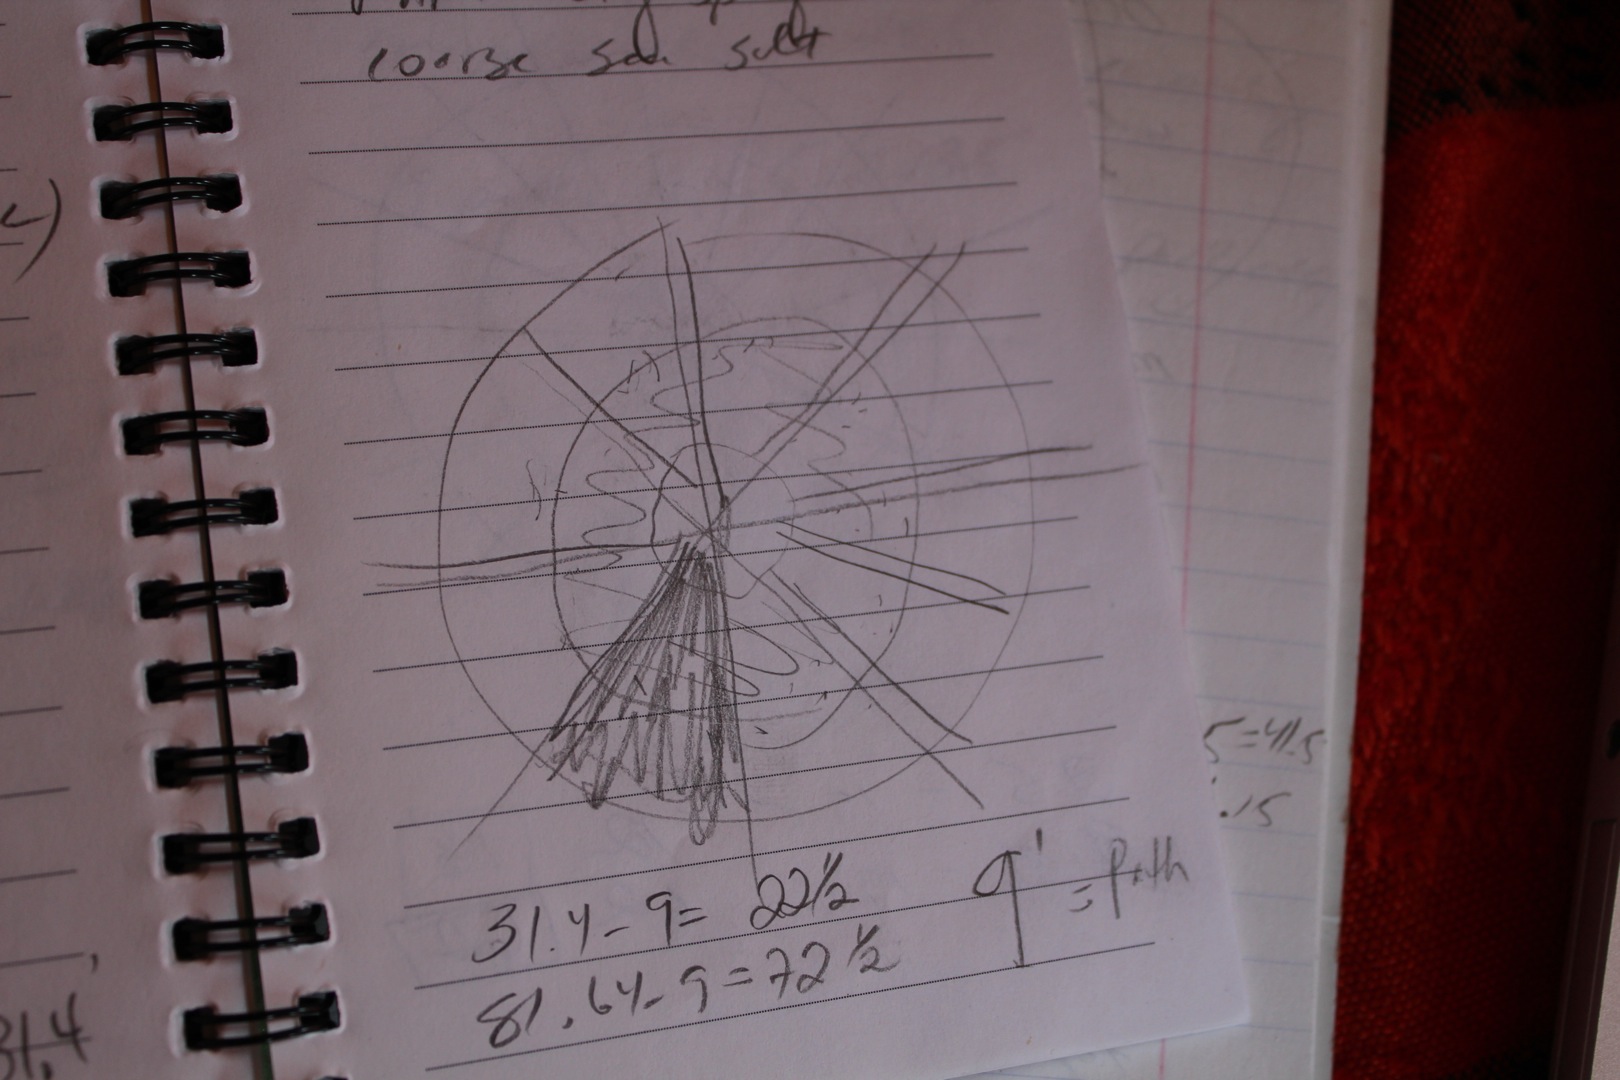
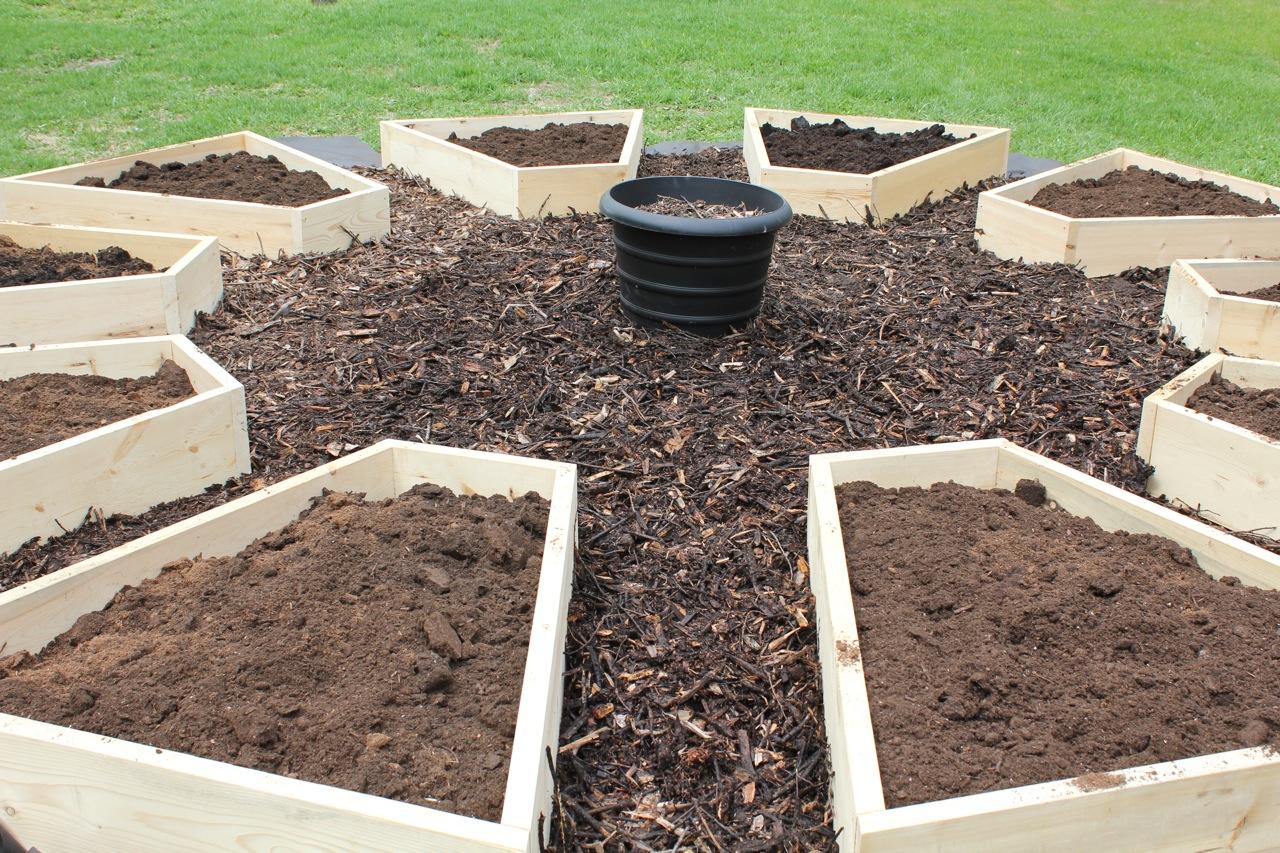
There was a bit of math involved in getting the dimensions for the layout of the beds. I started with some rough sketches of what I envisioned. As you can see, it looks like a pie. All I needed to do was figure out how large of a pie it should be, how much space I wanted in the center, and decide how wide I wanted the walkways to be in between each bed.
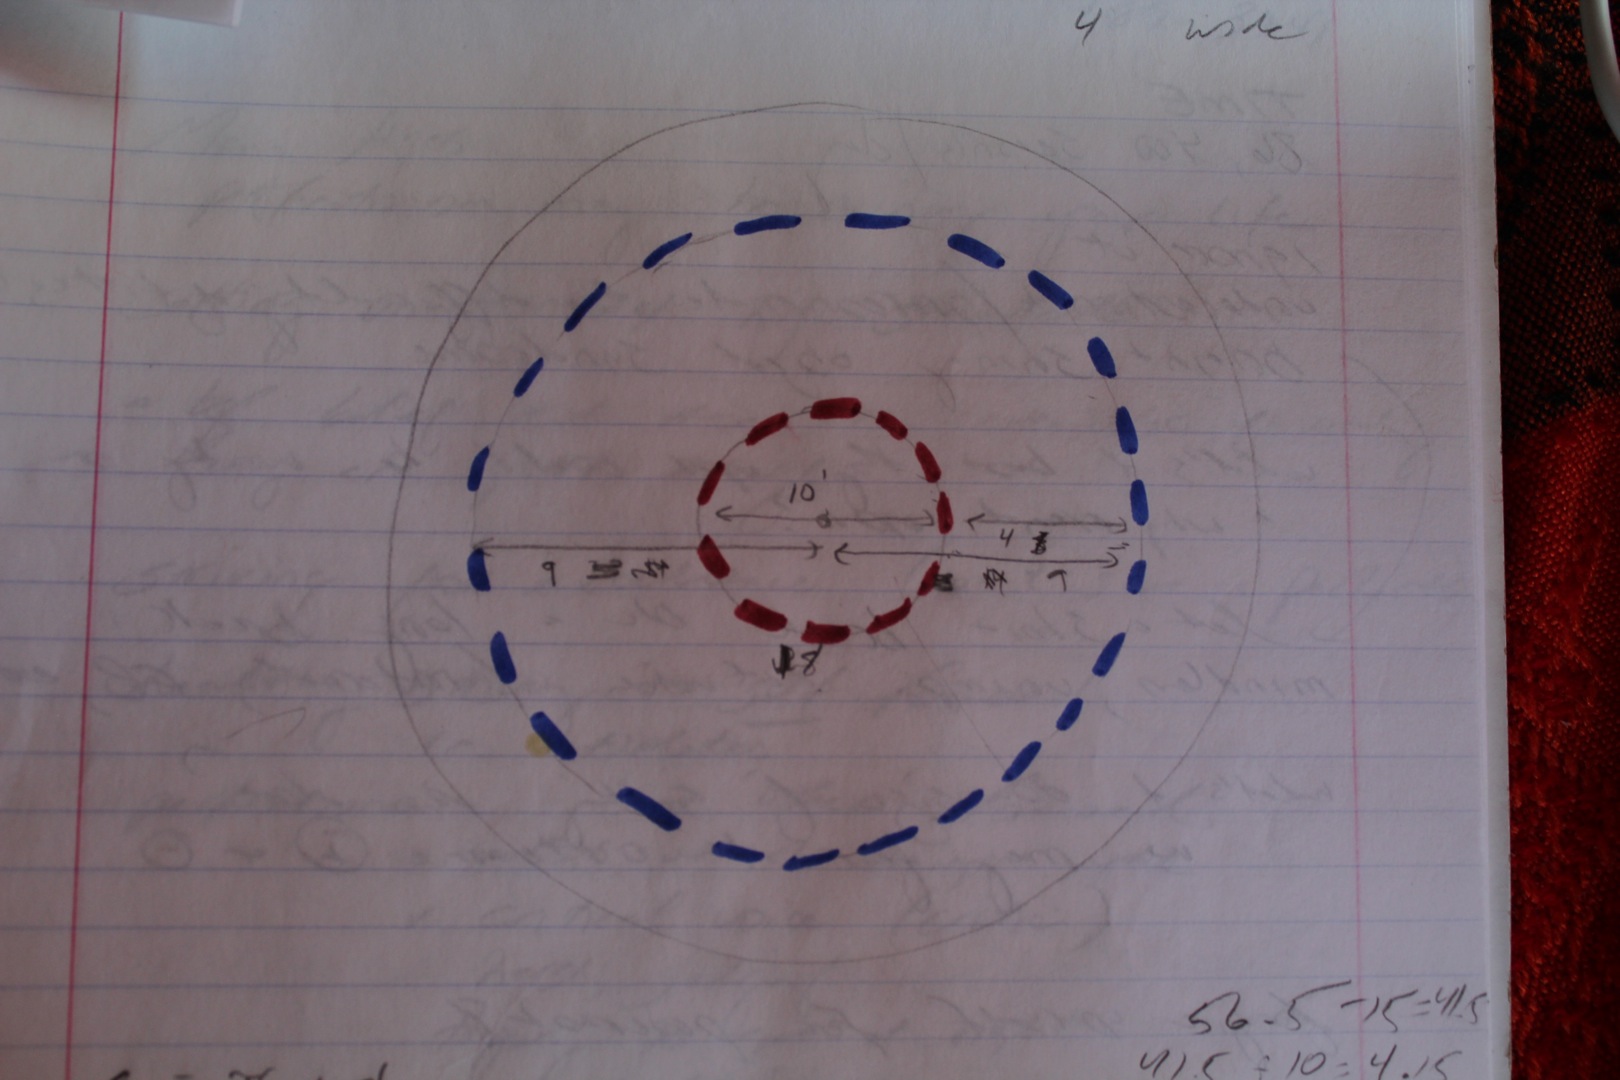
I started from the center and decided that I wanted a 10 foot diameter for the center circle. From there I knew I wanted the row of beds to be 4 feet long. I also knew that I wanted the walkways to be about a foot and a half wide, or 18 inches.
To get the dimensions for the beds, I calculated the circumference of both the center circle and the outer circle. The inner circle gives me the length of wood to cut for the narrow end. I simply subtracted the total amount of space needed for the walkways between each bed and divided what was left by the number of beds I wanted to have.
circumference = pie (3.14) x diameter
center circle: c = 3.14 x 10 = 31.4 or 31 ½ feet
outer circle: c = 3.14 x 18 = 56.52 or 56 ½ feet
I wanted 10 paths at 1 ½ feet wide: 10 x 1.5 = 15 feet in total
Center circle: 31 ½ – 15 = 16.5 feet (left for the narrow end of the beds)
16.5 divided by 10 beds = 1.65 or about 1 ½ feet for the narrow end
outer circle: 56 ½ – 15 = 41.5 feet (left for the wider end of the beds)
41.5 divided by 10 beds = 4 feet for the wider end
Then it was time to cut the wood and get building. We bought 2 x 10 untreated spruce. I chose untreated wood because I did not want any chemicals leaching into my garden soil and into our food. We cut the lengths for each bed: 10 pieces at 1-½ feet (narrow end) 10 pieces at 4 feet (wider end) and 20 more pieces at 4 feet (sides of the boxes)
Cutting the ends on an angle gives the boxes a finished look with no gaps in the corners. Brian is an engineer and did some quick calculations to get the angle: 36 degrees. You could also just use a sliding bevel. Lay your pieces out and use the sliding bevel to record the angle. Then take the sliding bevel to your miter saw and adjust the tilt of your blade to match the angle. Click here to see what a sliding bevel is and how to use one. The magical thing is that all of your cuts will be at the same angle so you only need to adjust your miter saw once. See the picture below: the narrow and wider ends are the longer pieces and the side pieces fit inside. This is the tricky part where you really don’t want to be in a rush: make sure you are cutting you angle in the right direction. I made quite a few mistakes before Brian came and took over so my boxes are actually a bit shorter than planned! It’s worked out all right in the end because we just made sure all of the boxes were the same size.
Once the pieces were cut, Brian screwed them together with deck screws. Then using the 10 feet center circle as our guide, we arranged the boxes in a circle, making sure that we had about 1-1/2 feet between each box for the walkways. This was not exact but once everything was in place it all looked beautiful.
In a Nutshell:
Use 2 x 10 spruce
Cut 10 pieces at 1-½ feet (narrow end)
Cut 10 pieces at 4 feet (wider end)
Cut 20 more pieces at 4 feet (sides of the boxes)
Arrange a box on the ground and use a sliding bevel to record your angle for cutting the ends.
Transfer this angle to your miter saw and cut your ends so that they will fit nicely together.
In the center point of your garden space, measure a small circle with a ten-foot diameter.
Place your boxes around this circle with a 1-1/2 foot space in between. I hope this helps! I would love to hear how your own raised beds turn out!
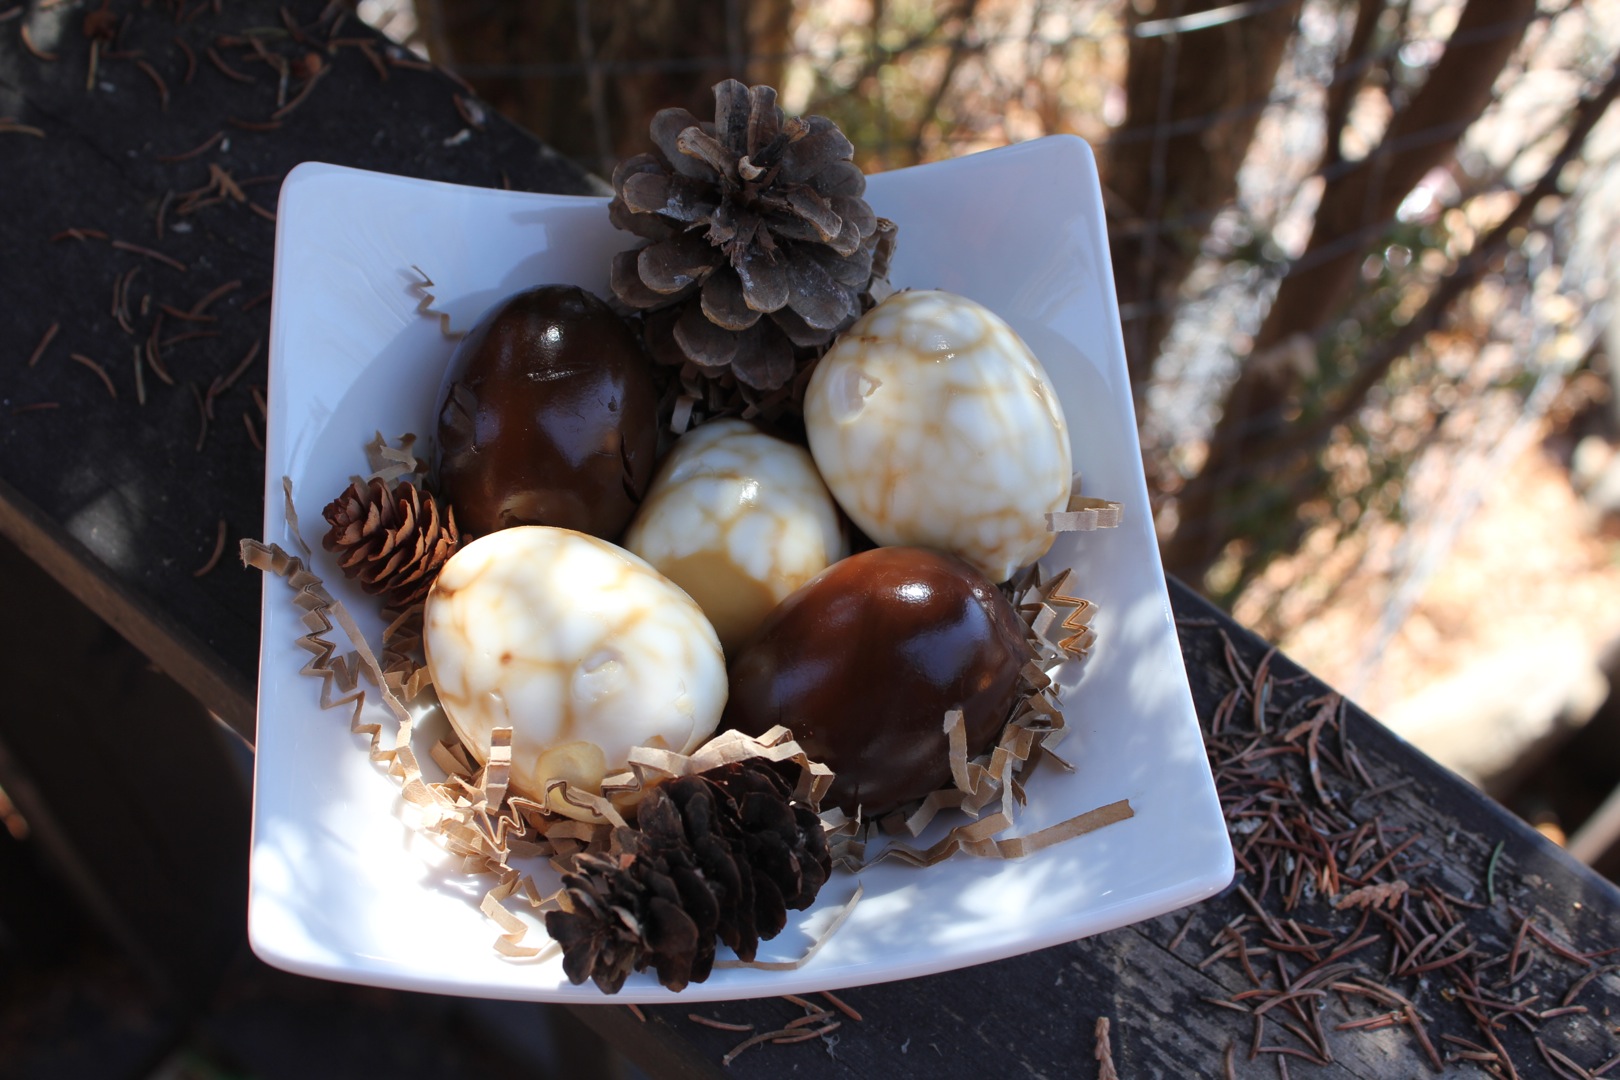
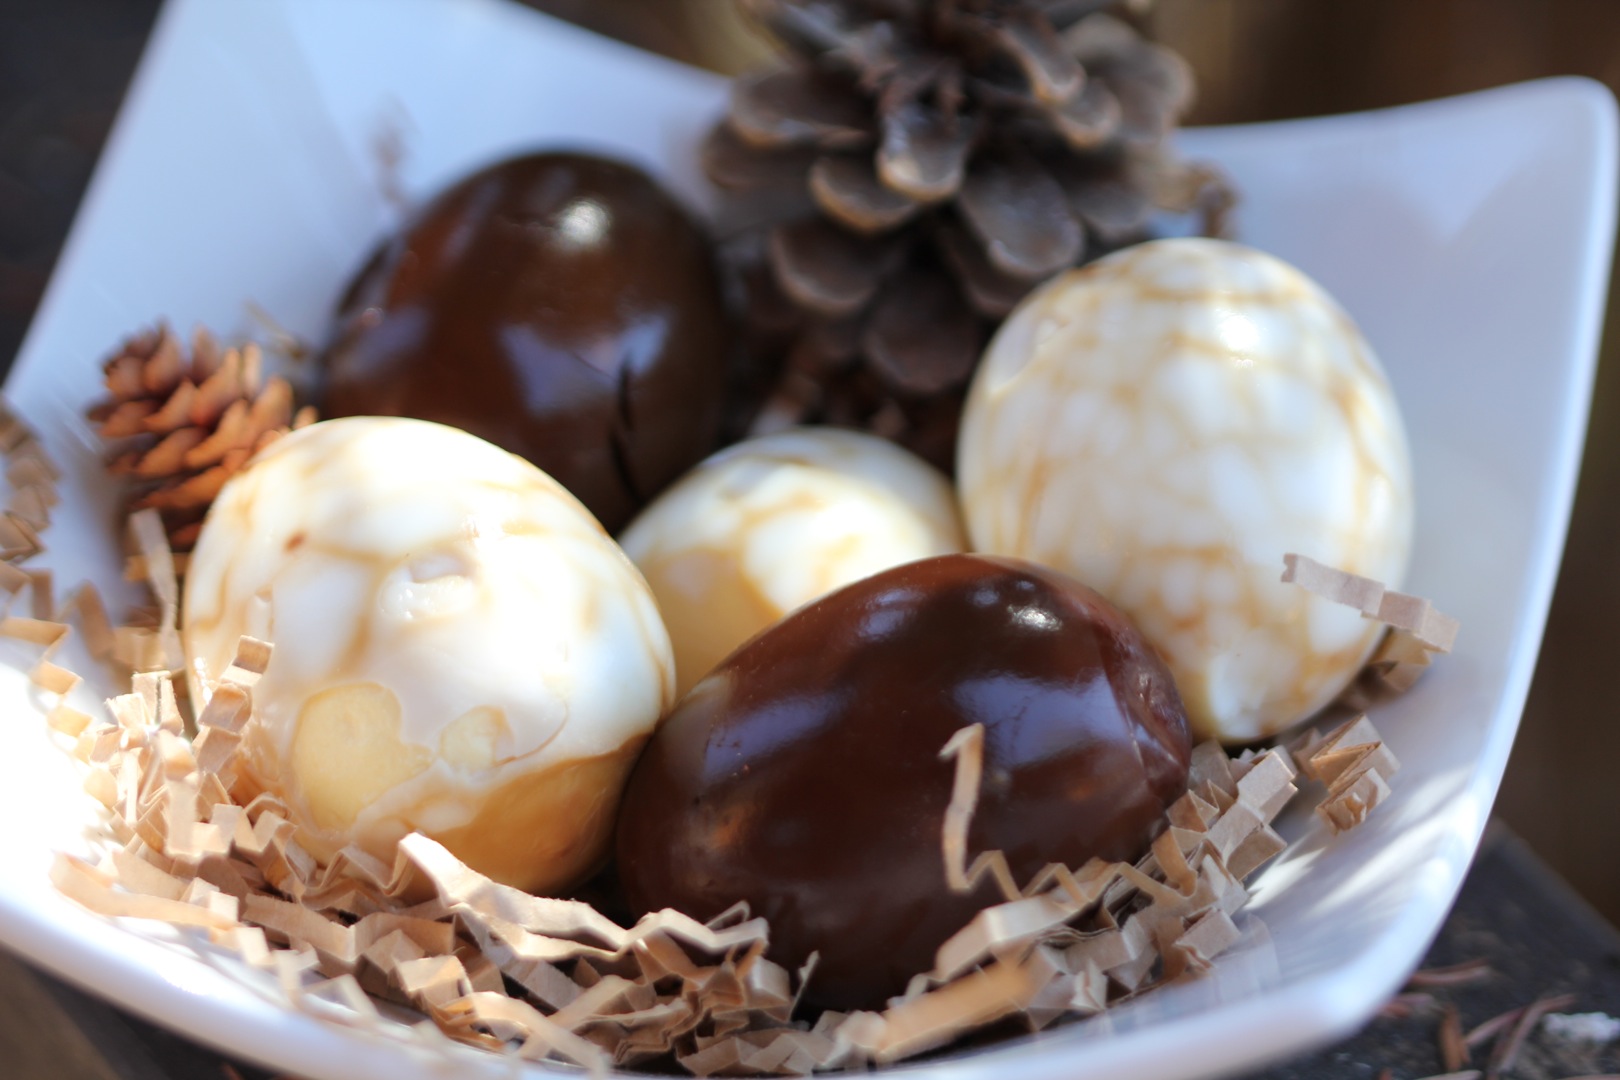
Our son, Chayton, is just going on nine months and so I didn’t feel the need to decorate fancy eggs or prepare many Easter treats. In fact, at his play group Easter party last Tuesday, Chayton was more interested in the paper bag holding his treats than the actual treats (and yes, he ate a few pieces of the bag!) However, I still needed something special for us to enjoy Easter morning. After all, it is Chayton’s first Easter. So I decided to make soy sauce eggs.
These are simple to make and taste wonderful. Usually, you make the soy sauce chicken marinade and cook your chicken in it first. Then you throw in a few hard boiled eggs (shelled) to soak up the sauce. At that point the sauce is diluted with juices from the chicken and so you have to marinate the eggs for a few hours to get dark, salty eggs. I found that I didn’t have to soak these eggs very long at all before the eggs got real dark- almost chocolate brown. To get solid dark eggs, peel all of the shell. For the marble look, crack the shell all over and soak them in the marinade with the shell still on. Marinate for half an hour or until your desired color. If you’ve cooked chicken in the marinade first, marinate for an hour or two.
Soy Sauce Chicken & Eggs
I recommend using one-quarter of this marinade if you’re only making soy sauce eggs.
4 cups mushroom soy sauce
3 cups water
1 cup dry white wine
1/2 cup sugar
5 thin slices fresh ginger
4 star anise
3-pound whole broiler-fryer chicken
spring onion
parsley
Heat soy sauce, water, wine, sugar, ginger root and star anise to boiling in Dutch oven. Add the chicken; heat to boiling. Reduce heat to medium-low.; cover and simmer 30 minutes or until done, turning the chicken and stirring the mixture 2 or 3 times.
Remove chicken from soy sauce mixture; let chicken stand for 20 minutes. Chop chicken with cleaver into 2 -1 inch pieces. Arrange pieces on serving platter in the shape of a chicken and garnish with spring onions and/or parsley.
Once sauce has cooled a bit, place hard boiled eggs (shelled) in the mixture and allow to marinade until desired intensity. Enjoy!
Resource:
Tlusty, L. (1981). Betty Crocker’s New Chinese Cookbook. New York,NY: Prentice Hall General Reference.
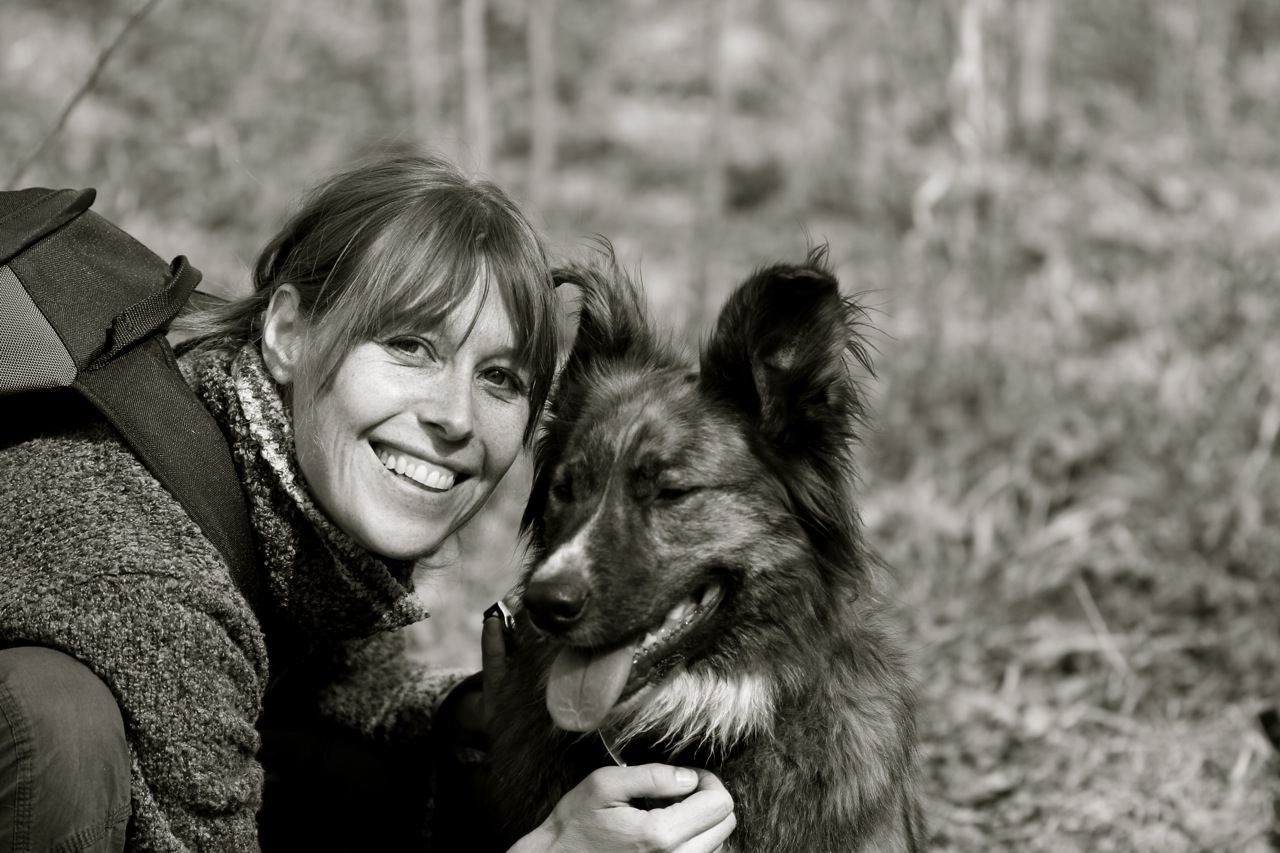
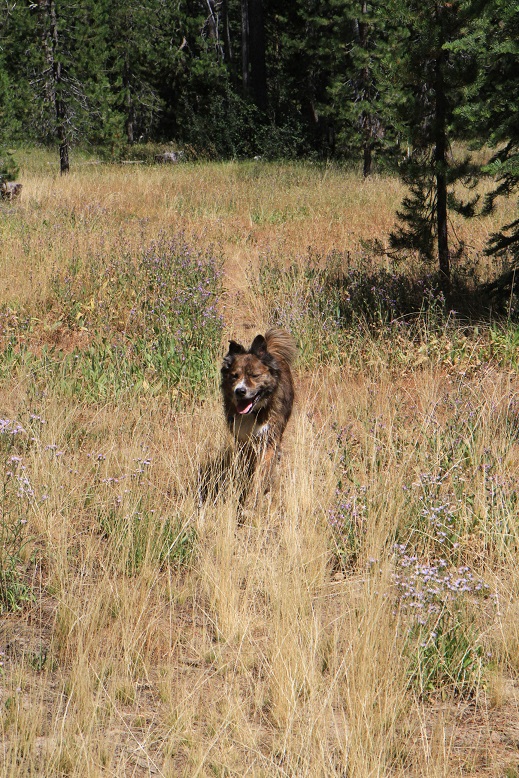
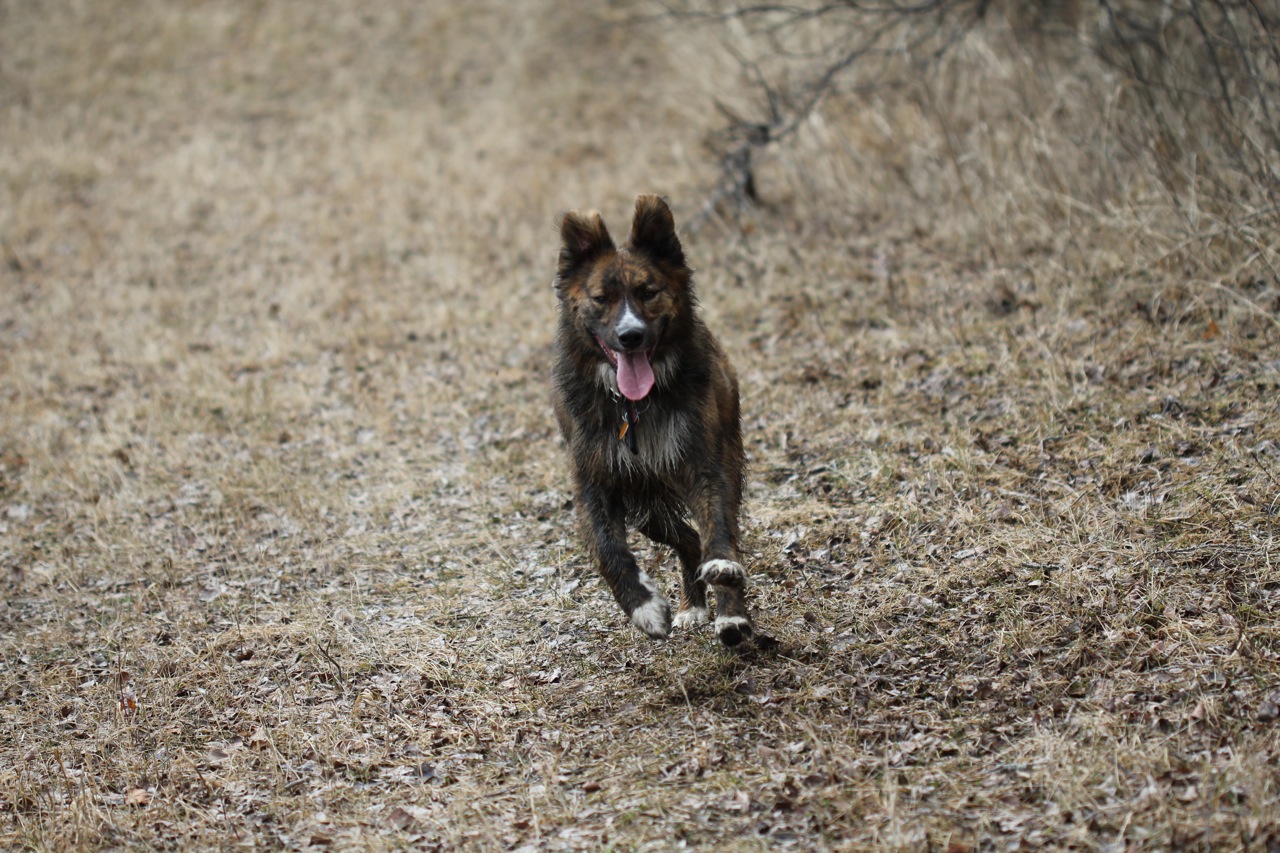
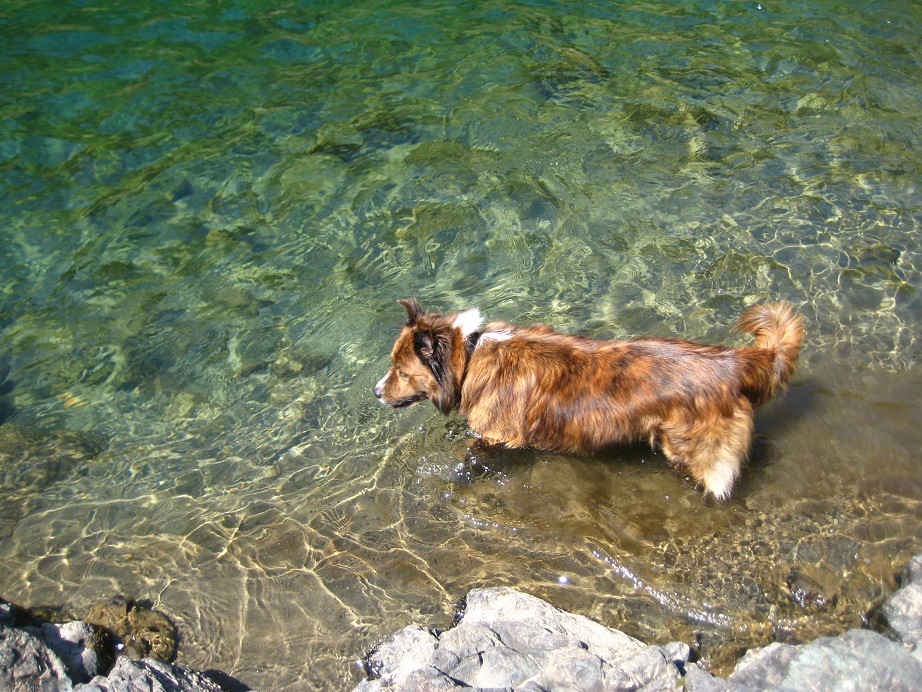
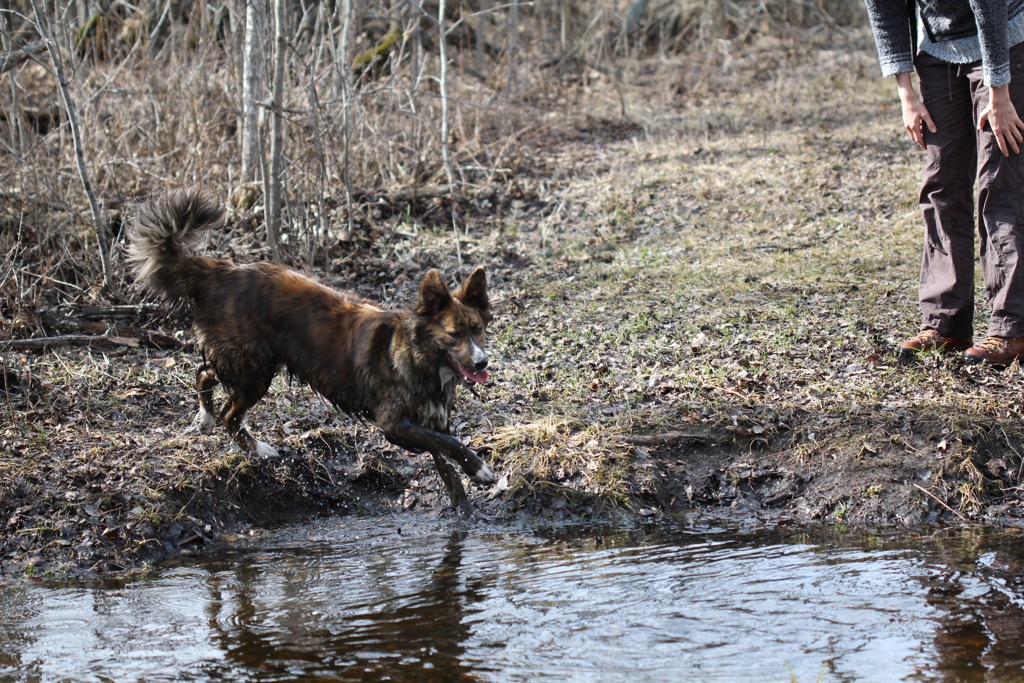
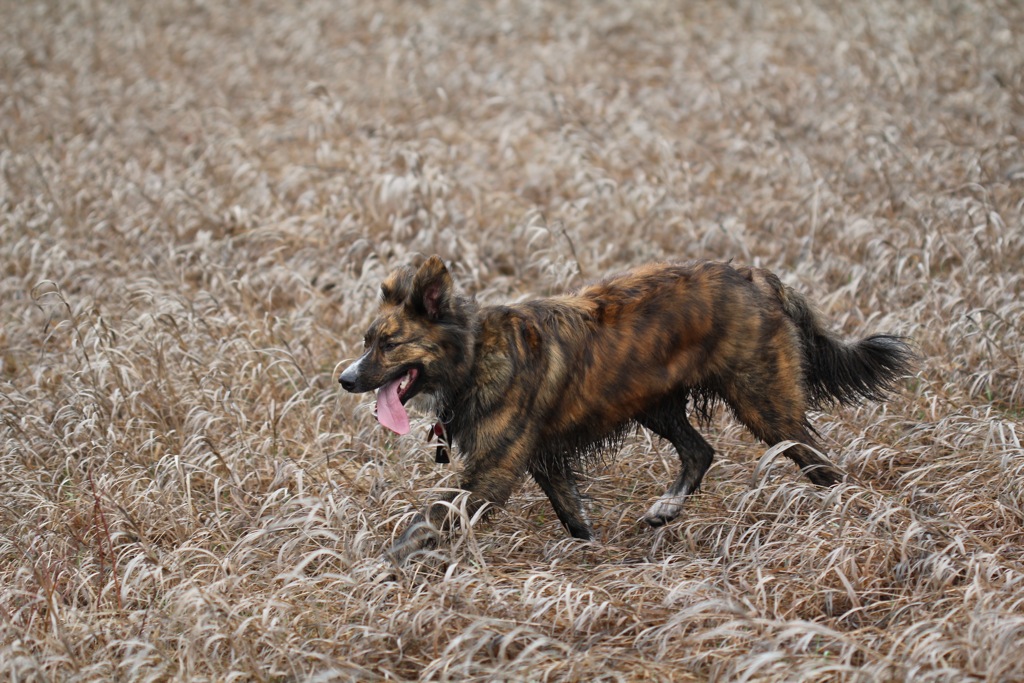
I received a few unexpected reader comments regarding Lucy back in late January. First, Vicky commented on how much Lucy reminded her of her own border collie, only that her coloring was different. Around the same time, Whitney in California wrote…
I was searching the web for currants to plant in our California front yard when I came across your pictures of Lucy. She looks EXACTLY like our dog Austin who we adopted from a local rescue group. Austin – like Lucy – is a gorgeous silky brindle and whenever we take him on walks people ask what breed he is. We just say Big Hairy Dog because we have no idea his lineage. We were told Australian Shepherd and Chow – but we can’t believe there’s any Chow in him. We had him tested and nothing definitive came up. I’m writing to ask if you know Lucy’s makeup. Austin and Lucy look like they could be from the same litter!
We exchanged pictures and yes, Lucy and Austin look like they could be brother and sister! What makes this so surprising is that we both get constant comments on how beautiful our dogs are due to their unusual brindle coat. Whitney, her husband and Austin live in California but one never knows. I’ve often heard it said that we all have a twin, or ‘doppelganger’ somewhere in the world. It appears that Lucy’s twin has found her! I’ll post the pics below. See if you can tell these two gorgeous dogs apart:
Whitney also has a blog called Burbette’s Feast and I am dying to ask her a few questions, such as:
Is your blog named after Babette’s Feast (my favorite movie of all time)? and
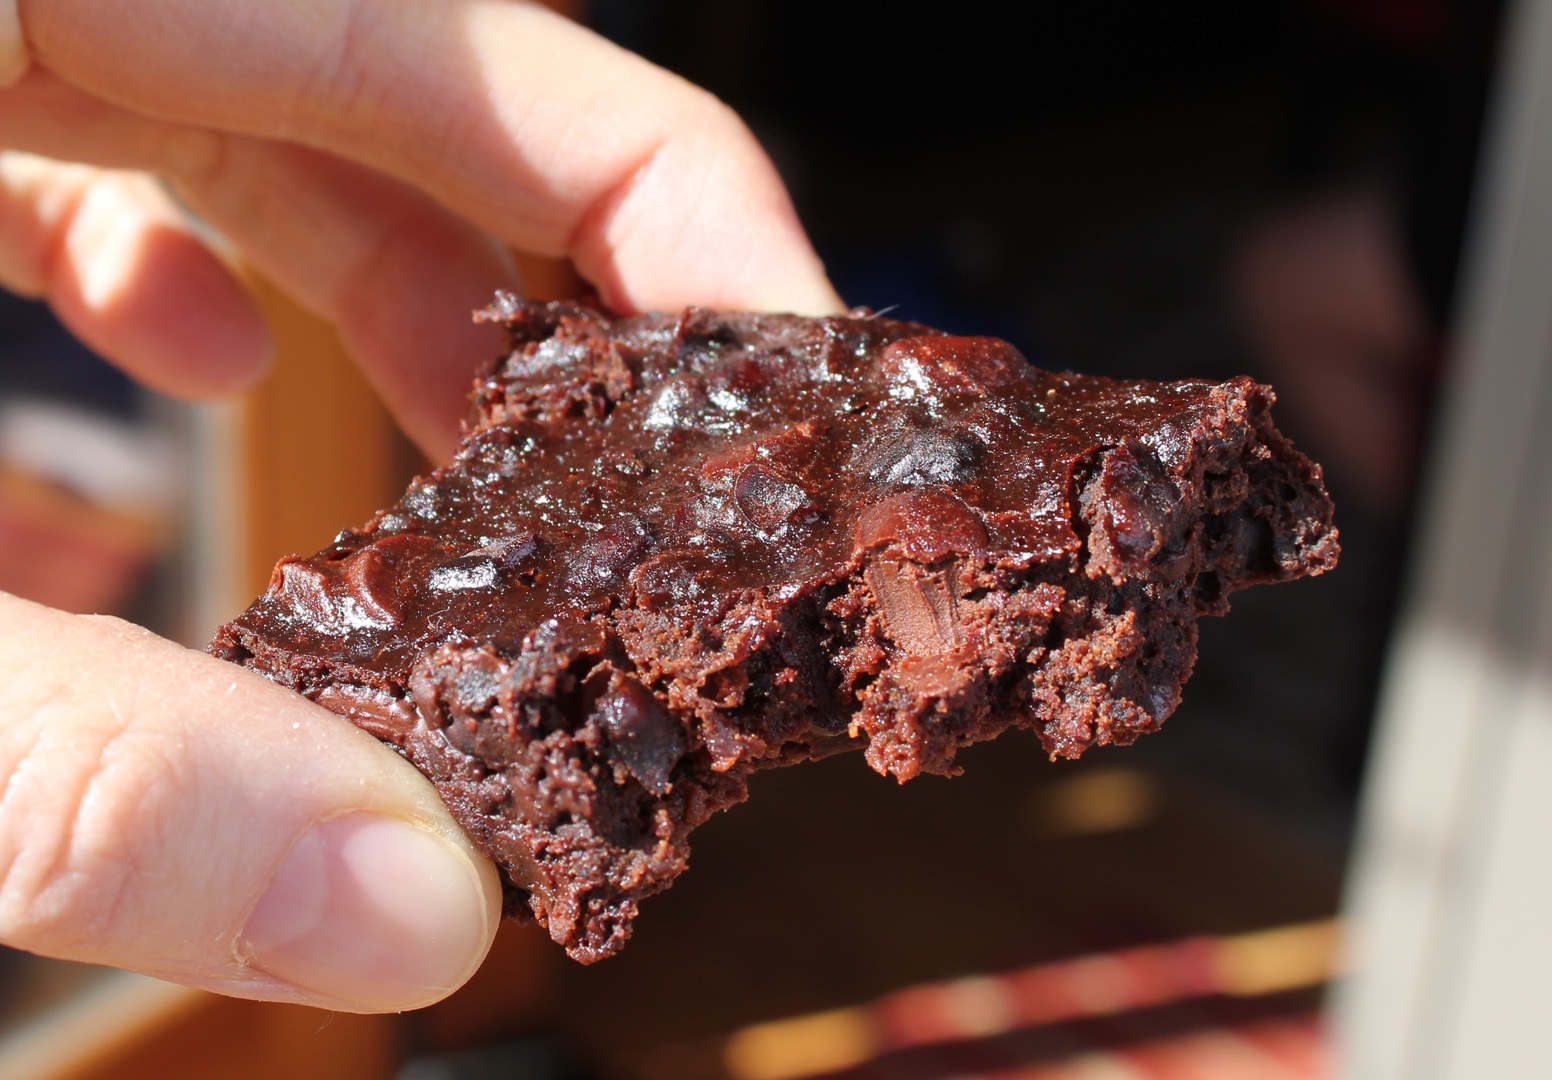
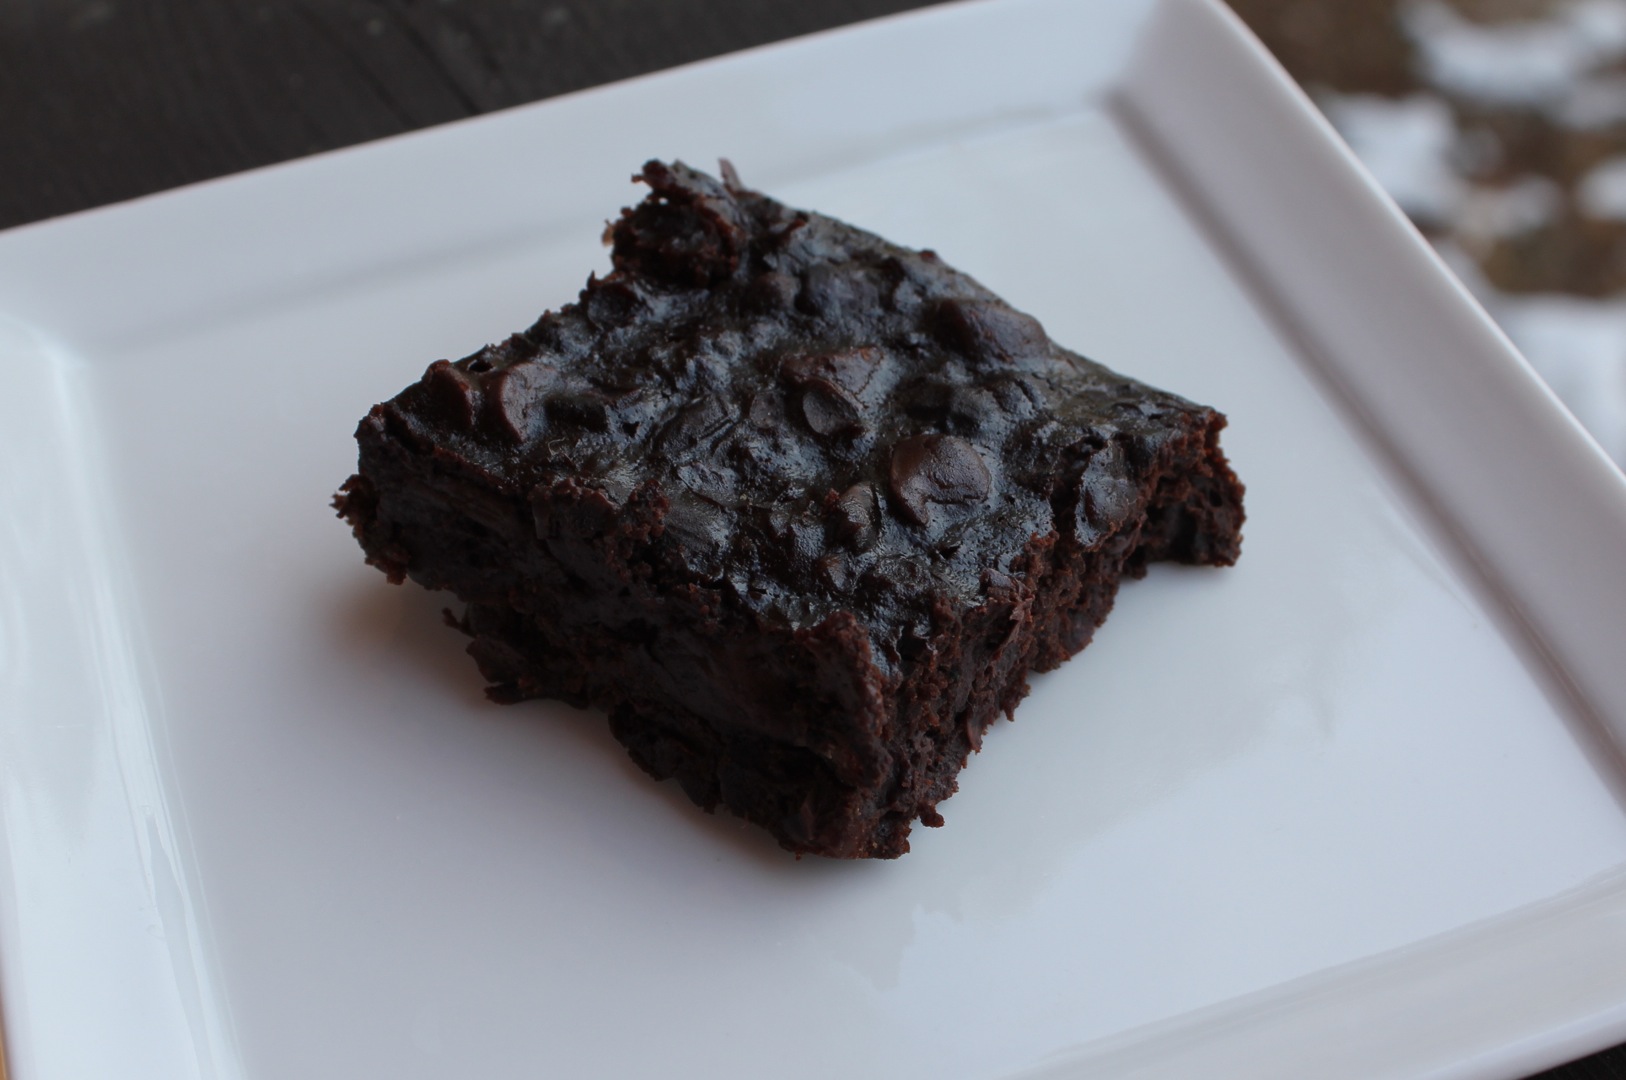
These are everything a brownie should be: moist, ‘fudgy’ and full of flavor! There is no flour in this recipe, which makes them both wheat-free and gluten-free and you can’t even taste the beans as they hide in among the chocolate chips. I’ve used both black beans and adzuki beans, which I soak over night and then cook up in a slow cooker here at home. My young friends gobble these up and I have to admit, these don’t last long here at our home!
Black Bean Brownies
2 cups black beans or adzuki beans (canned or freshly cooked at home)
2 eggs
3 tablespoons canola oil
1/3 cup cocoa powder
1/2 teaspoon salt
1 teaspoon vanilla
3/4 cup raw cane sugar (or natural sweetener of your choice)
1 teaspoon instant coffee
1/2 cup semi-sweet chocolate chips (I use 1 cup to make this extra ‘chocolate-y’)
Preheat oven to 375 degrees F.
Blend all ingredients, except the chocolate chips, together in a mixer or blender. Stir on the chocolate chips. Transfer to a greased 8 x 8 baking pan (I also line it with parchment paper). Bake for 30 minutes and allow brownies to cool before serving. Enjoy!
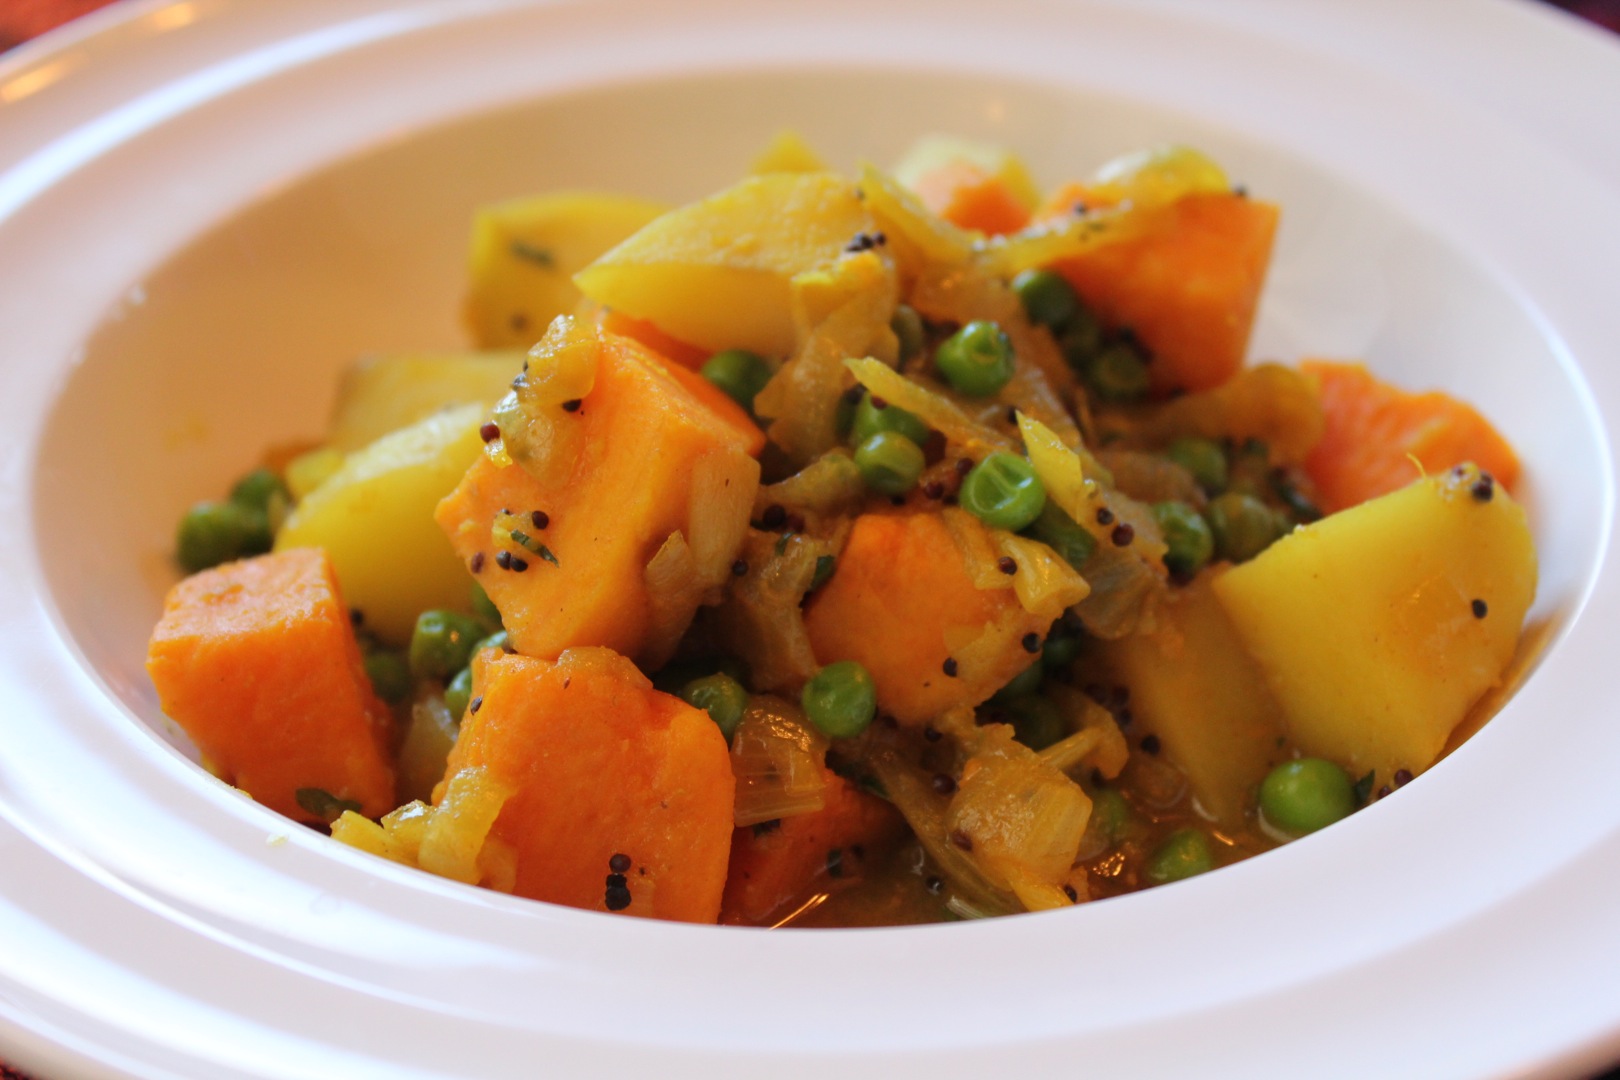
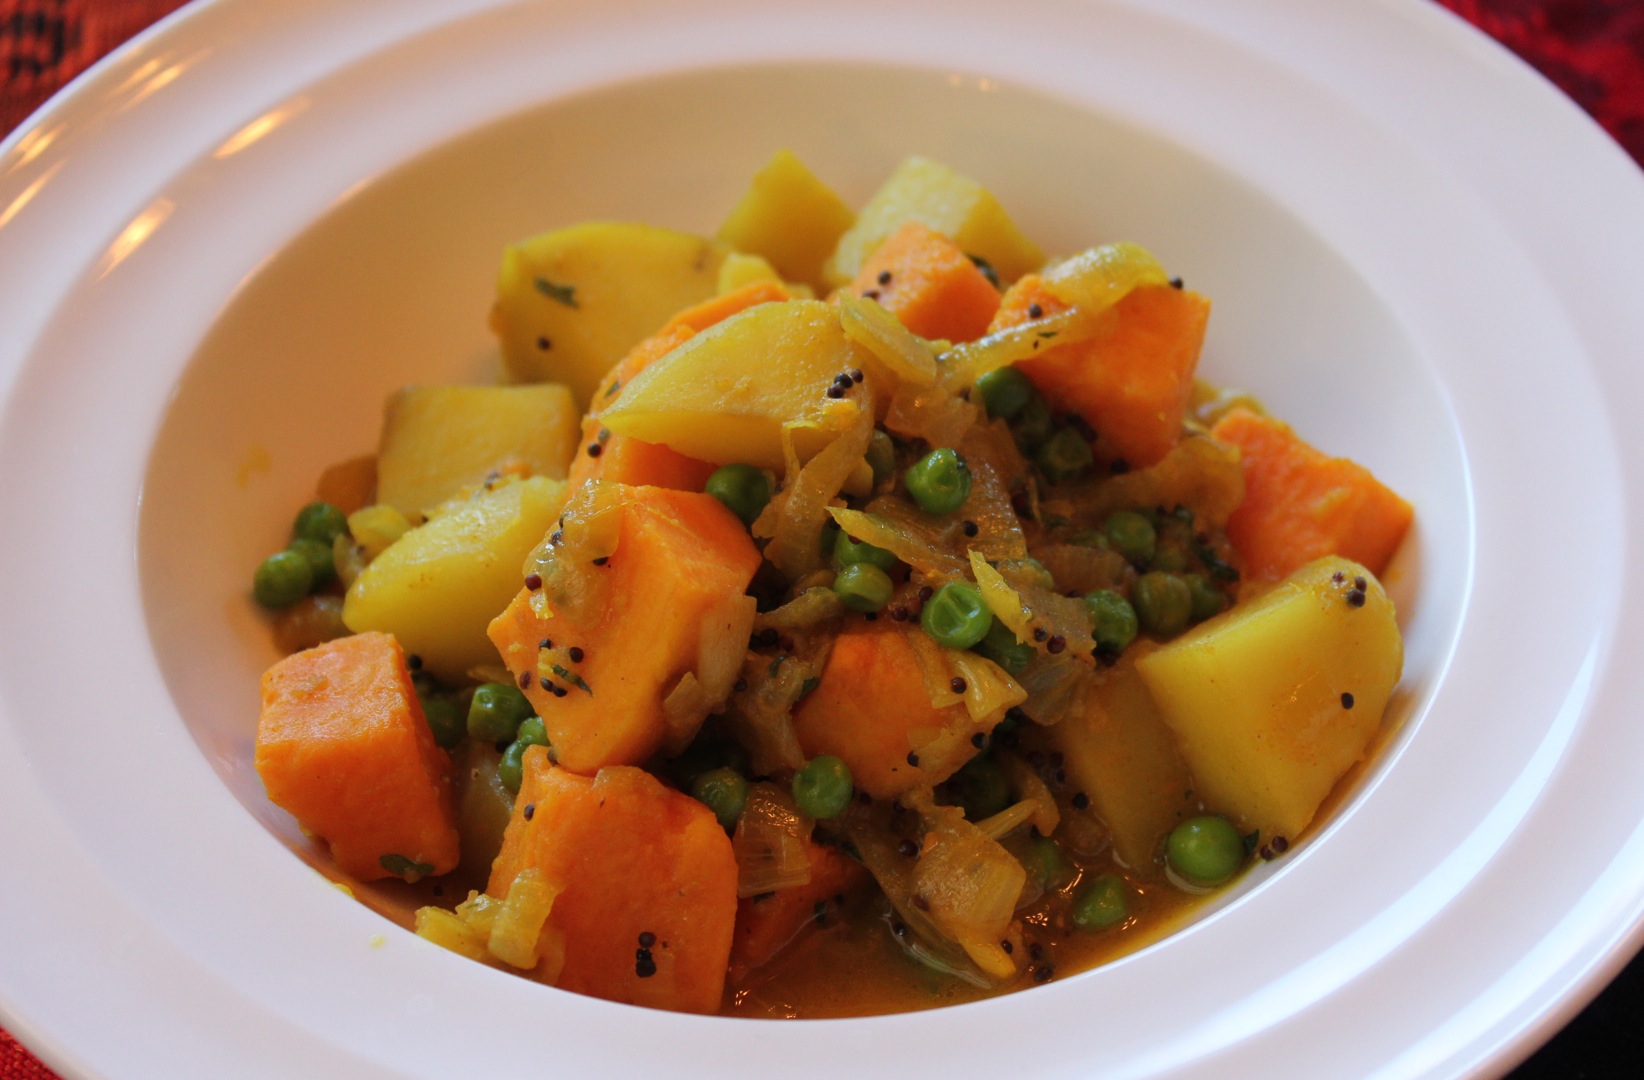
A very simple and quick curry for every day. I served this on a bed of coconut rice and garnished it with caramelized onions.
Potato and Pea Curry
4 large potatoes, peeled and cut into 1-inch cubes
2 teaspoons brown mustard seeds
2 tablespoons ghee or canola oil
2 onions, sliced
2 closed garlic, crushed
2 teaspoons ginger, grated
1 teaspoons turmeric
salt and pepper
1/2 teaspoon chili powder
1 teaspoon ground cumin
1 teaspoon garam masala
1/2 cup water
2/3 cup frozen or fresh peas
2 tablespoons fresh mint, chopped
Heat the mustard seeds in a large dry pan until they start popping. Add the ghee (or oil), onions, garlic, ginger and cook, stirring, until soft. Add the turmeric, salt, pepper, chili powder, cumin garam masala and potatoes. Stir until coated.
Add the water and simmer, covered, for 15-20 minutes, or until potatoes are just tender. Add the peas and stir; simmer, covered for 3-5 minutes, or until the potatoes are cooked and the liquid is absorbed. Stir in the mint and serve hot or warm. Enjoy!
Resource:
Stephen, W. & al. (1996). The Essential Vegetarian Cookbook. NSW, Australia: Murdoch Books.
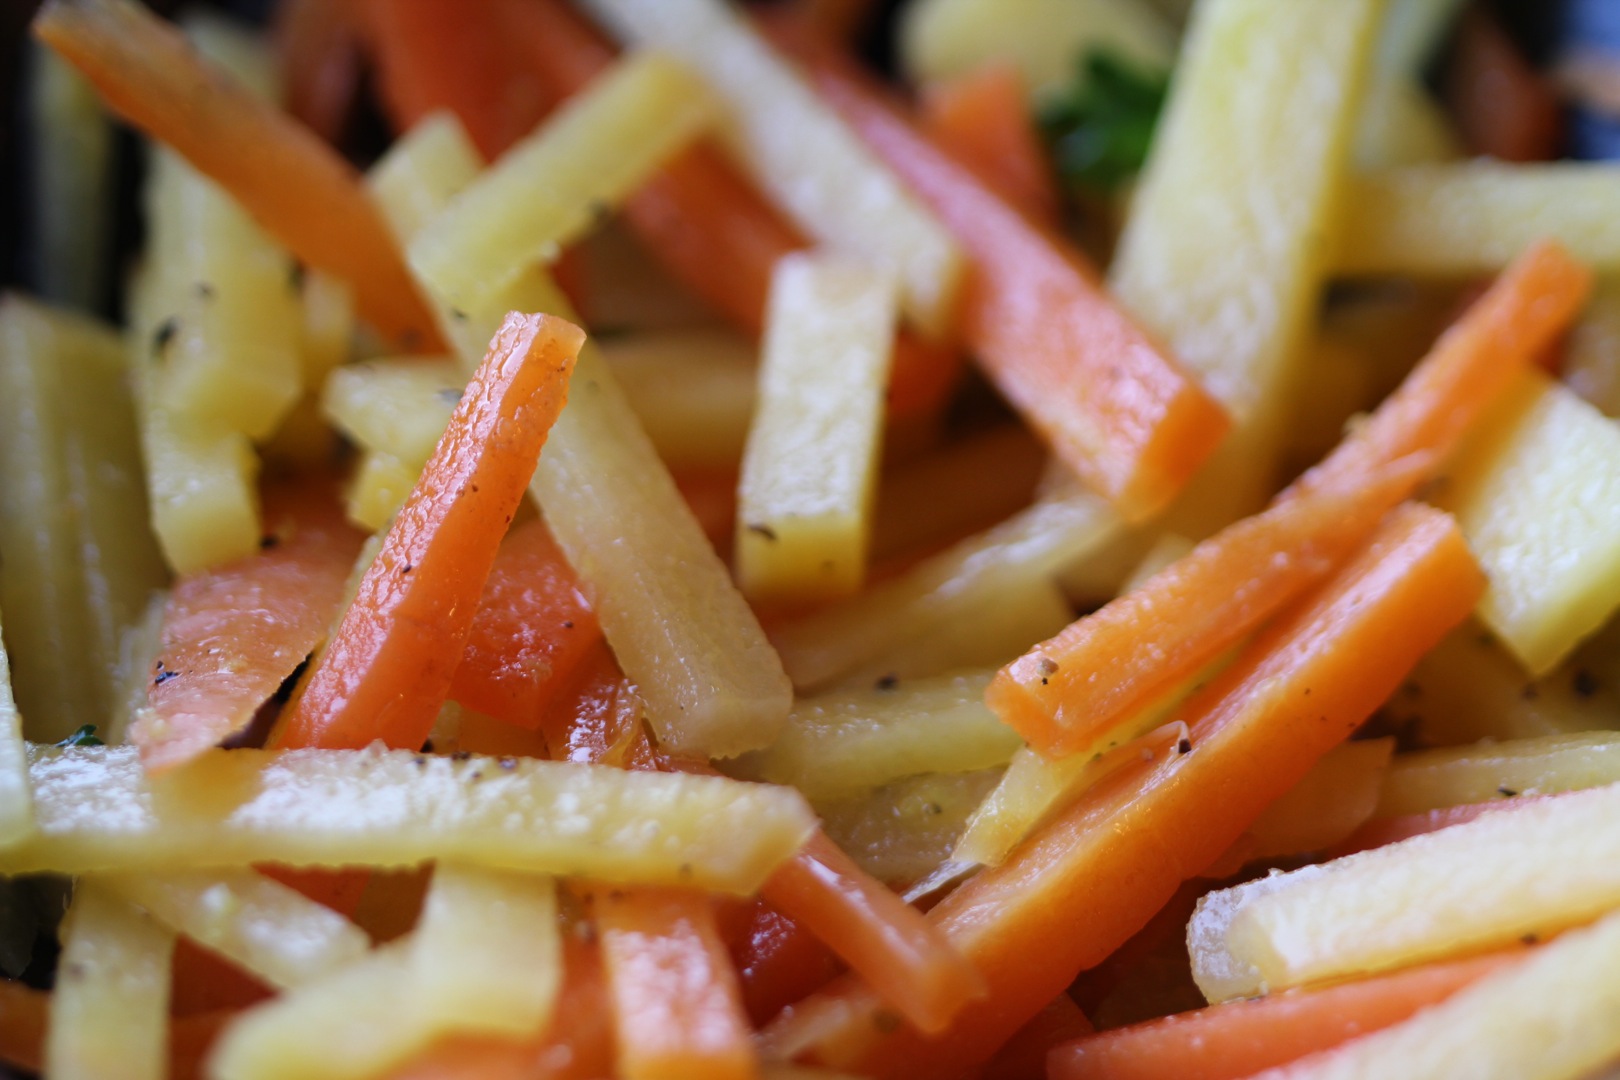
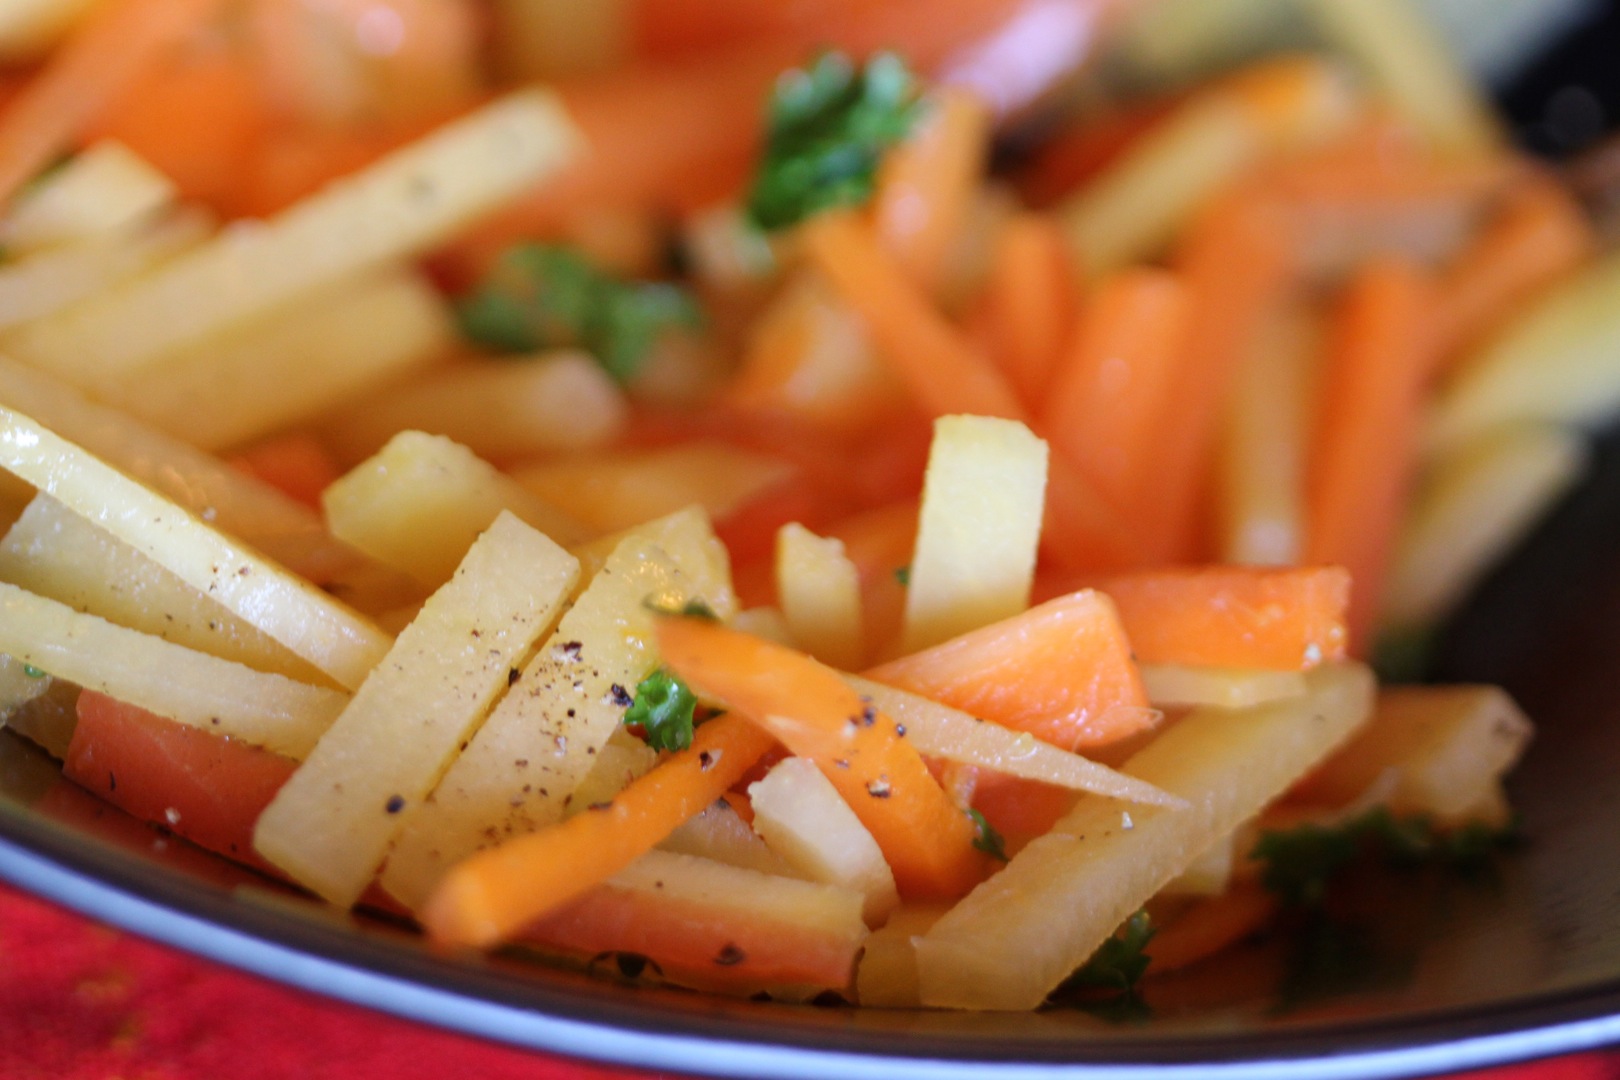
My family never ate turnips, rutabagas or parsnips when I was growing up so I never discovered how delicious they are until my adult years. I have only just tasted rutabaga this past week and have my fellow gardener, Rabbit (from Winnie the Pooh) to thank for finding this recipe! My son, Chayton enjoys watching Winnie the Pooh and we have watched the episode: “Rabbit and the Rutabaga Wrangler” more than a few times! I kept wondering what a rutabaga was and finally asked Brian, who explained it was a root vegetable, similar to a turnip. He brought one home the following weekend and I hunted for a recipe to cook it with. I found this one on the Epicurious website and loved how it turned out. For those who dislike turnips or rutabagas, this dish may surprise you. Where traditional pureed rutabagas are heavier and filling- a wonderful accompaniment to a winter feast, this recipe is light, a bit crunchy and lemony- perfect for lunch on the patio on a summer day.
Carrots and Rutabagas with Lemon and Honey
1 rutabagas, peeled, cut into matchstick-size strips
6-8 carrots, peeled, cut into matchstick-size strips
1/4 cup (1/2 stick) butter or extra virgin olive oil (I used olive oil)
1/4 cup fresh lemon juice
3 tablespoons honey
1 teaspoon grated lemon peel
1/2 cup chopped fresh chives
Cook rutabagas in large pot of boiling salted water 2 minutes. Add carrots and cook until vegetables are cooked through but still slightly firm, about 5 minutes. (Or cook longer for more tender vegetables.) Drain.
Melt butter (or olive oil) in large pot over medium-high heat. Add lemon juice, honey, and peel. Bring to boil. Add vegetables; stir until glazed and remove from heat. Or, for softer vegetables, cook for about 6 minutes, stirring occasionally. Season to taste with salt and pepper. Remove from heat. Mix in fresh chives. Serve immediately and enjoy!
Rutabaga is cross between a member of the cabbage family and the turnip family. It was a staple during World War II when food was scarce which is why it is often thought of as a ‘deprivation food’. Rutabagas are more pungent than turnips and the pungency can be reduced by blanching the vegetable in boiling water for 5 minutes before cooking. Rutabagas are an excellent source of potassium and a good source of vitamin C. It also contains magnesium, folic acid and phosphorus.
Resource:
Fortin, J. (1996). The Visual Food Encyclopedia. Montreal, Quebec: Les Editions Quebec/Amerique Inc.
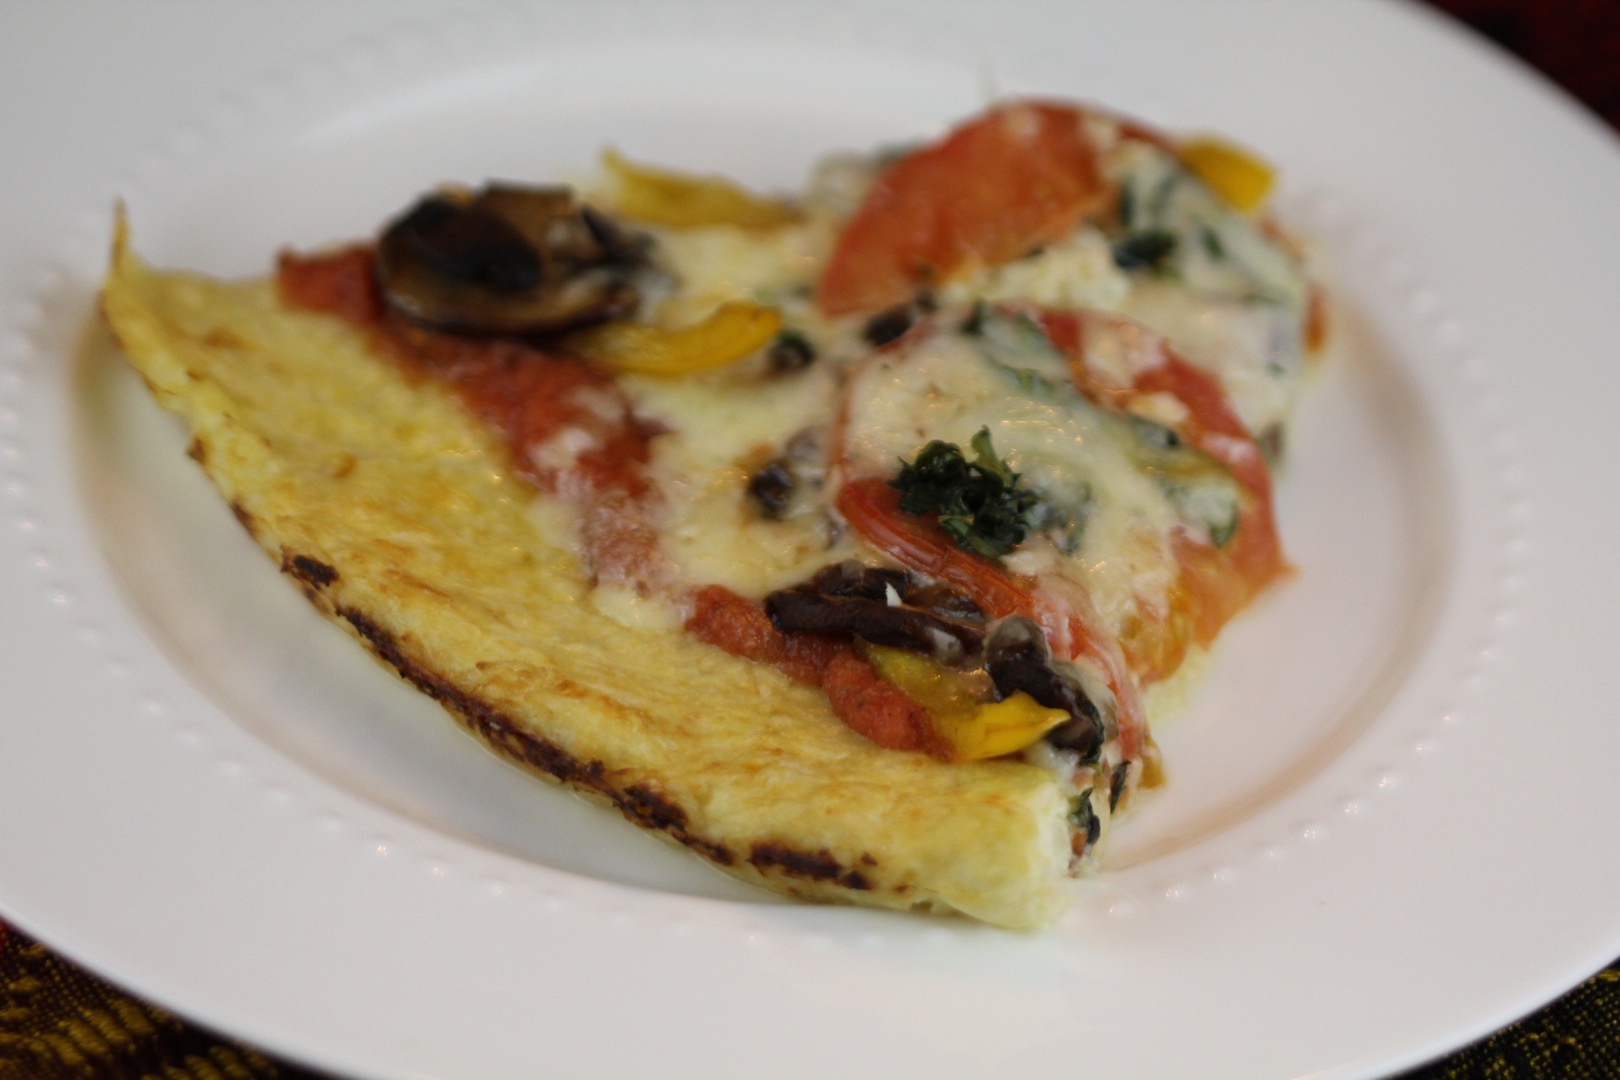
I made this pizza for the first time a few weeks ago and it was so delicious that I had to make it again the following weekend! If you are gluten-free or wheat-free this pizza is perfect for you. For the rest of us, this is another delicious variation of an old favorite. The nice thing about this pizza recipe is that you don’t feel all full and doughy after eating it. You actually feel ‘light’. This recipe comes from William Davis’s Wheat Belly book.
Wheat-Free Pizza
1 head cauliflower, cut into 1-to-2 inch pieces
About 3/4 cup of olive oil
2 large eggs
3 cups mozzarella cheese, shredded
Your choice of meat toppings: sausage, pepperoni, ground beef, turkey or pork
12 ounces pizza sauce or 2 cans to tomato paste
Your choice of vegetable toppings: peppers, sun-dried tomatoes, chopped onions, garlic, fresh spinach, mushrooms, olives, etc.
Fresh or dried basil
Fresh or dried oregano
black pepper
1/4 cup Parmesan cheese, grated
Preheat the oven to 350*F. Lightly coat a pizza pan or large rimmed baking sheet with 1 tablespoon of olive oil. (I use parchment paper here.)
In a large pot of boiling water or in a vegetable steamer, cook the cauliflower until soft, about 20 minutes. Drain and transfer to a large bowl. Mash until the cauliflower is the consistency of mashed potatoes. Add 1/4 cup of the oil, the eggs and 1 cup of the mozzarella cheese. Mix well.
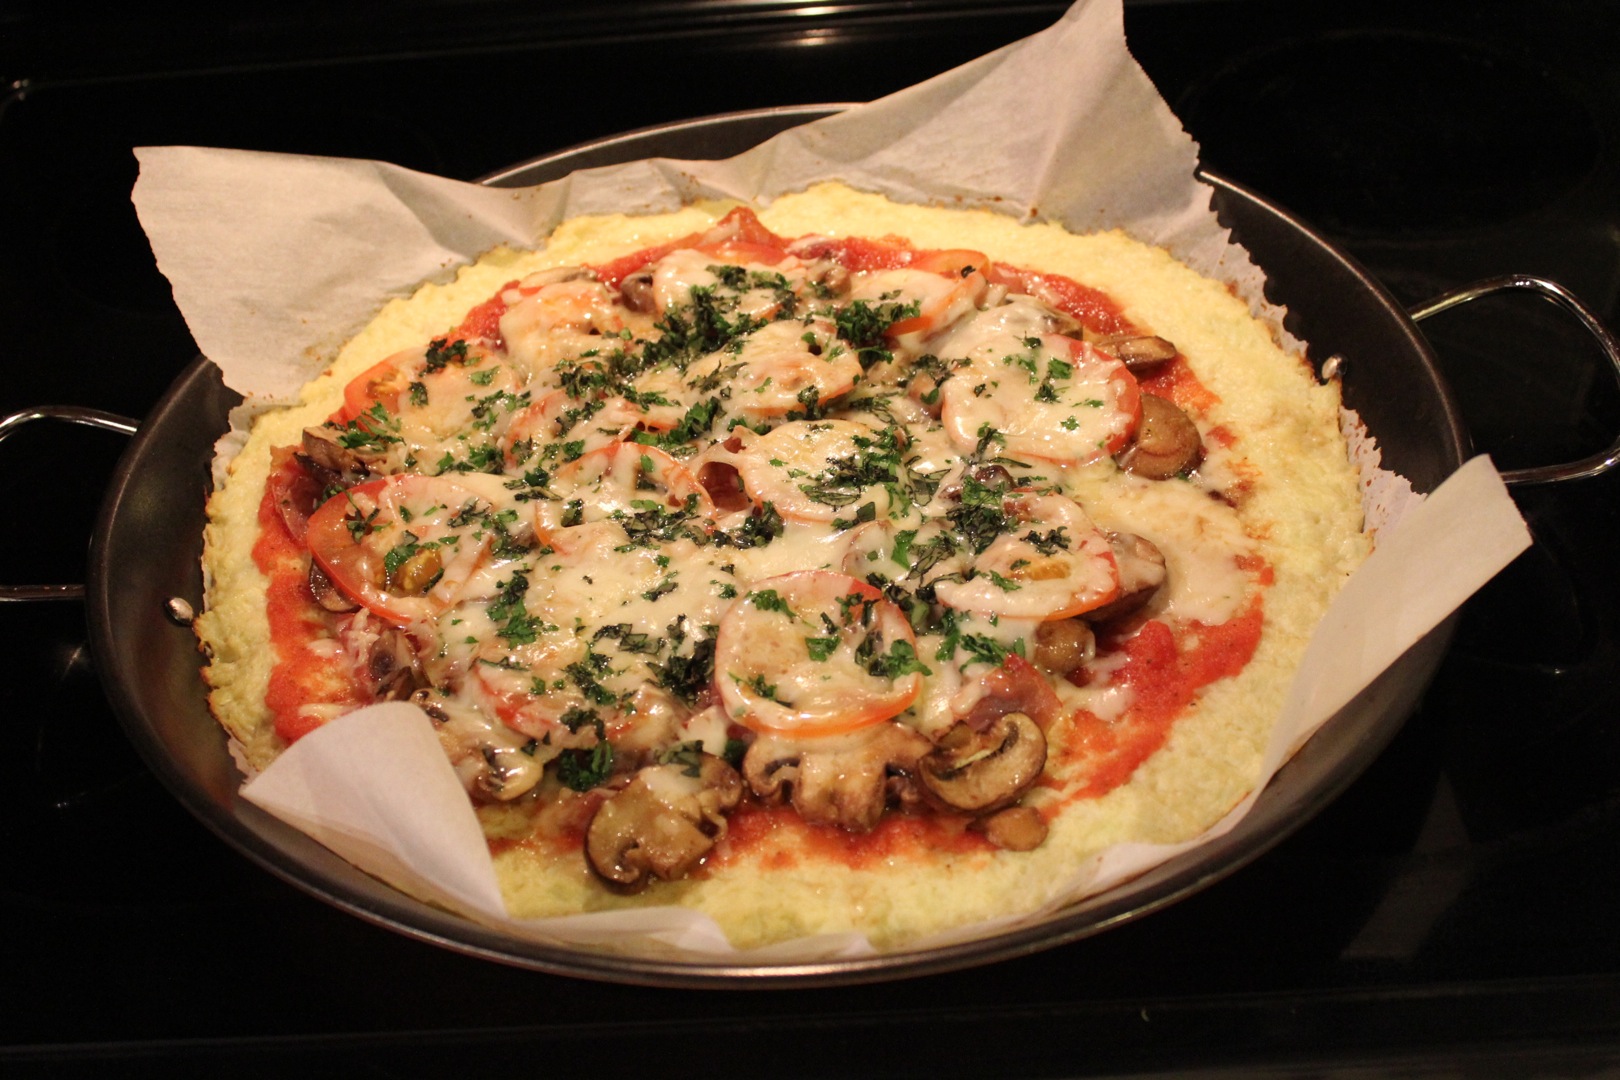
Pour the cauliflower mixture into the pizza pan and press the “dough” into a flat, pizza-like shape no more than 1/2 inch thick (I made mine thinner, about 1/4 inch thick.) Bake for 20 minutes.
If using ground meat, cook in a skillet until browned and cooked through.
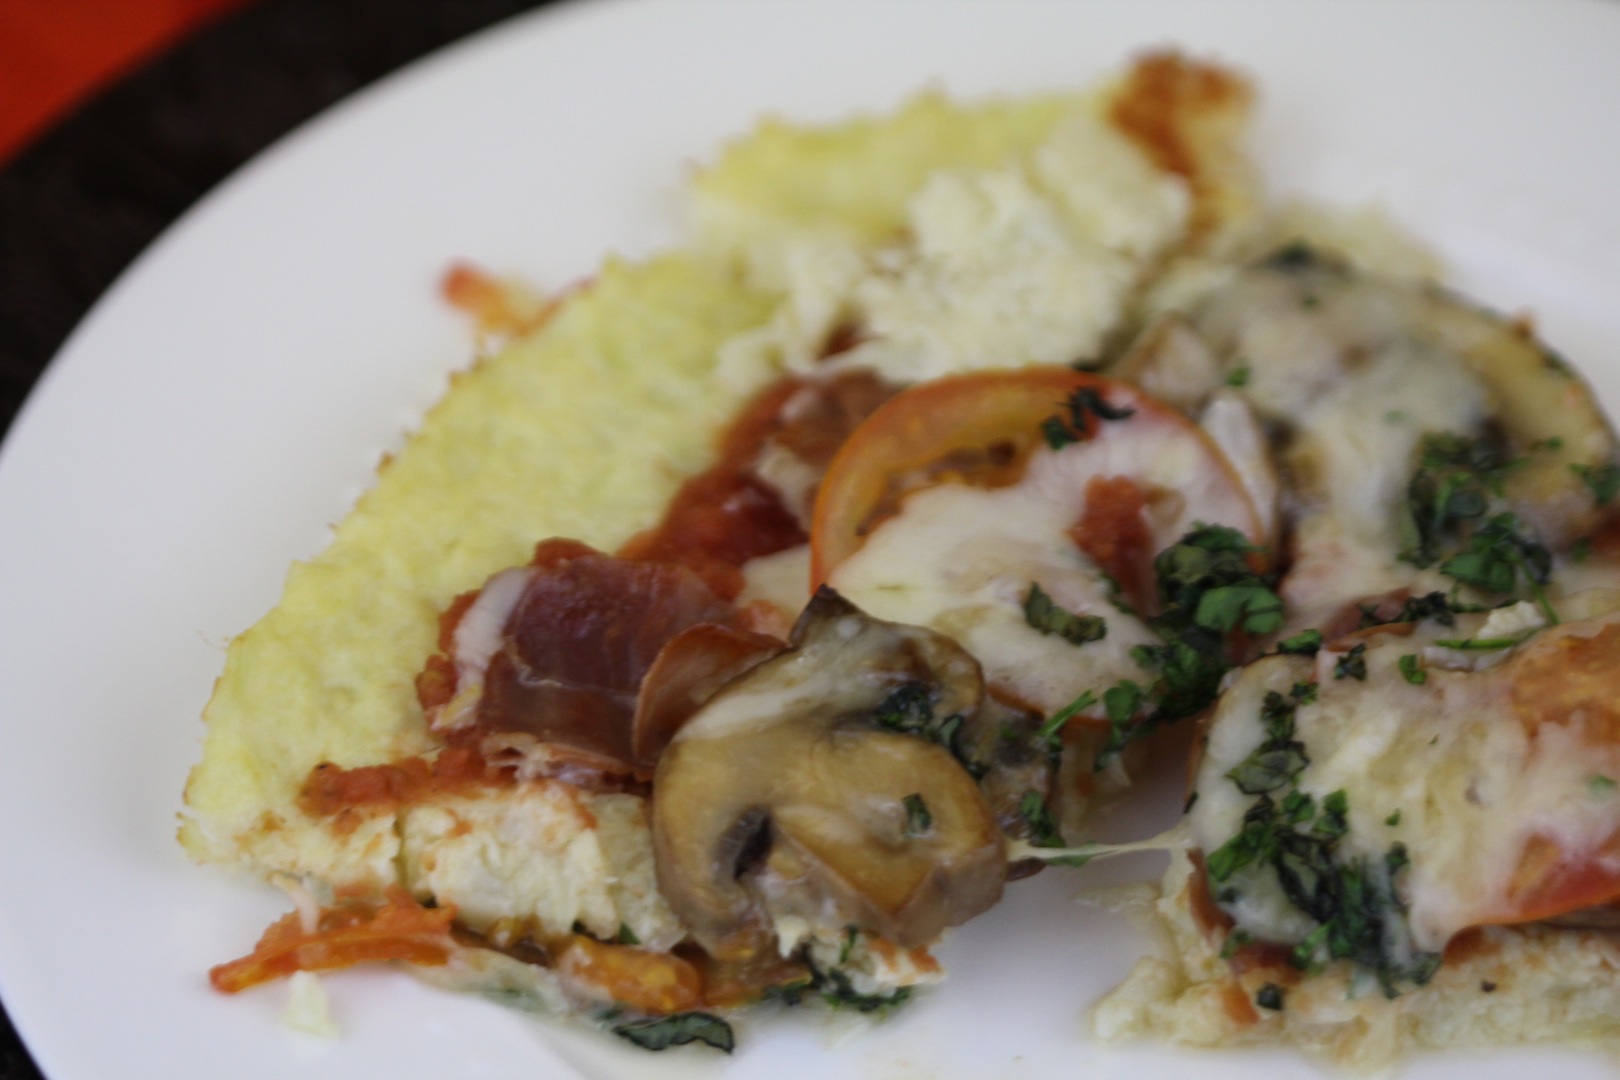
Remove the pizza “crust” from the oven and spread it with pizza sauce or tomato paste, the remaining 2 cups of mozzarella cheese, vegetable and meat toppings, basil, oregano and pepper. Drizzle with the remaining 1/2 cup olive oil (I used less, about 1/4 cup) and sprinkle with the Parmesan cheese. Bake until the mozza melts, about 10- 15 minutes.
Cut the pizza into wedges and use a spatula to transfer to plates. Enjoy!
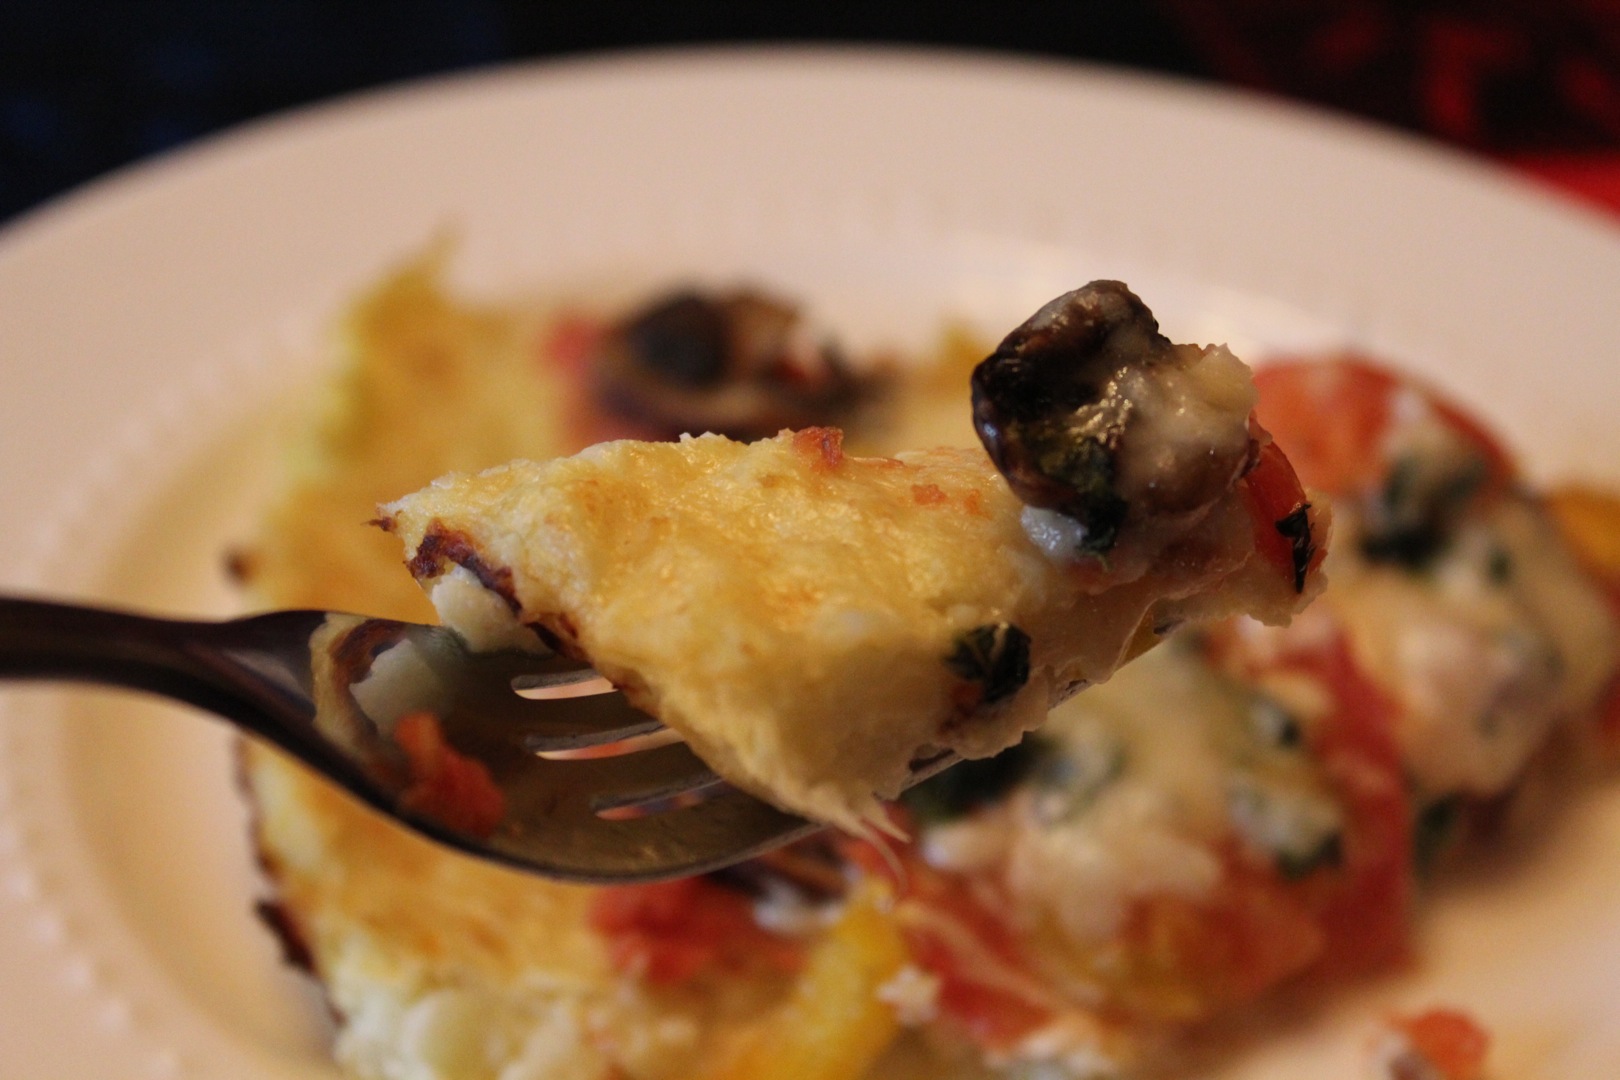
Note: the “dough” will look like real pizza dough but will be too soft to handle with your hands. You will have to use a knife and fork to eat it and you’ll have to be careful when transferring pieces to plates.
Resource:
Davis, W. (2011) Wheat Belly: Lose the Wheat, Lose the Weight and Find your Path back to Health. New York, NY: Rodale.
Last year I wasn’t too ambitious in the garden as I knew I would be in my third trimester of my pregnancy in the summer and did not want to be working too long in the hot sun with a big belly and then have a huge harvest to manage right when baby arrived.
With spring just around the corner, Brian and I are really looking forward to getting back to our outdoor projects. These include: restoring our old well pit (which is attached to the basement and will be used as a cold room for root vegetables), landscaping a large fire pit area, putting in a raspberry and strawberry patch, restaining a wooden jungle gym (given to us by Erin and Mitch who used to play on it when they were little. It’s still in great shape!) and beginning phase one of landscaping the “Bird, Butterfly and Bee Garden”, which will do double duty as Chayton’s play area while he is still little. If we get a burst of energy we just may set up our chicken coop and get that going as well.
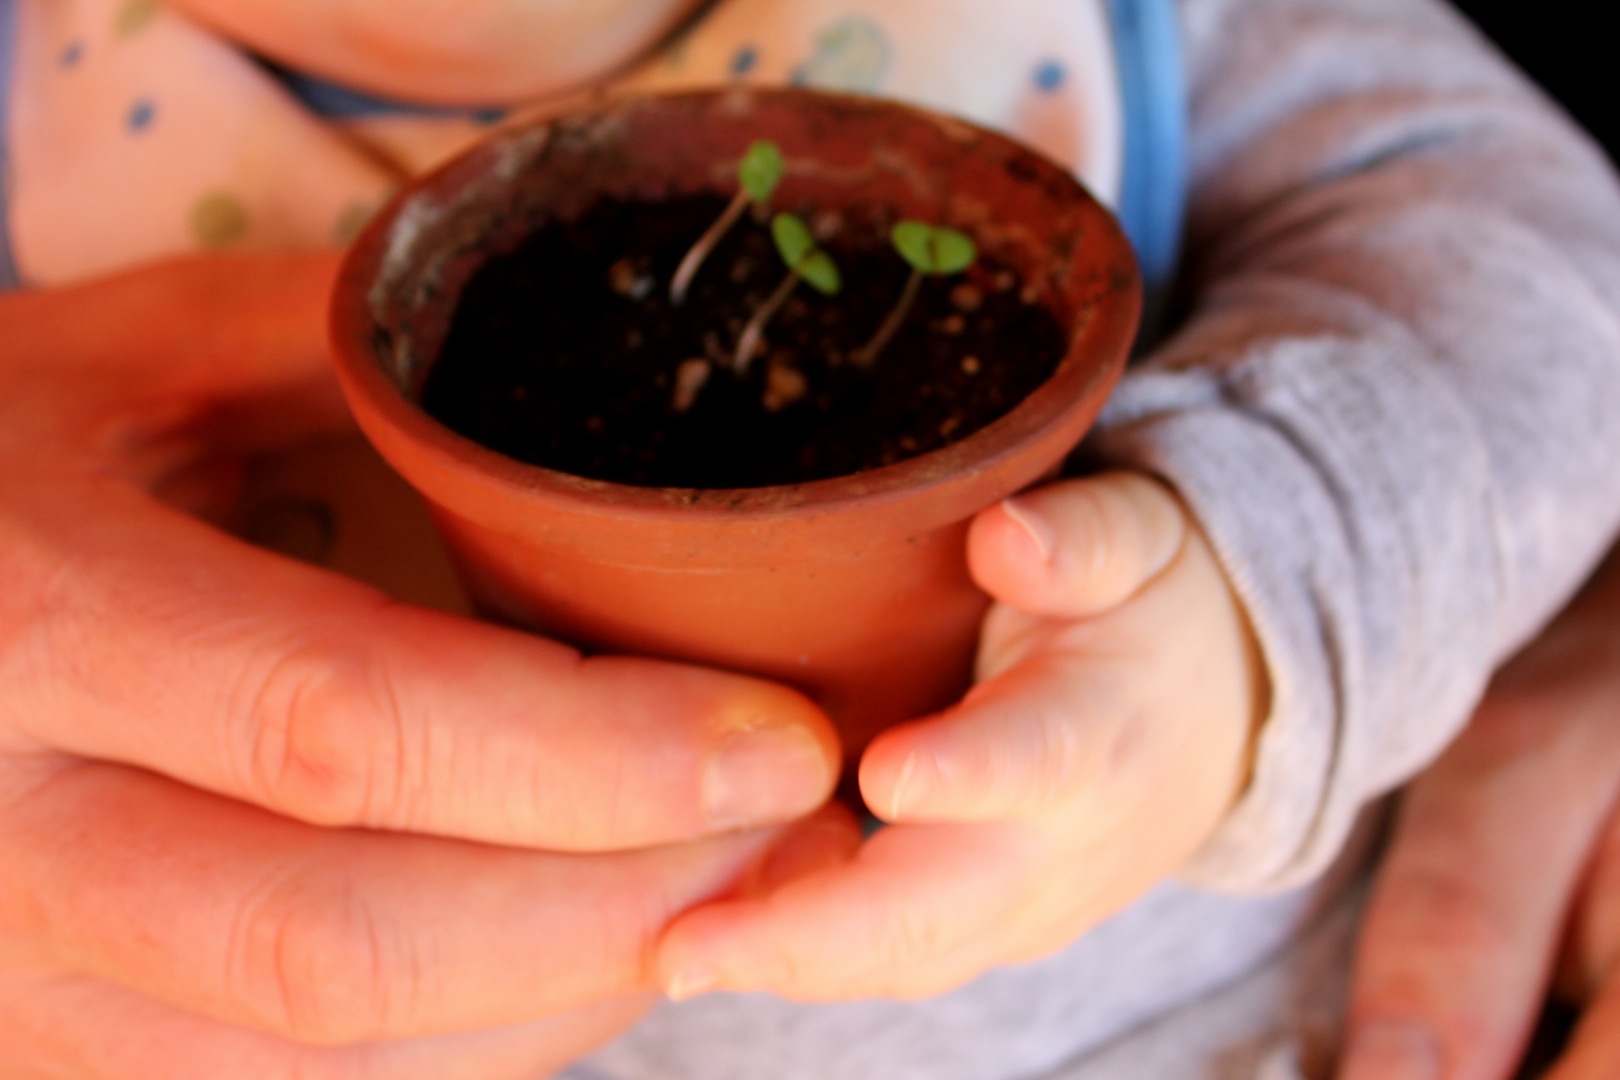
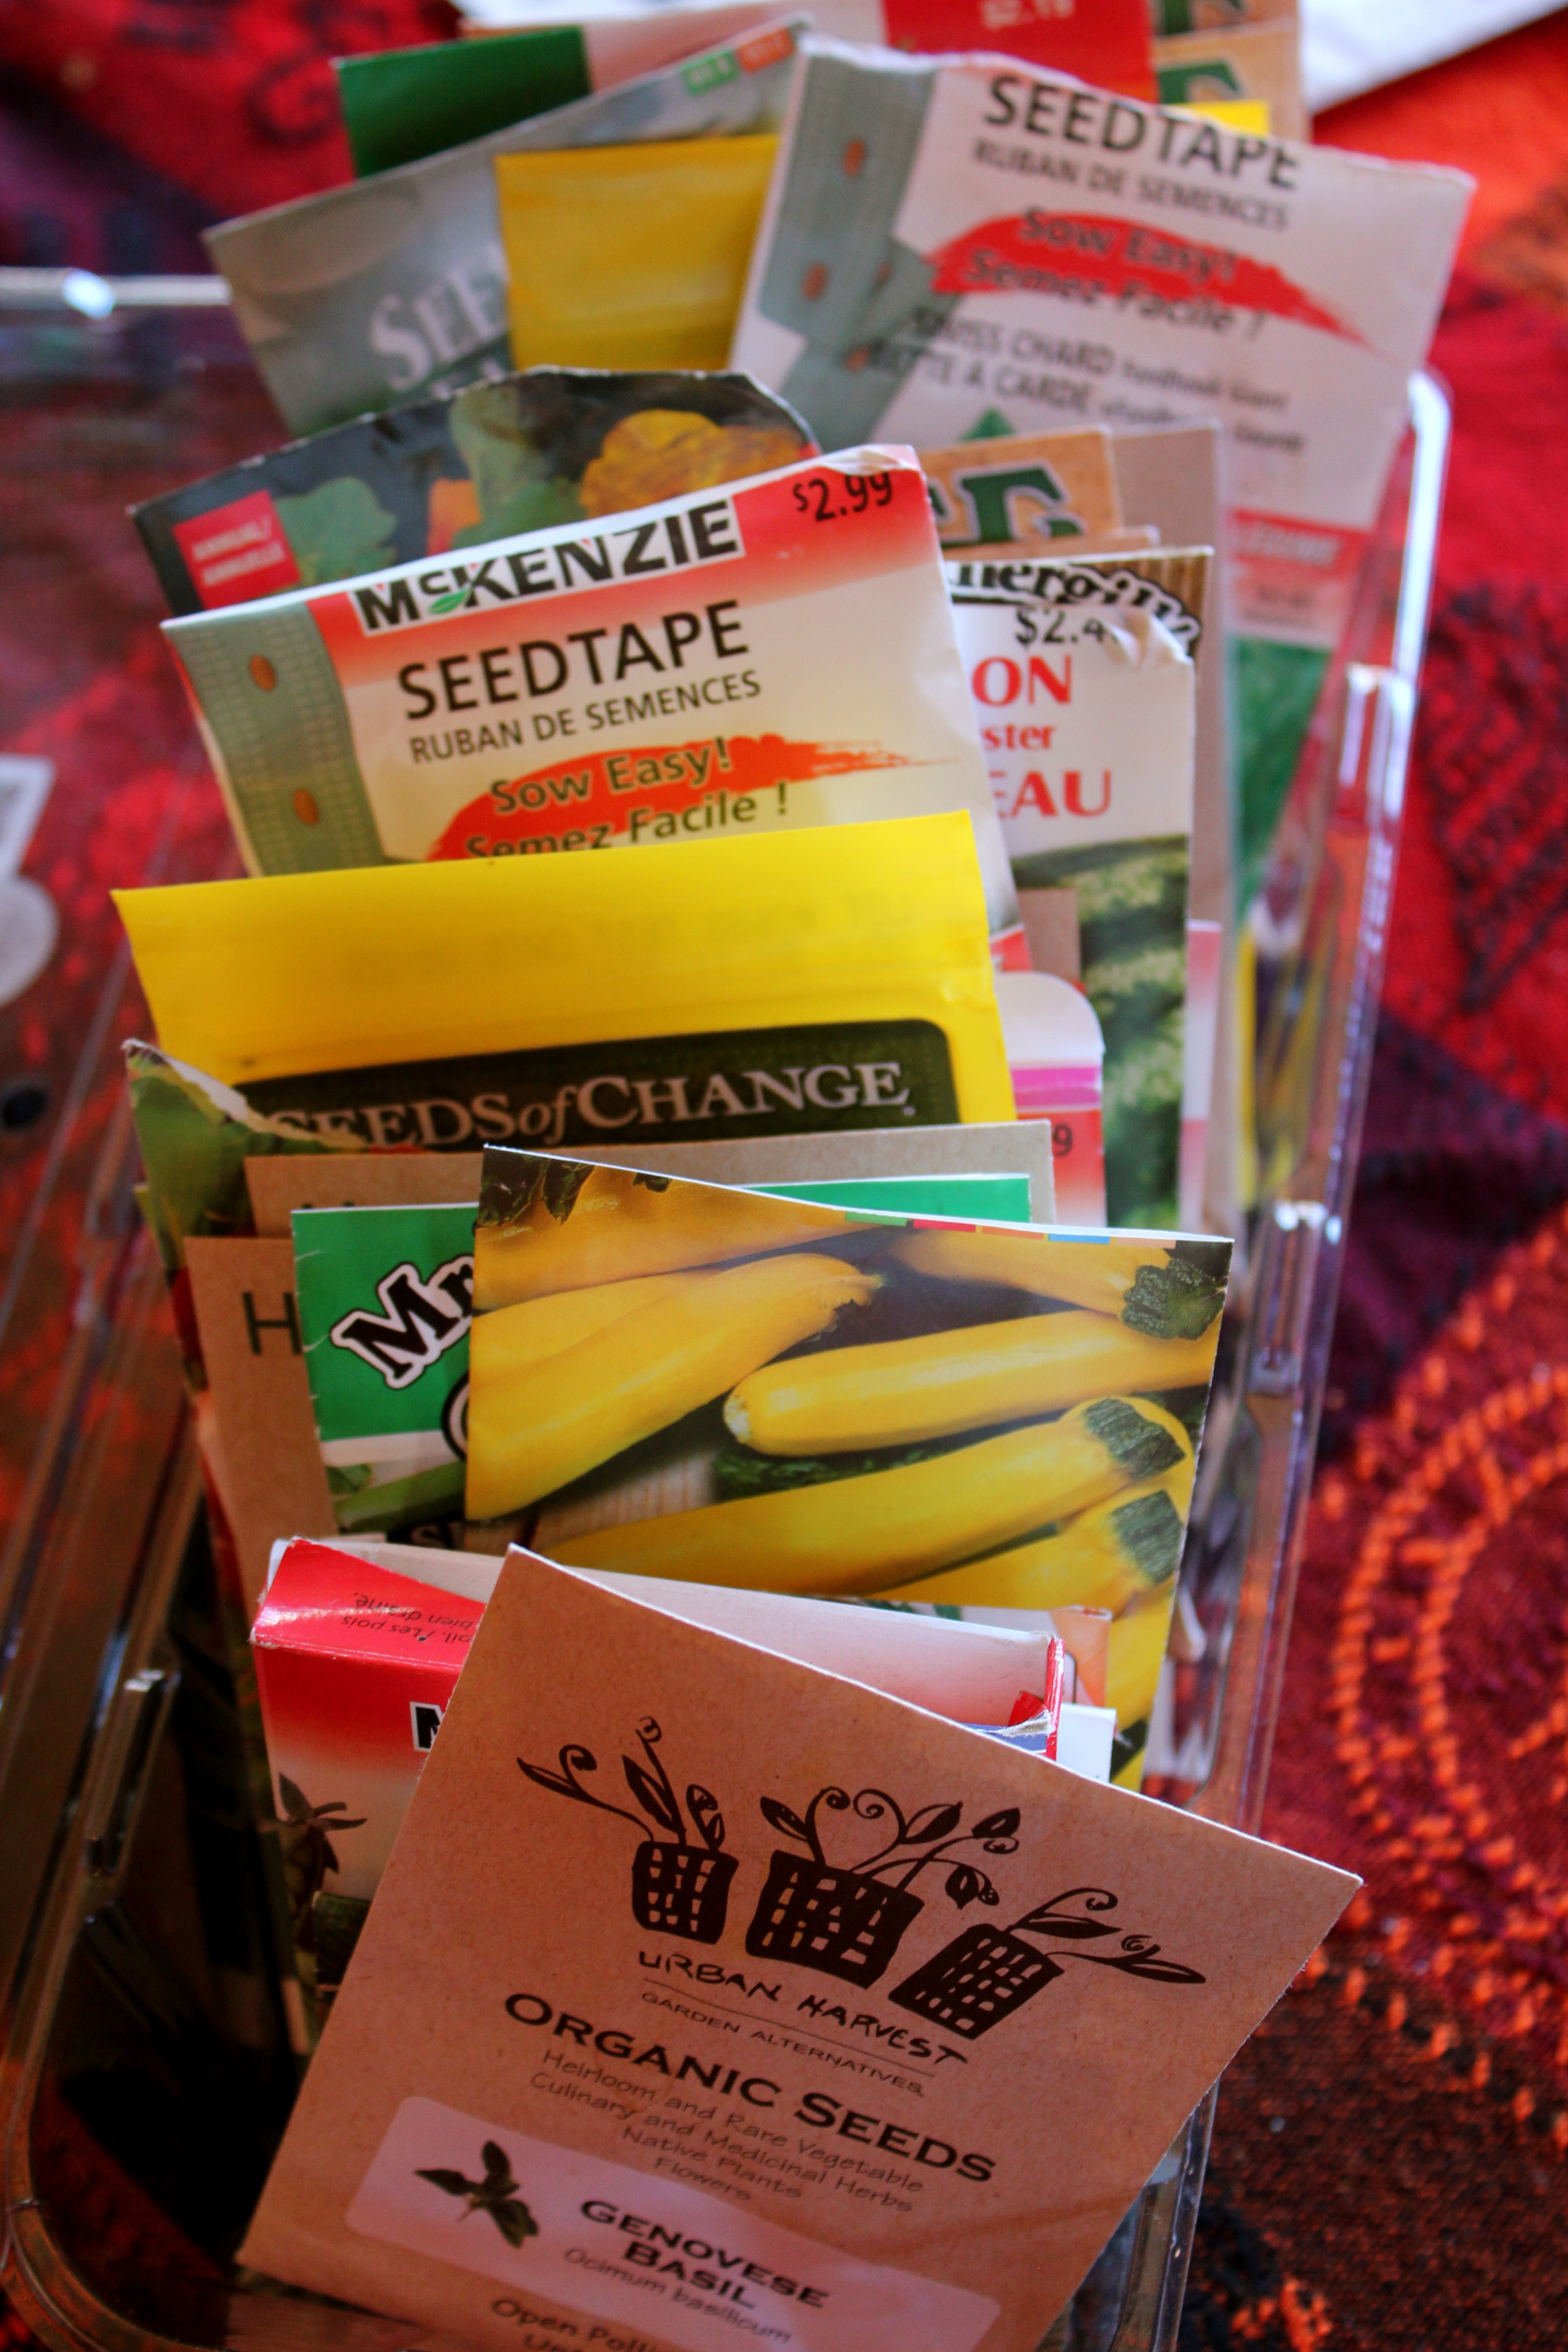
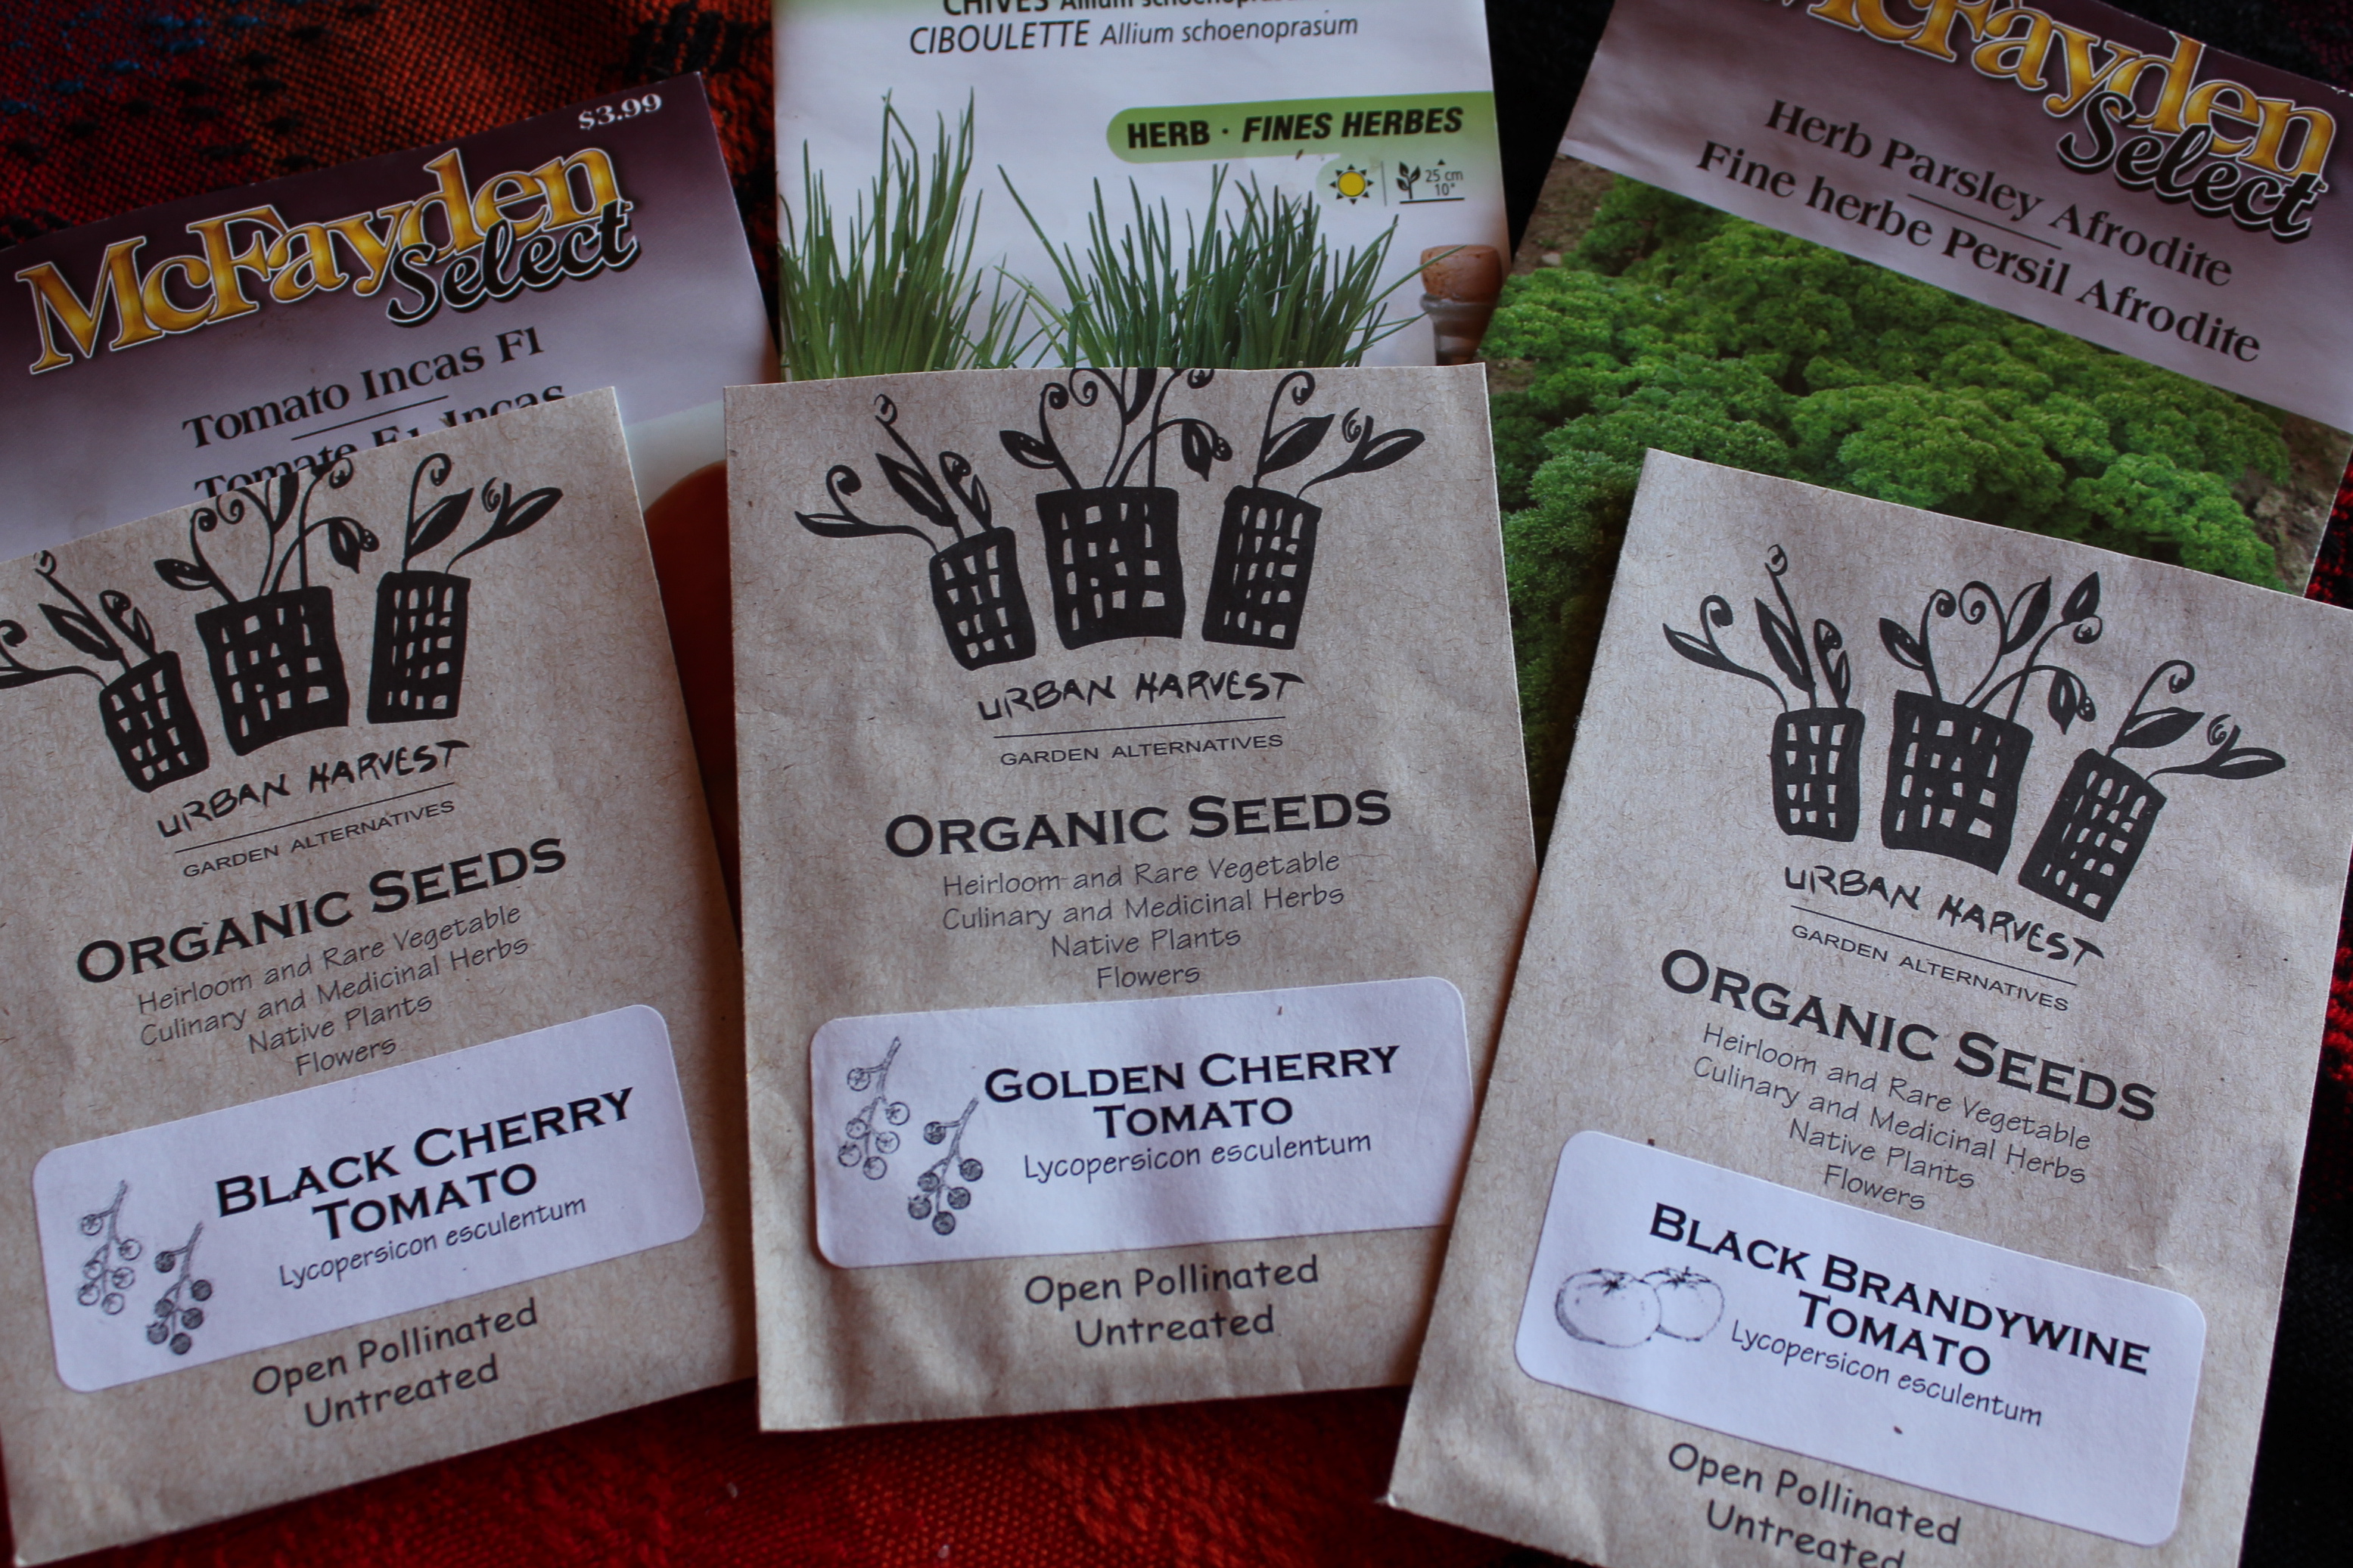
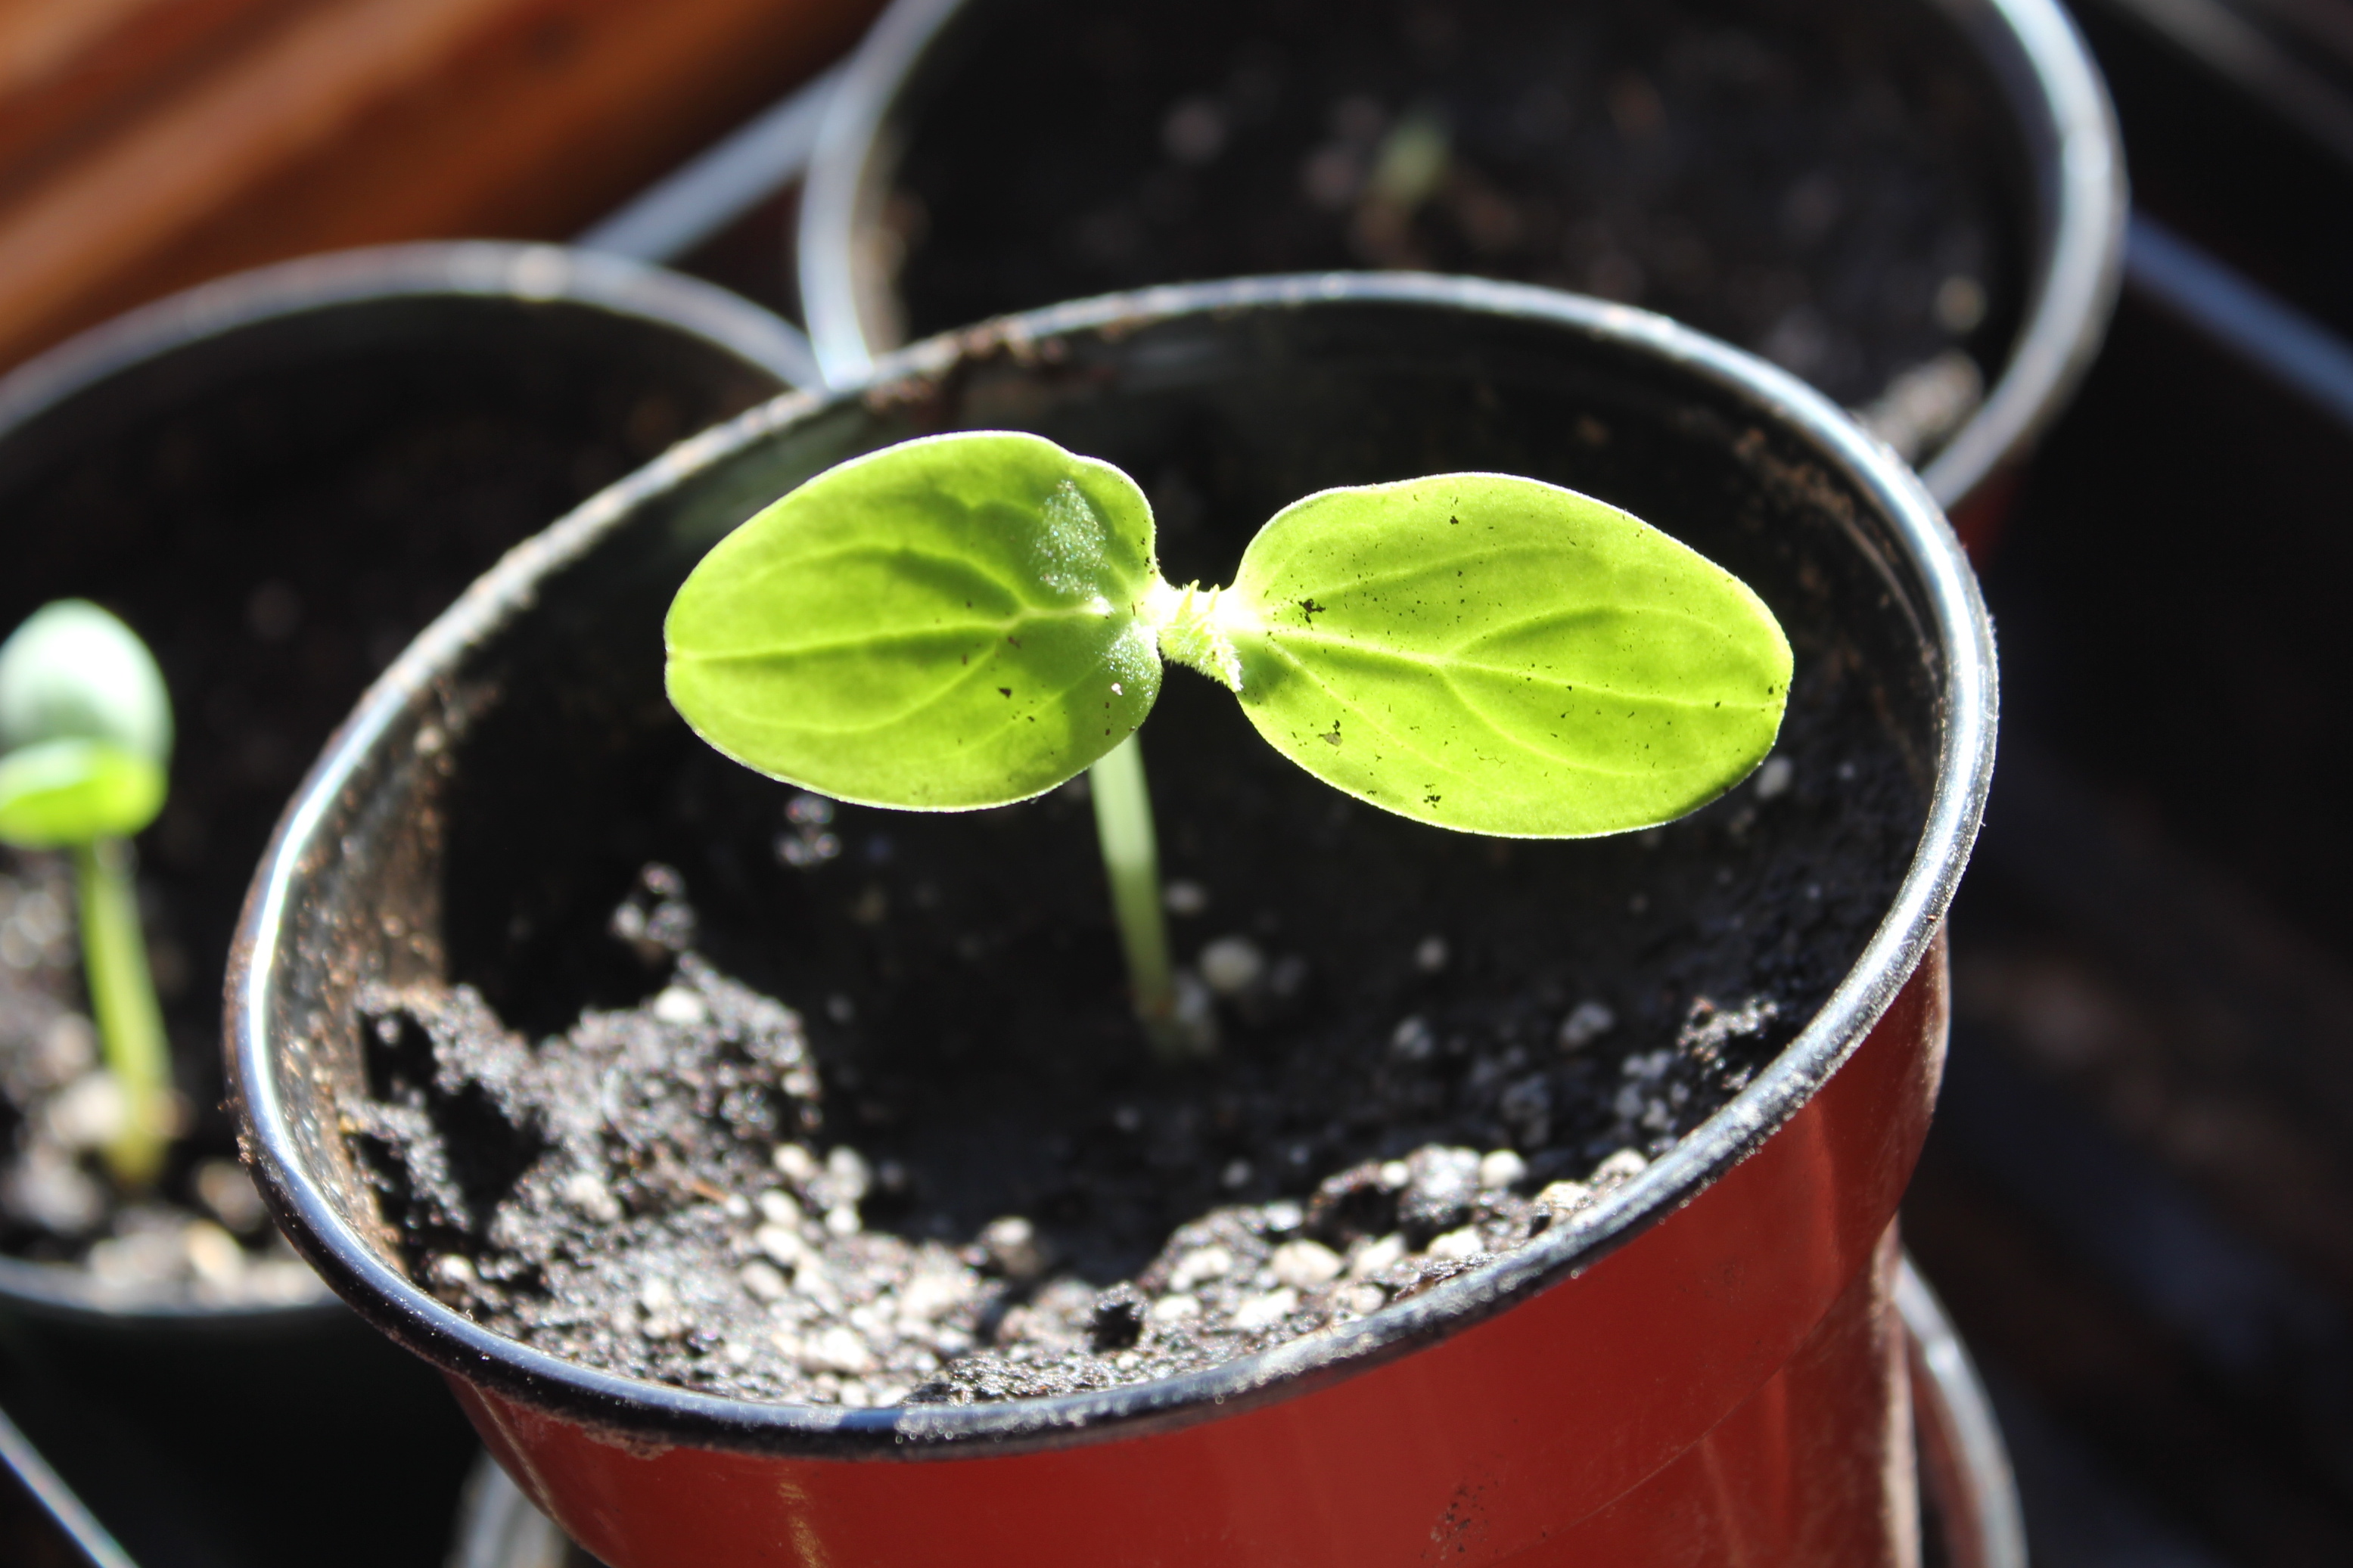
In preparation, Chayton and I started some seeds about three weeks ago.
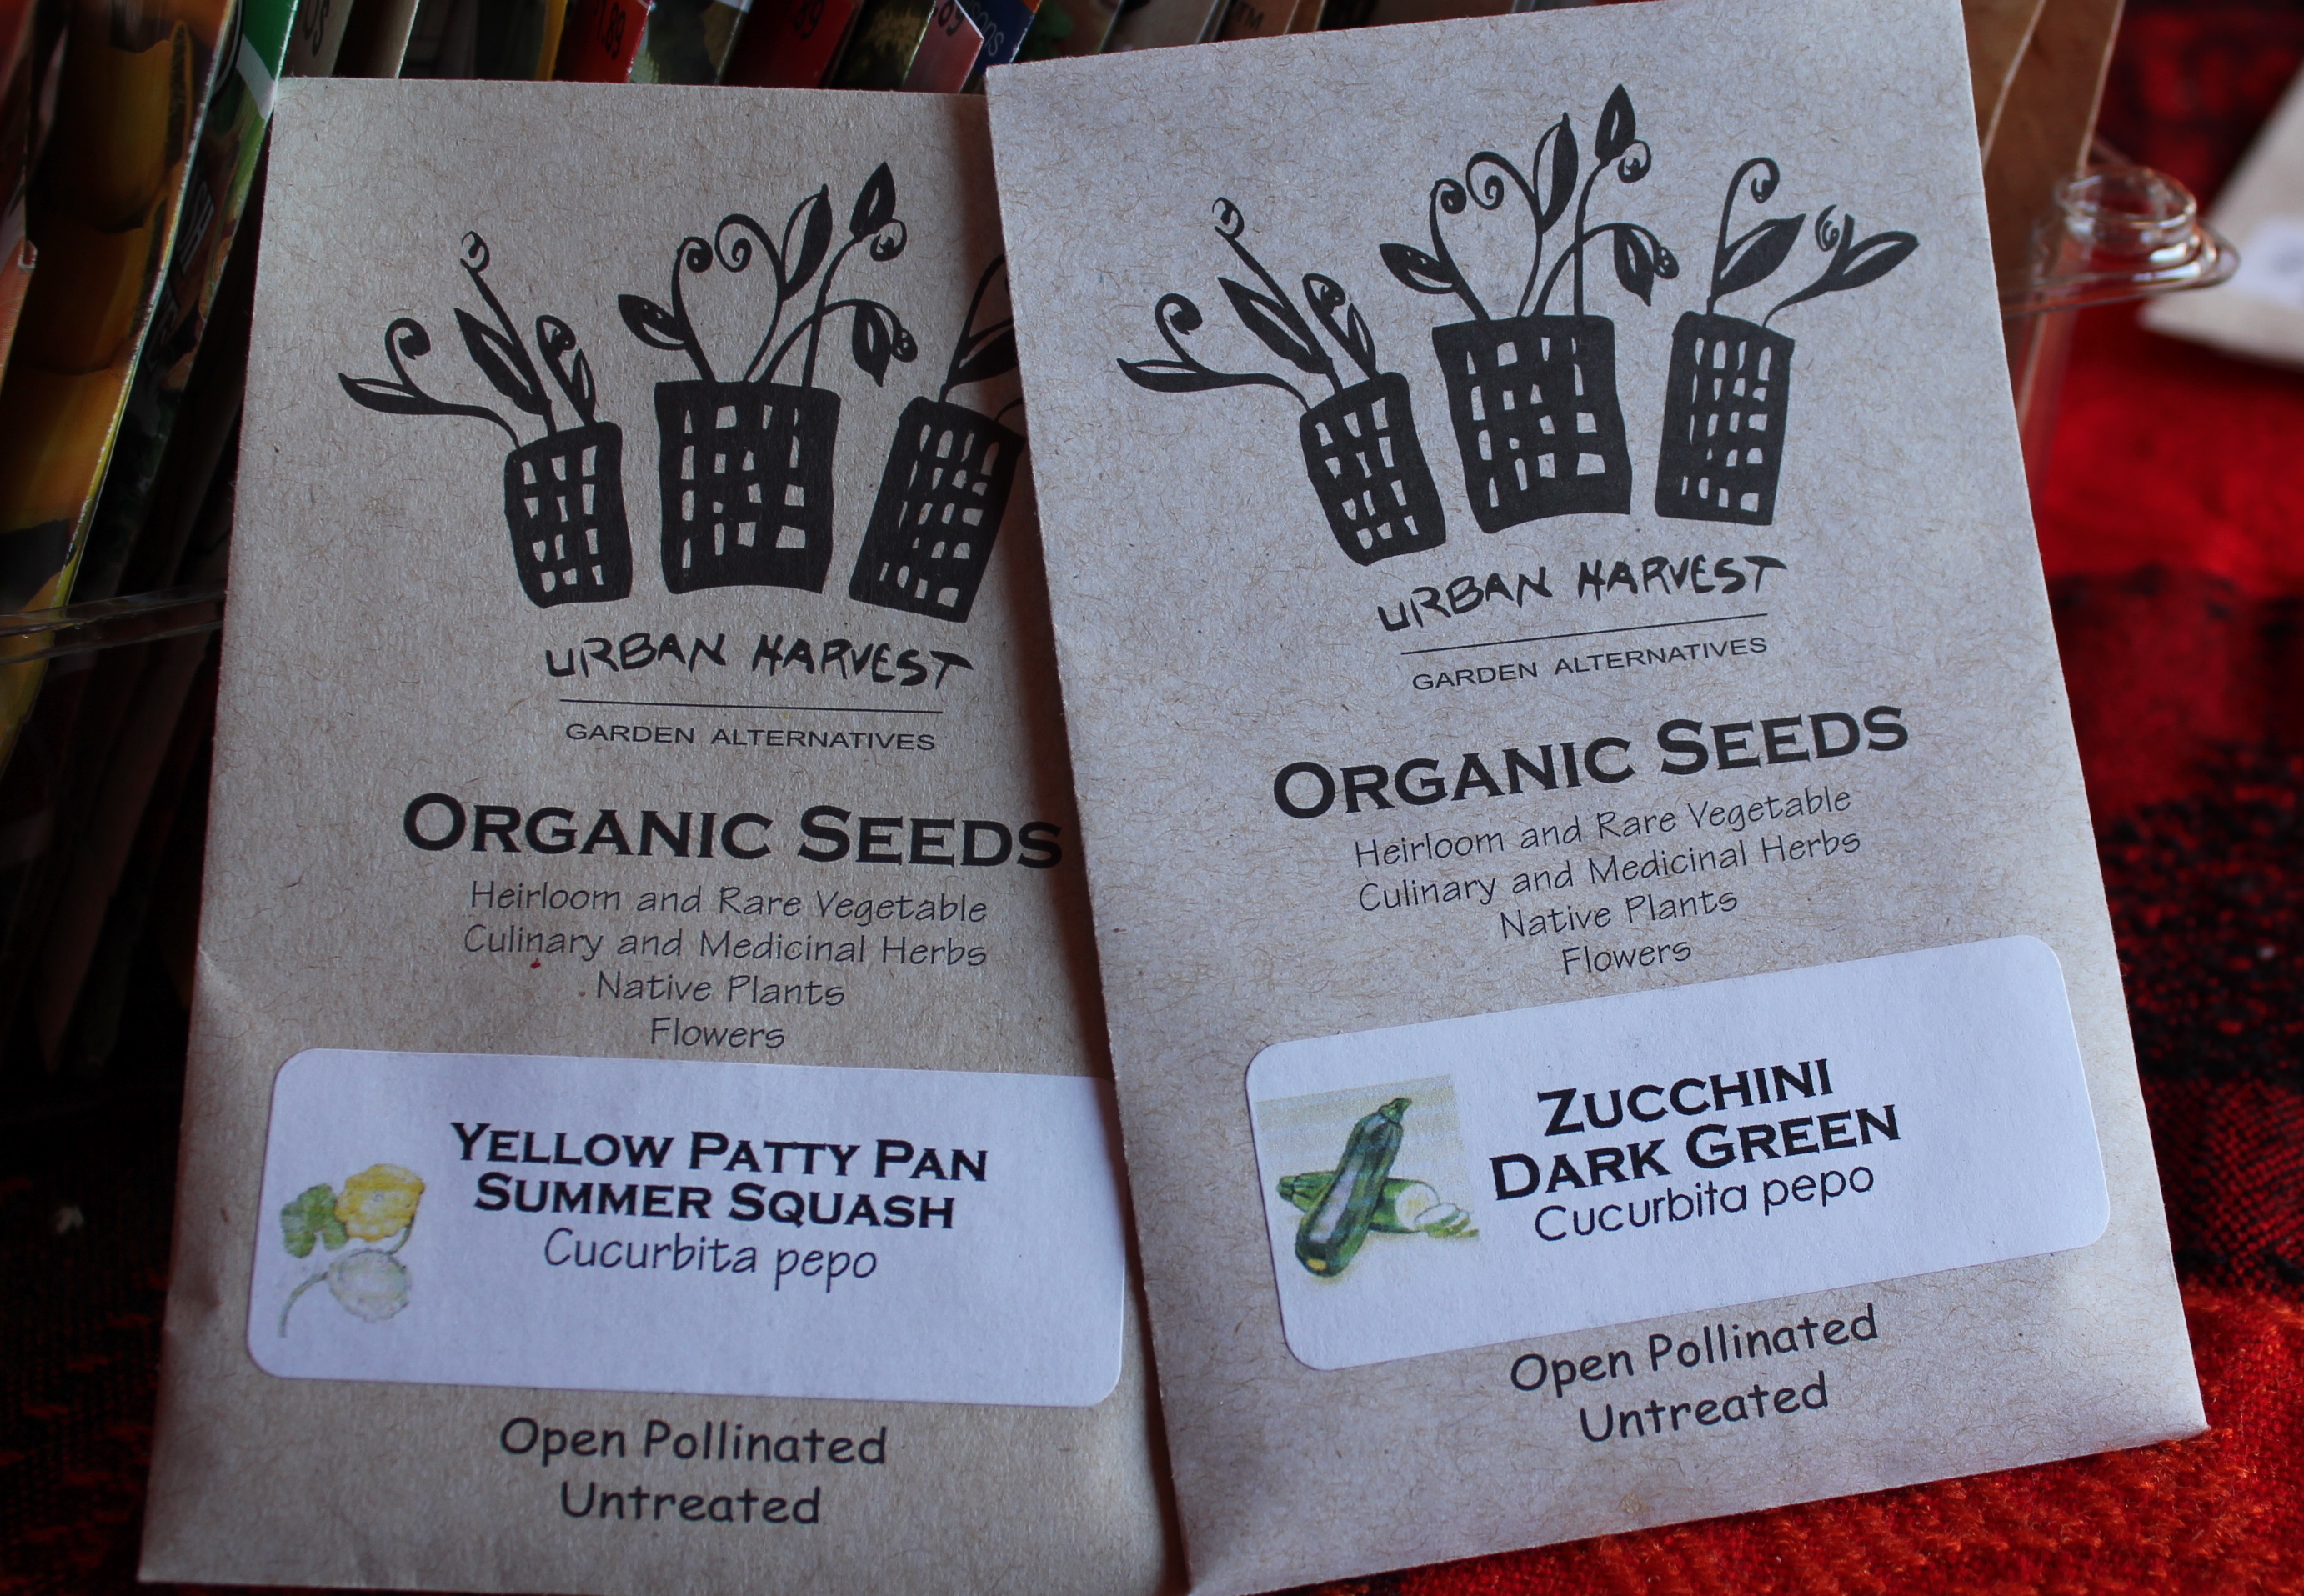
We planted three varieties of heirloom tomatoes, yellow and green zucchini, spaghetti squash, both long and pickling cucumbers, basil, parley, chives, black-eyed susans and echinacea (purple cone flower). As always, it’s so exciting to see the seeds sprout and watch them grow.
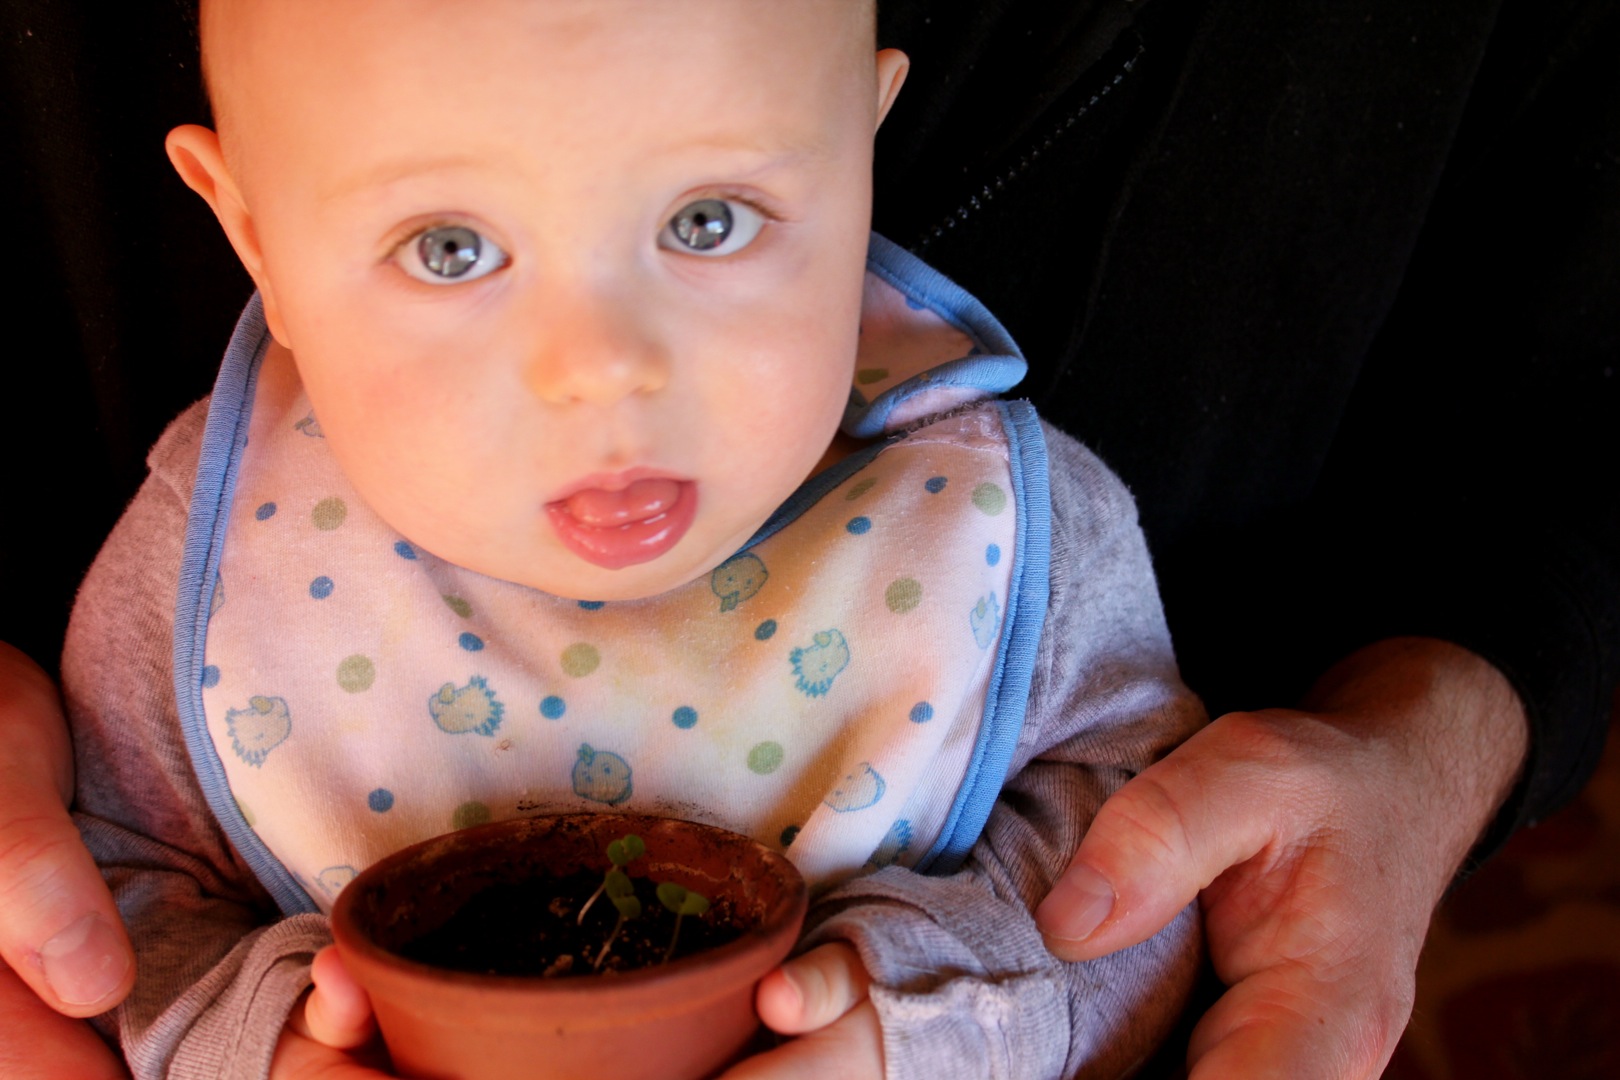
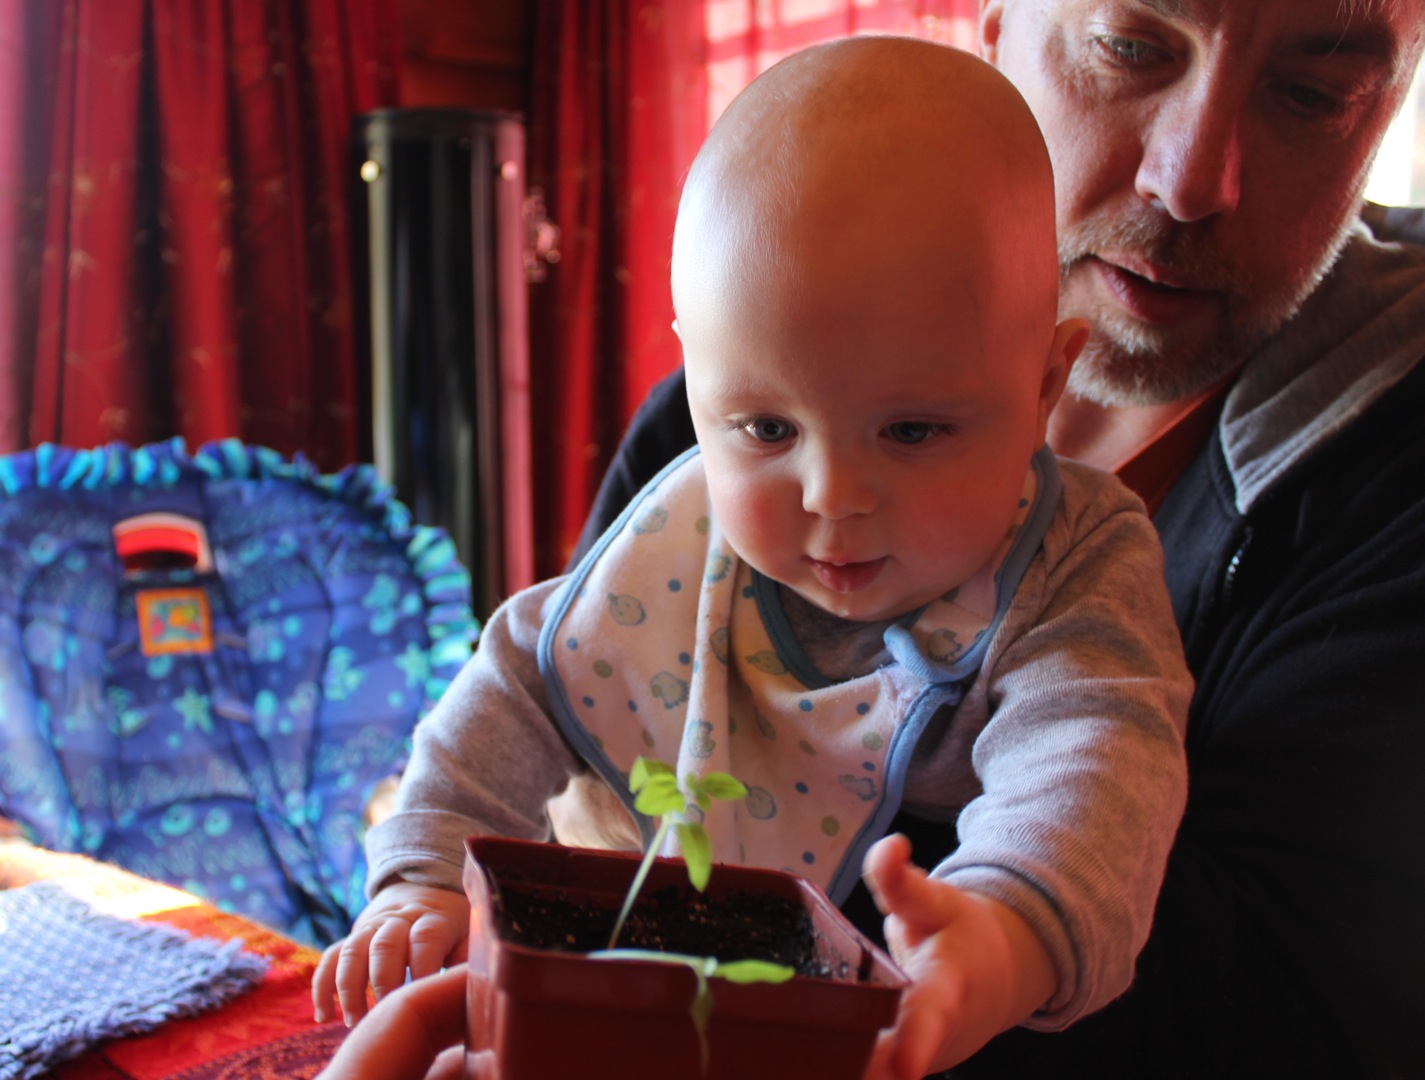
It’s even more exciting planting with Chayton as this is his first year helping mom in the garden. I hope that our simple lifestyle will instill in Chayton an appreciation of good food, nature, fresh air, sunshine as well as the fun of growing things yourself!
We plan on planting more seeds this coming week and are looking forward to a new season in the garden!