Tags
Band Aides, bug spray, cache, camo paint can, carabiners, fort, geocache, Gorilla Glue, paint can project, spray paint, sunblock, survival kit, work gloves
Over Christmas holidays I went sledding two days in a row with my favorite lake family. On the second day, we spent four fun-filled hours vigorously sledding through Battle River territory, through a beautiful canyon and up what we call “Battle Mountain”. When we reach the top of the mountain and were taking a break to enjoy the view, one of the men started talking about the cache that was hidden there. I had no idea what a cache was, so one of the girls crawled under a large spruce tree and came out with a metal box, looking a hundred years old and painted in ‘camo’ colors. Apparently geocaching is a very popular sport among people who love treasure hunts and who regularly travel through wilderness areas around the globe via sleds, quads, jeeps, skis, horseback, by foot, etc. One is given the geographic coordinates of the cache and then must use all of their orientation skills (and/or a good GPS) to find the hidden cache. Once you find the cache, you can open it and can take anything out of it as long as you leave something of equal or greater value. (Our cache had a few hot wheel cars still in the packaging and a cigarette in a ziplock bag.) Of course the main reward is the satisfaction of the finding.
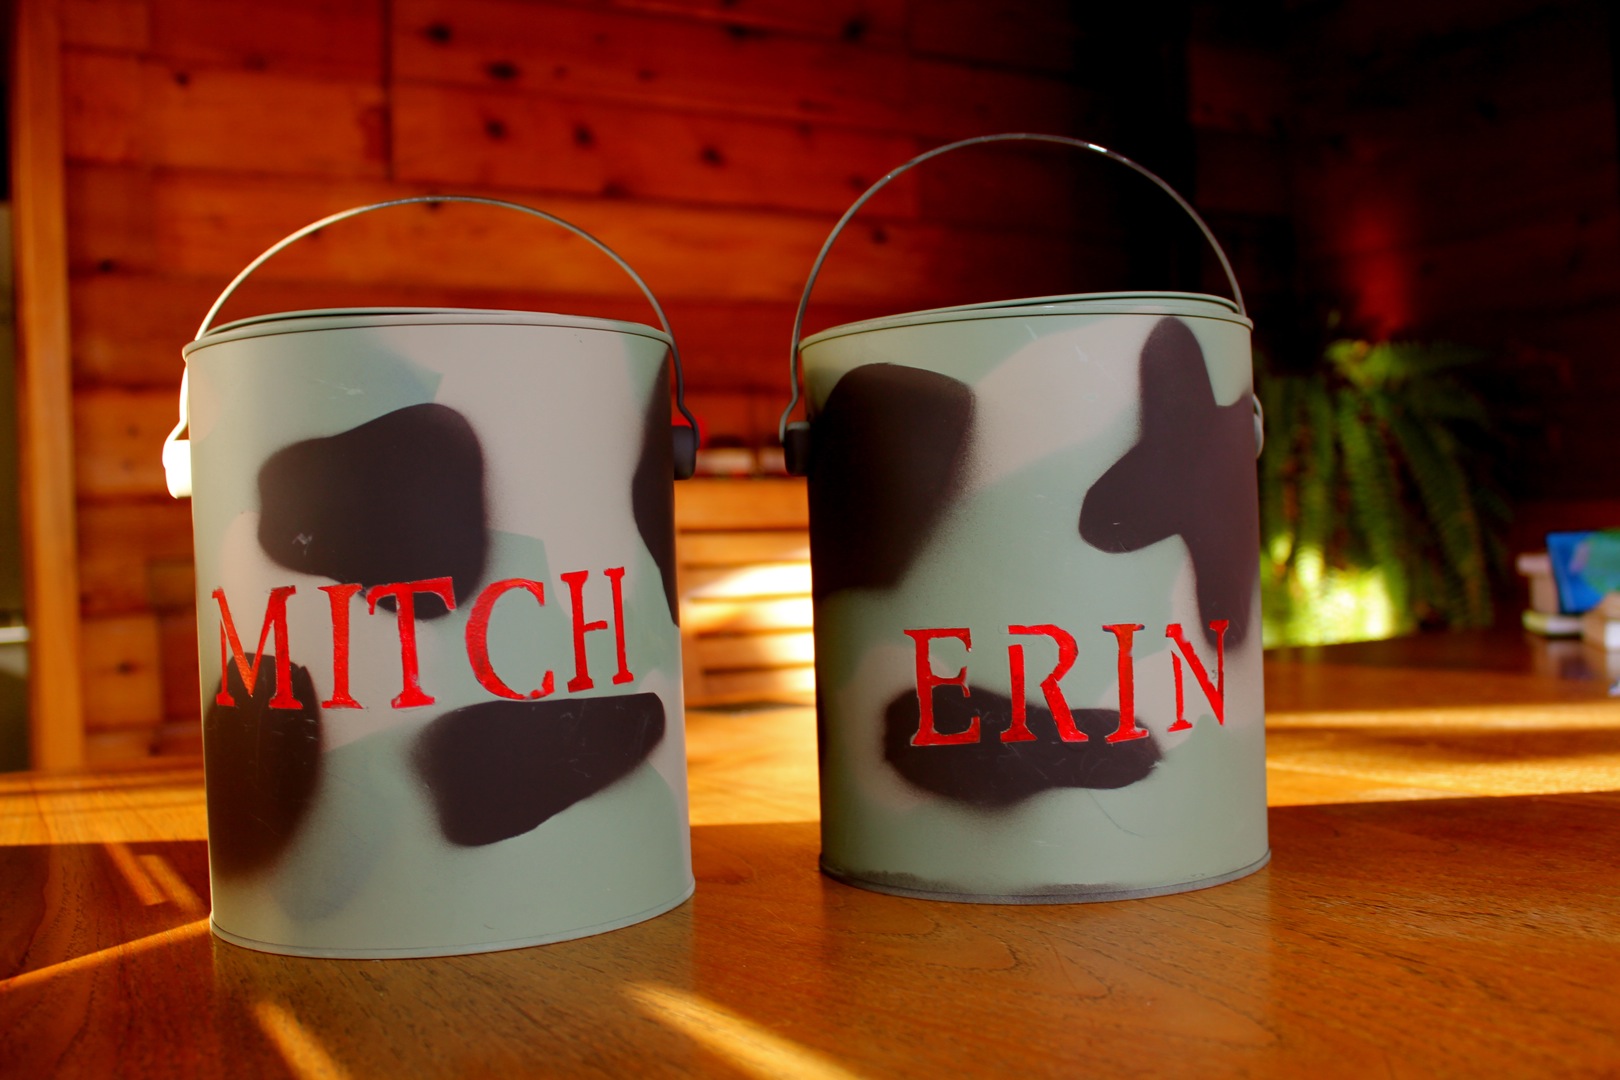
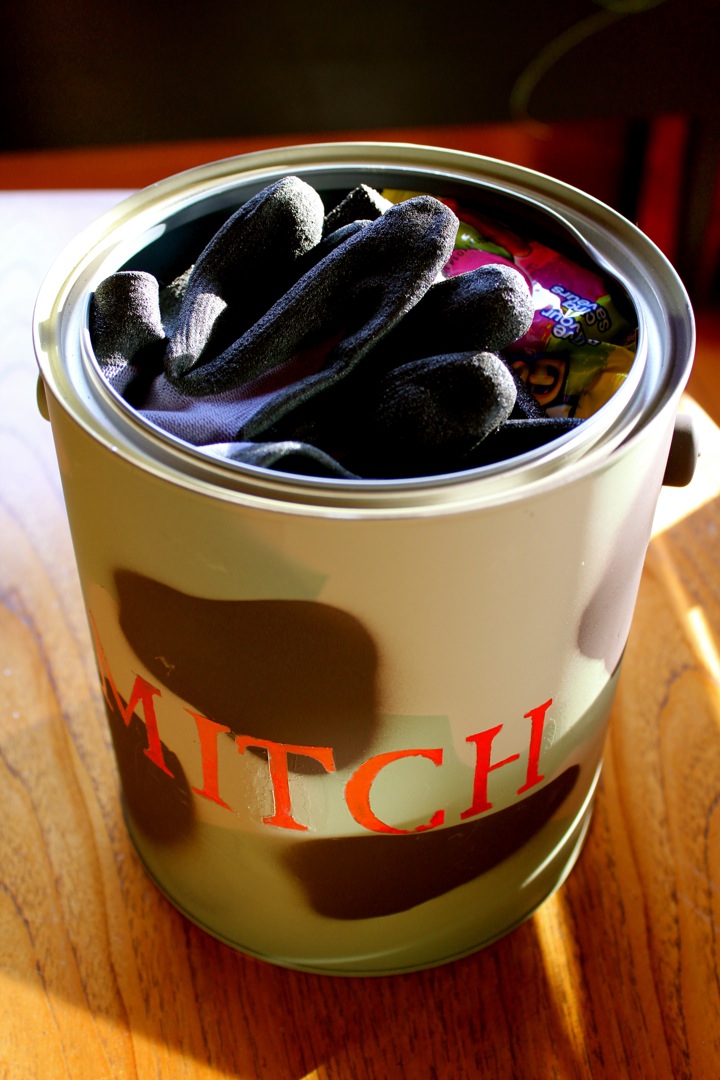
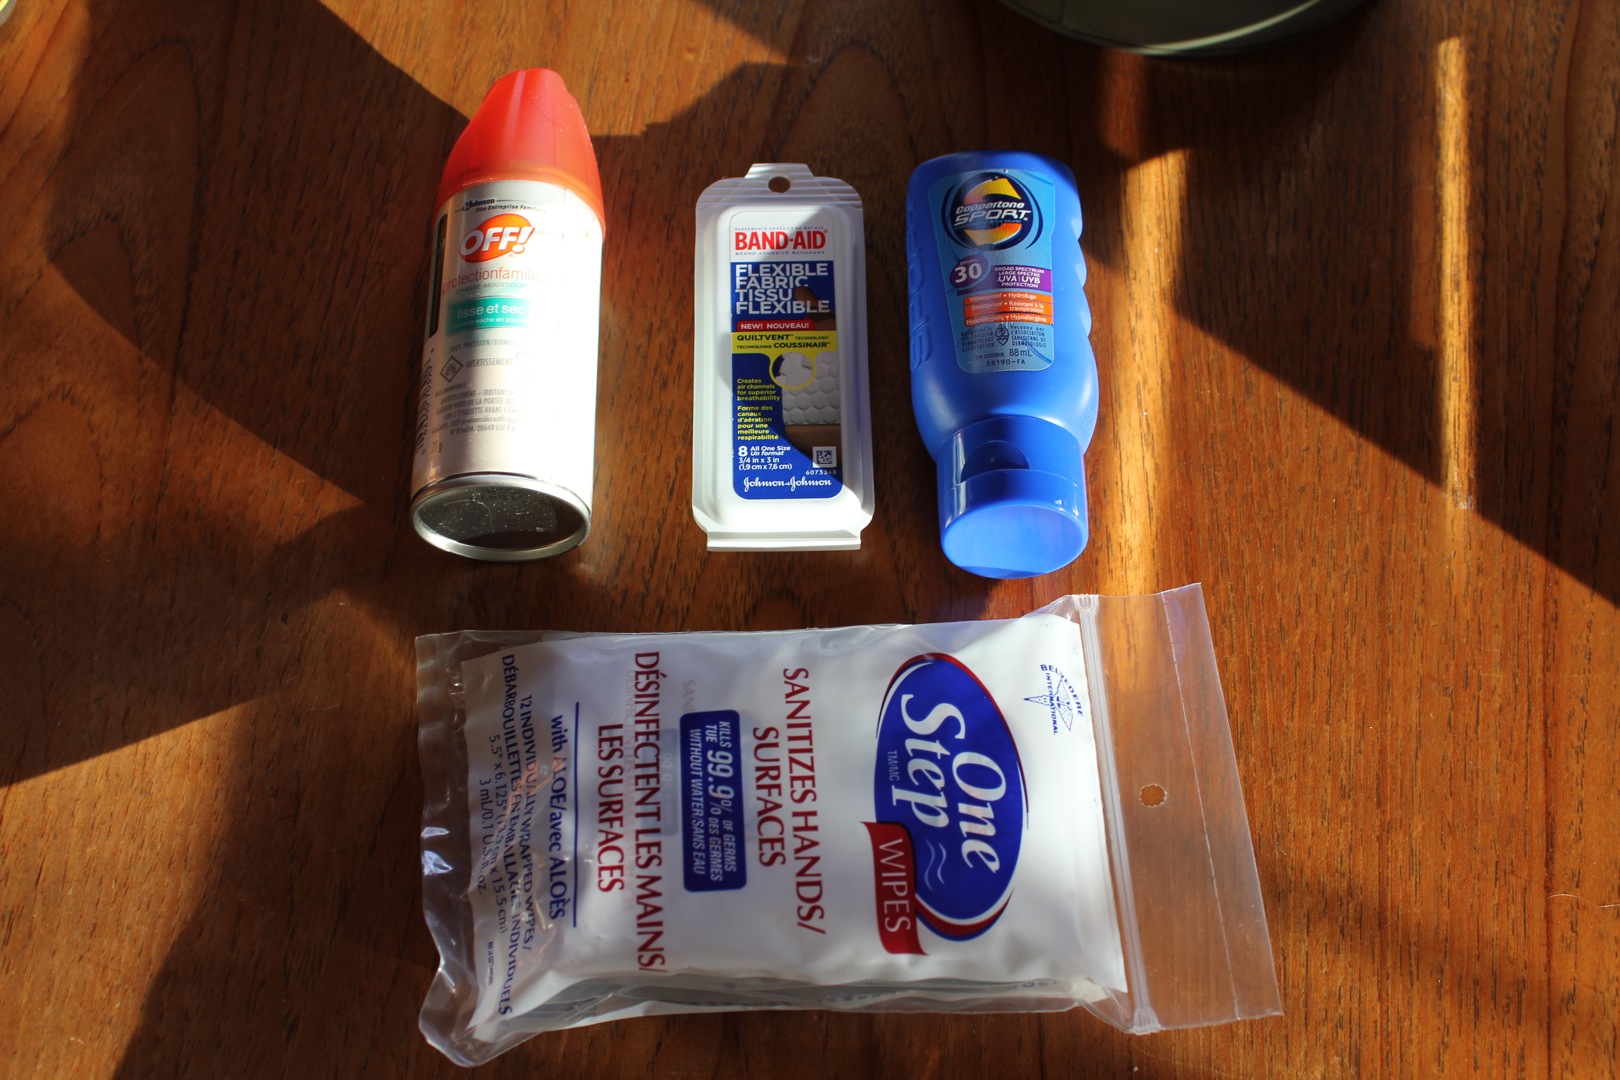
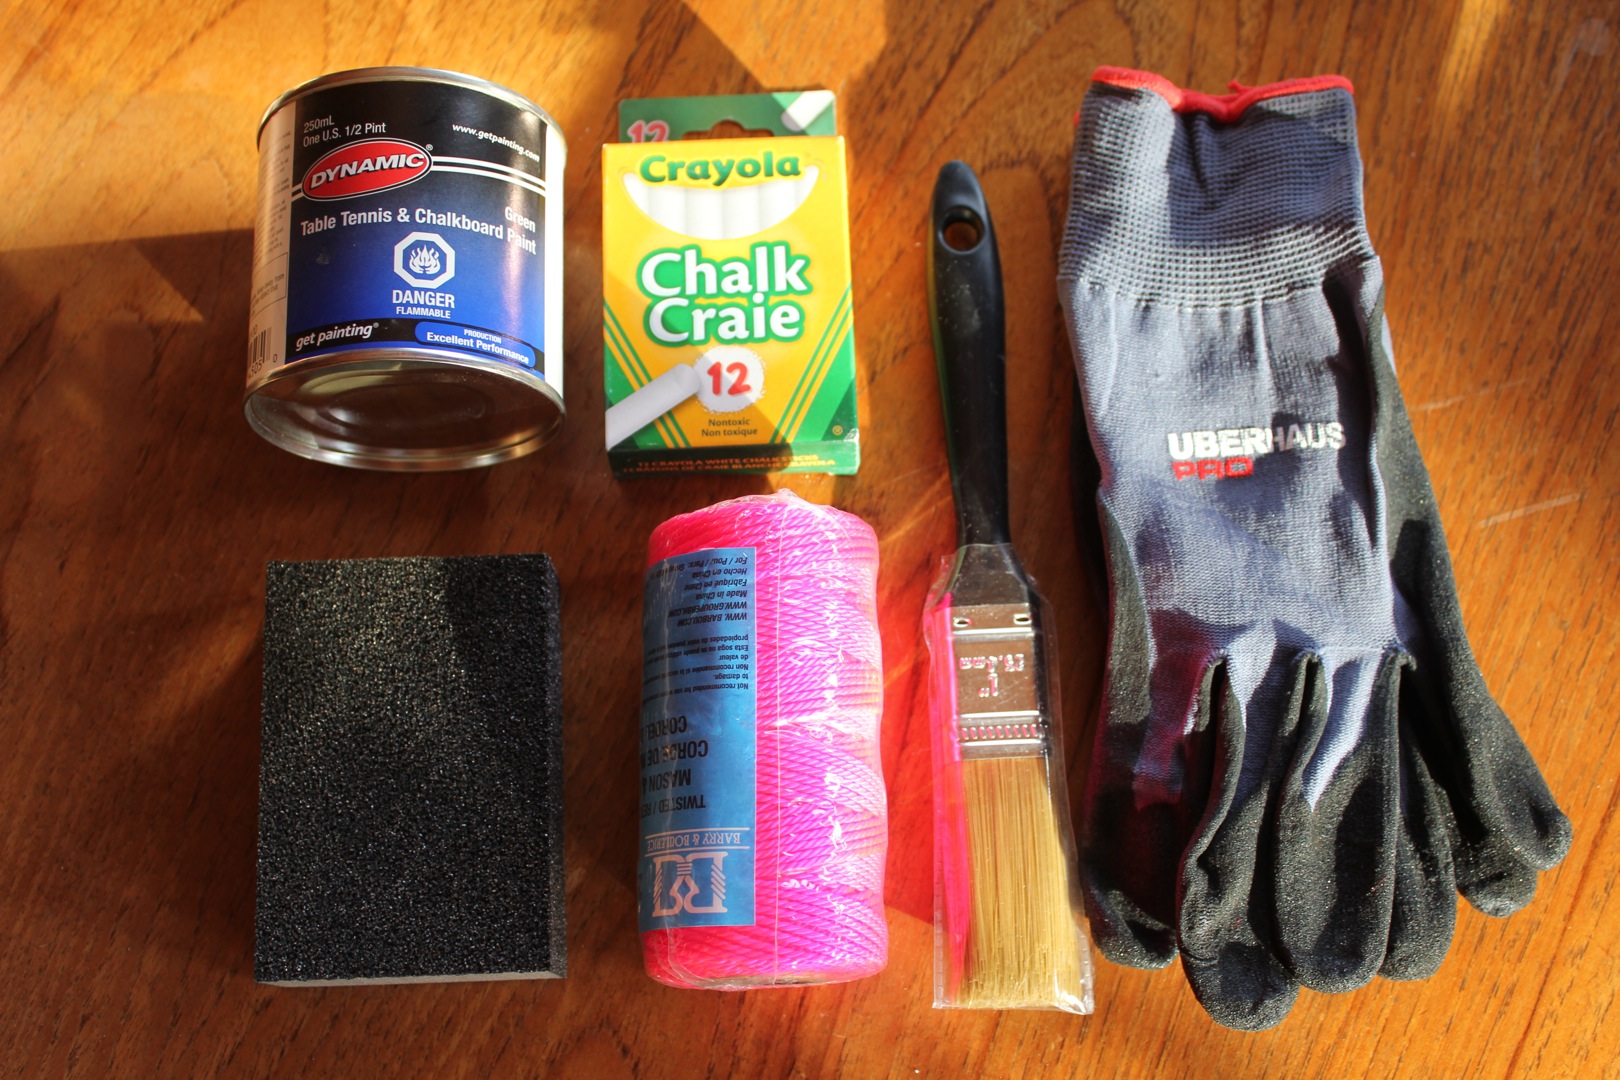
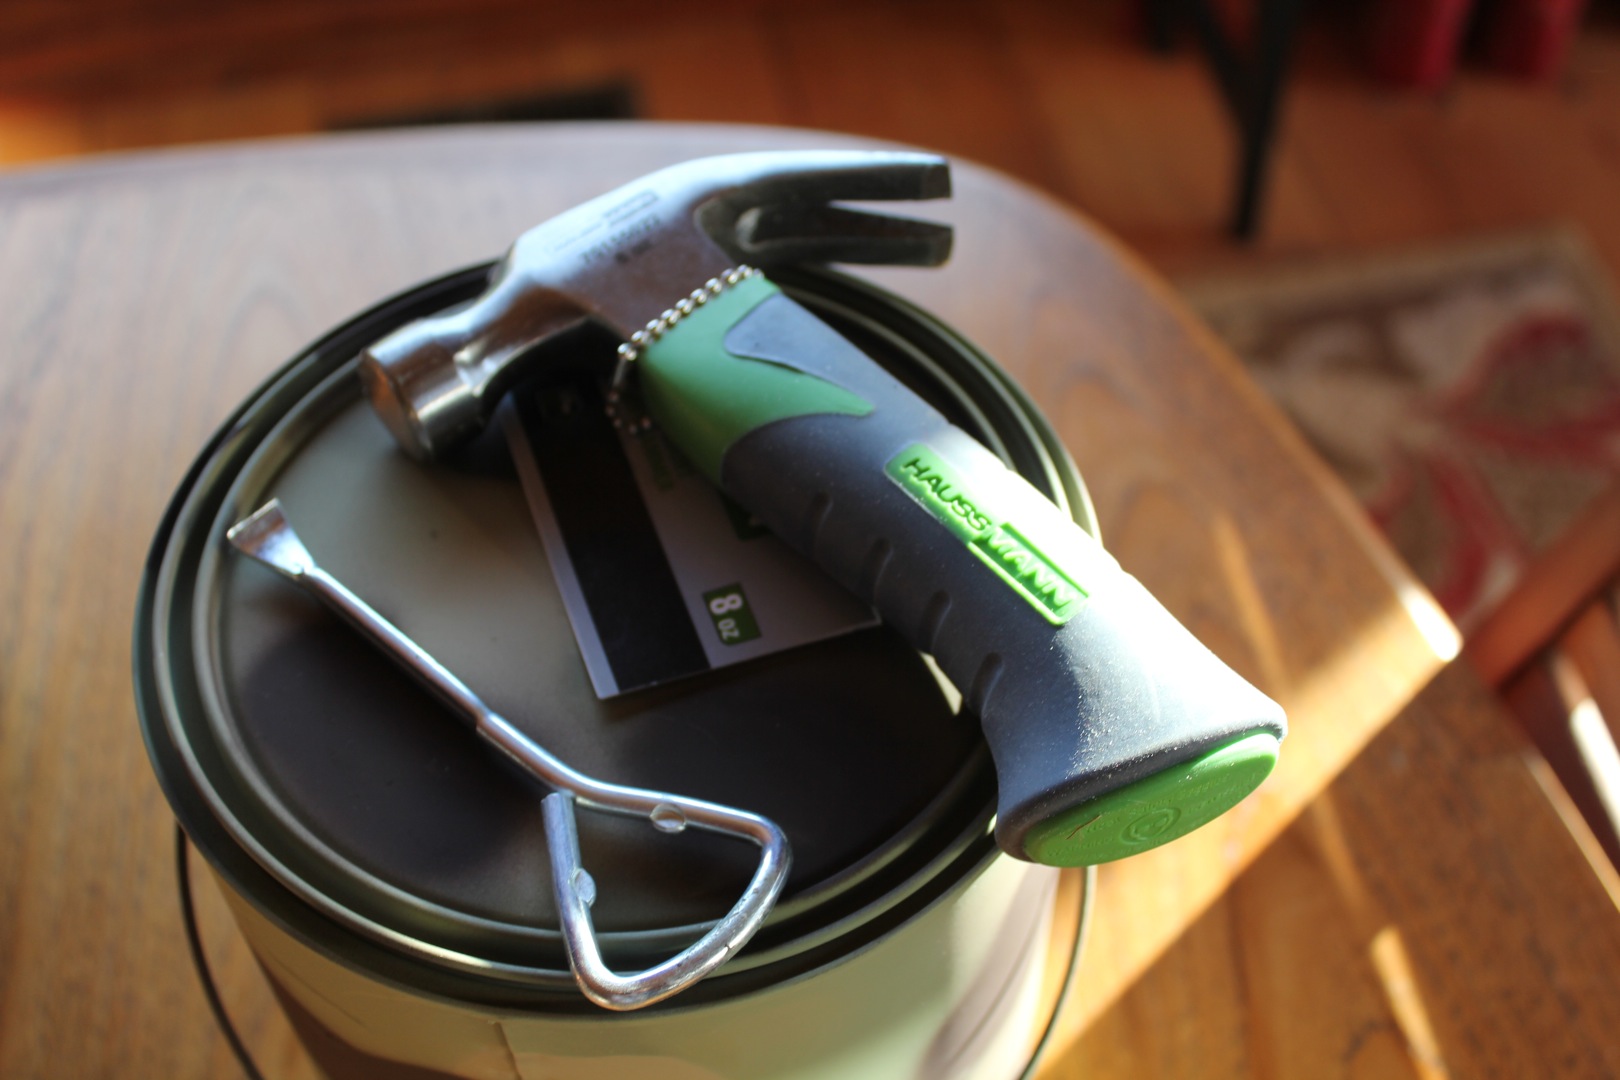
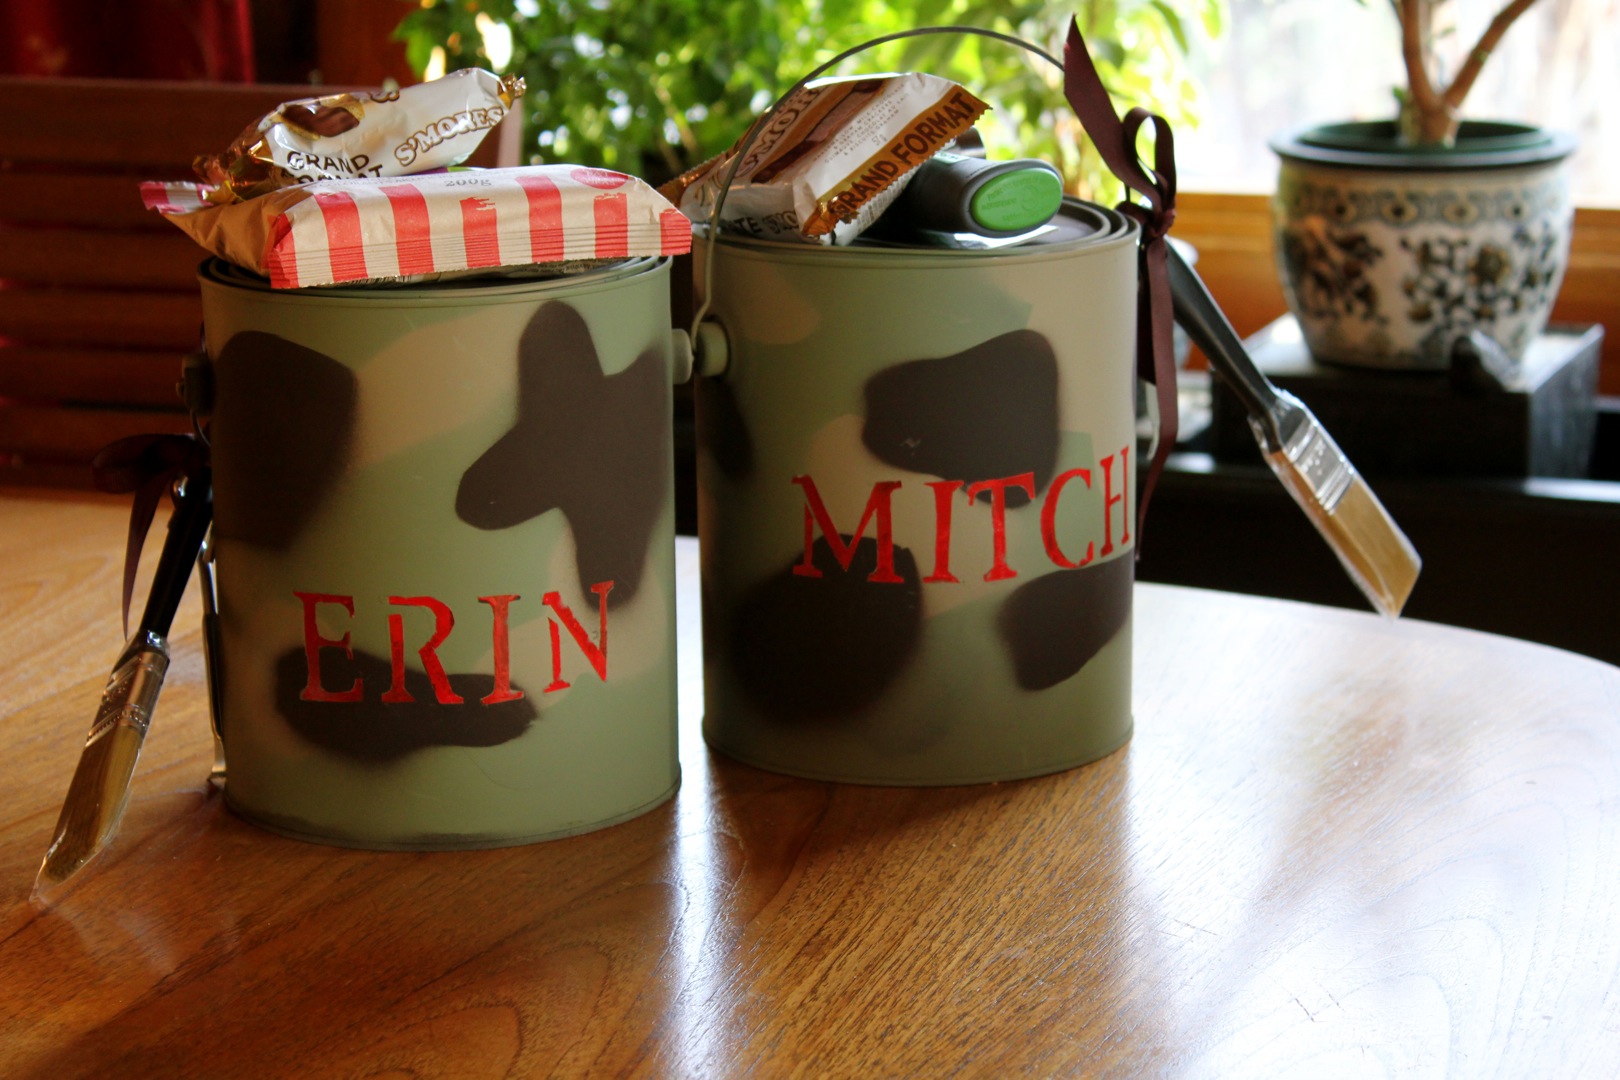
I loved the idea of a cache hidden away with treasures stored within… I had already begun Christmas shopping for little gifts for Mitch and Erin, mainly for practical things that they can use at their fort. I decided to create a cache tin for each of them to hide at the fort. That way they can store their treasures and supplies in a way that is safe from weather and animals, and is easily hidden.
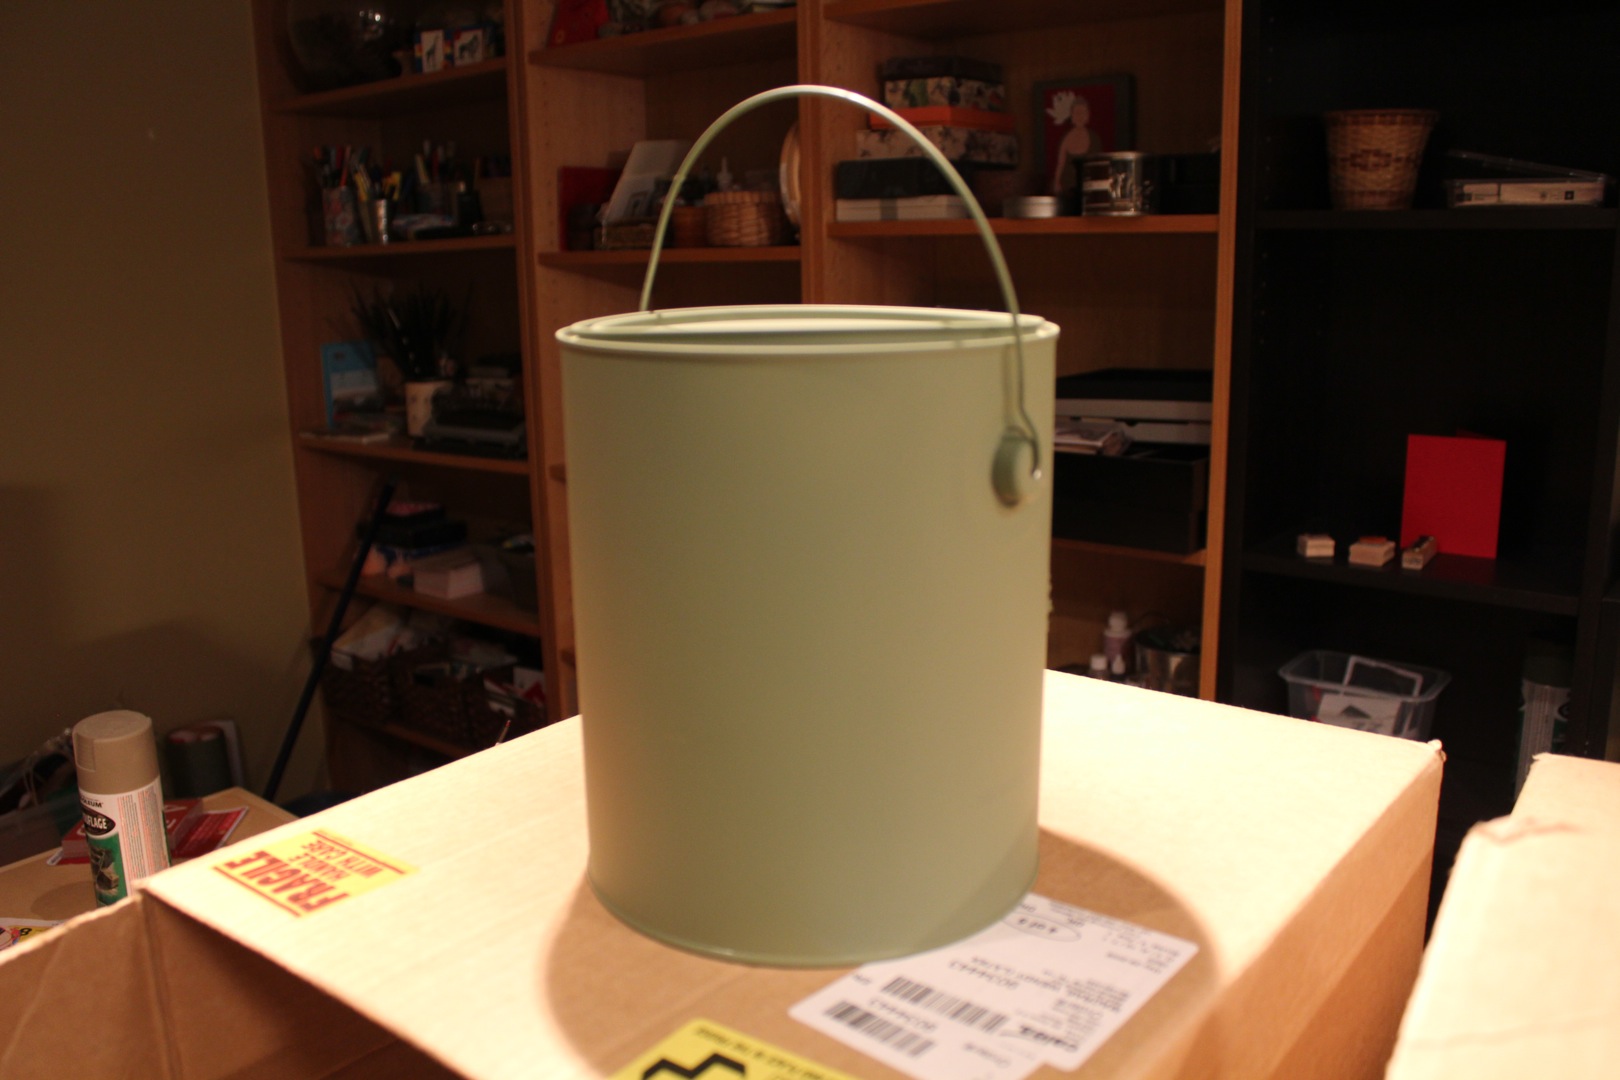
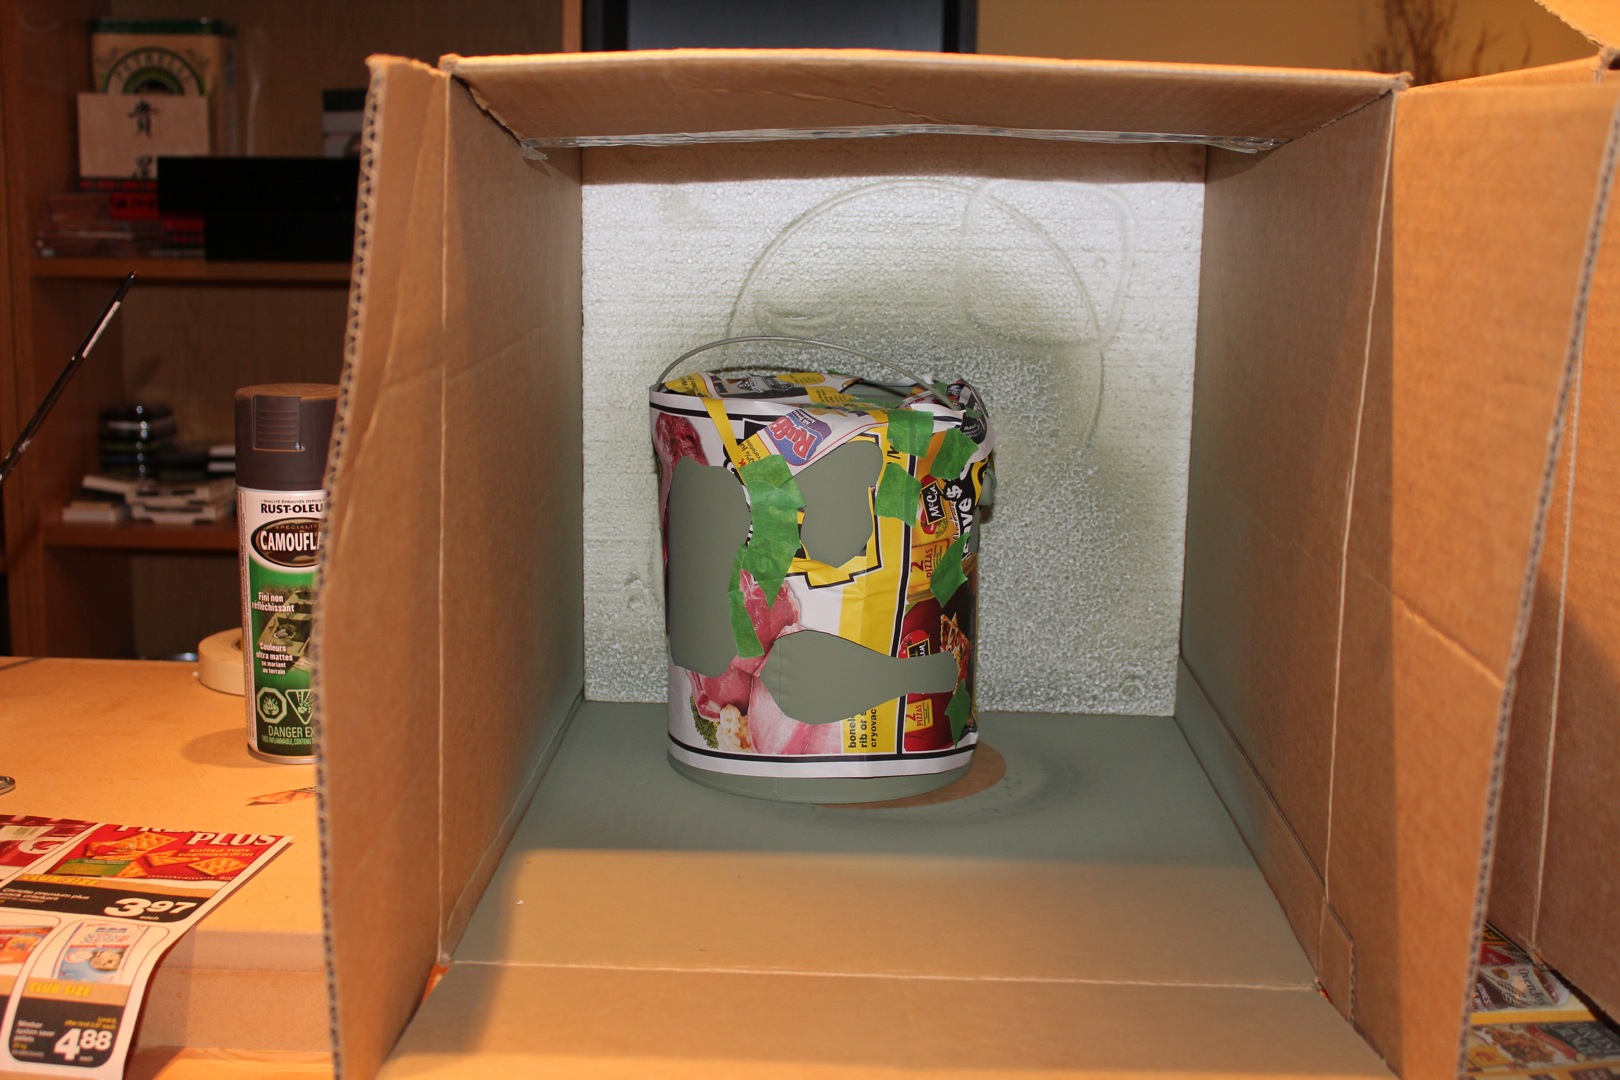
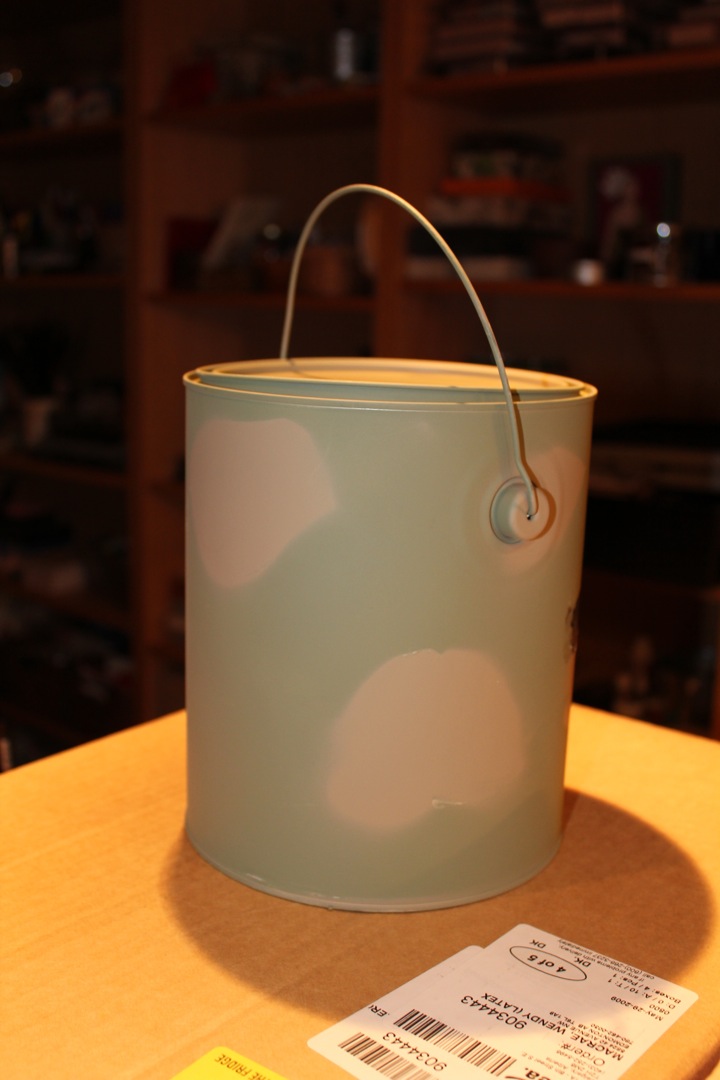
I started with a brand new, empty paint can. You can buy these in a variety of sizes at your local hardware store for under $5 in the paint section. I also bought 3 different colors of ‘camo’ Tremclad (for metal) spray paint. I began with a few coats of the light green.